I am all about homemade for the holidays! I am always looking for creative projects that also reflect my personality and the personality of the people I am giving things to. This year, I am really focusing on giving gifts I have made with love. So here is a small collection of the good stuff I love to make and give!
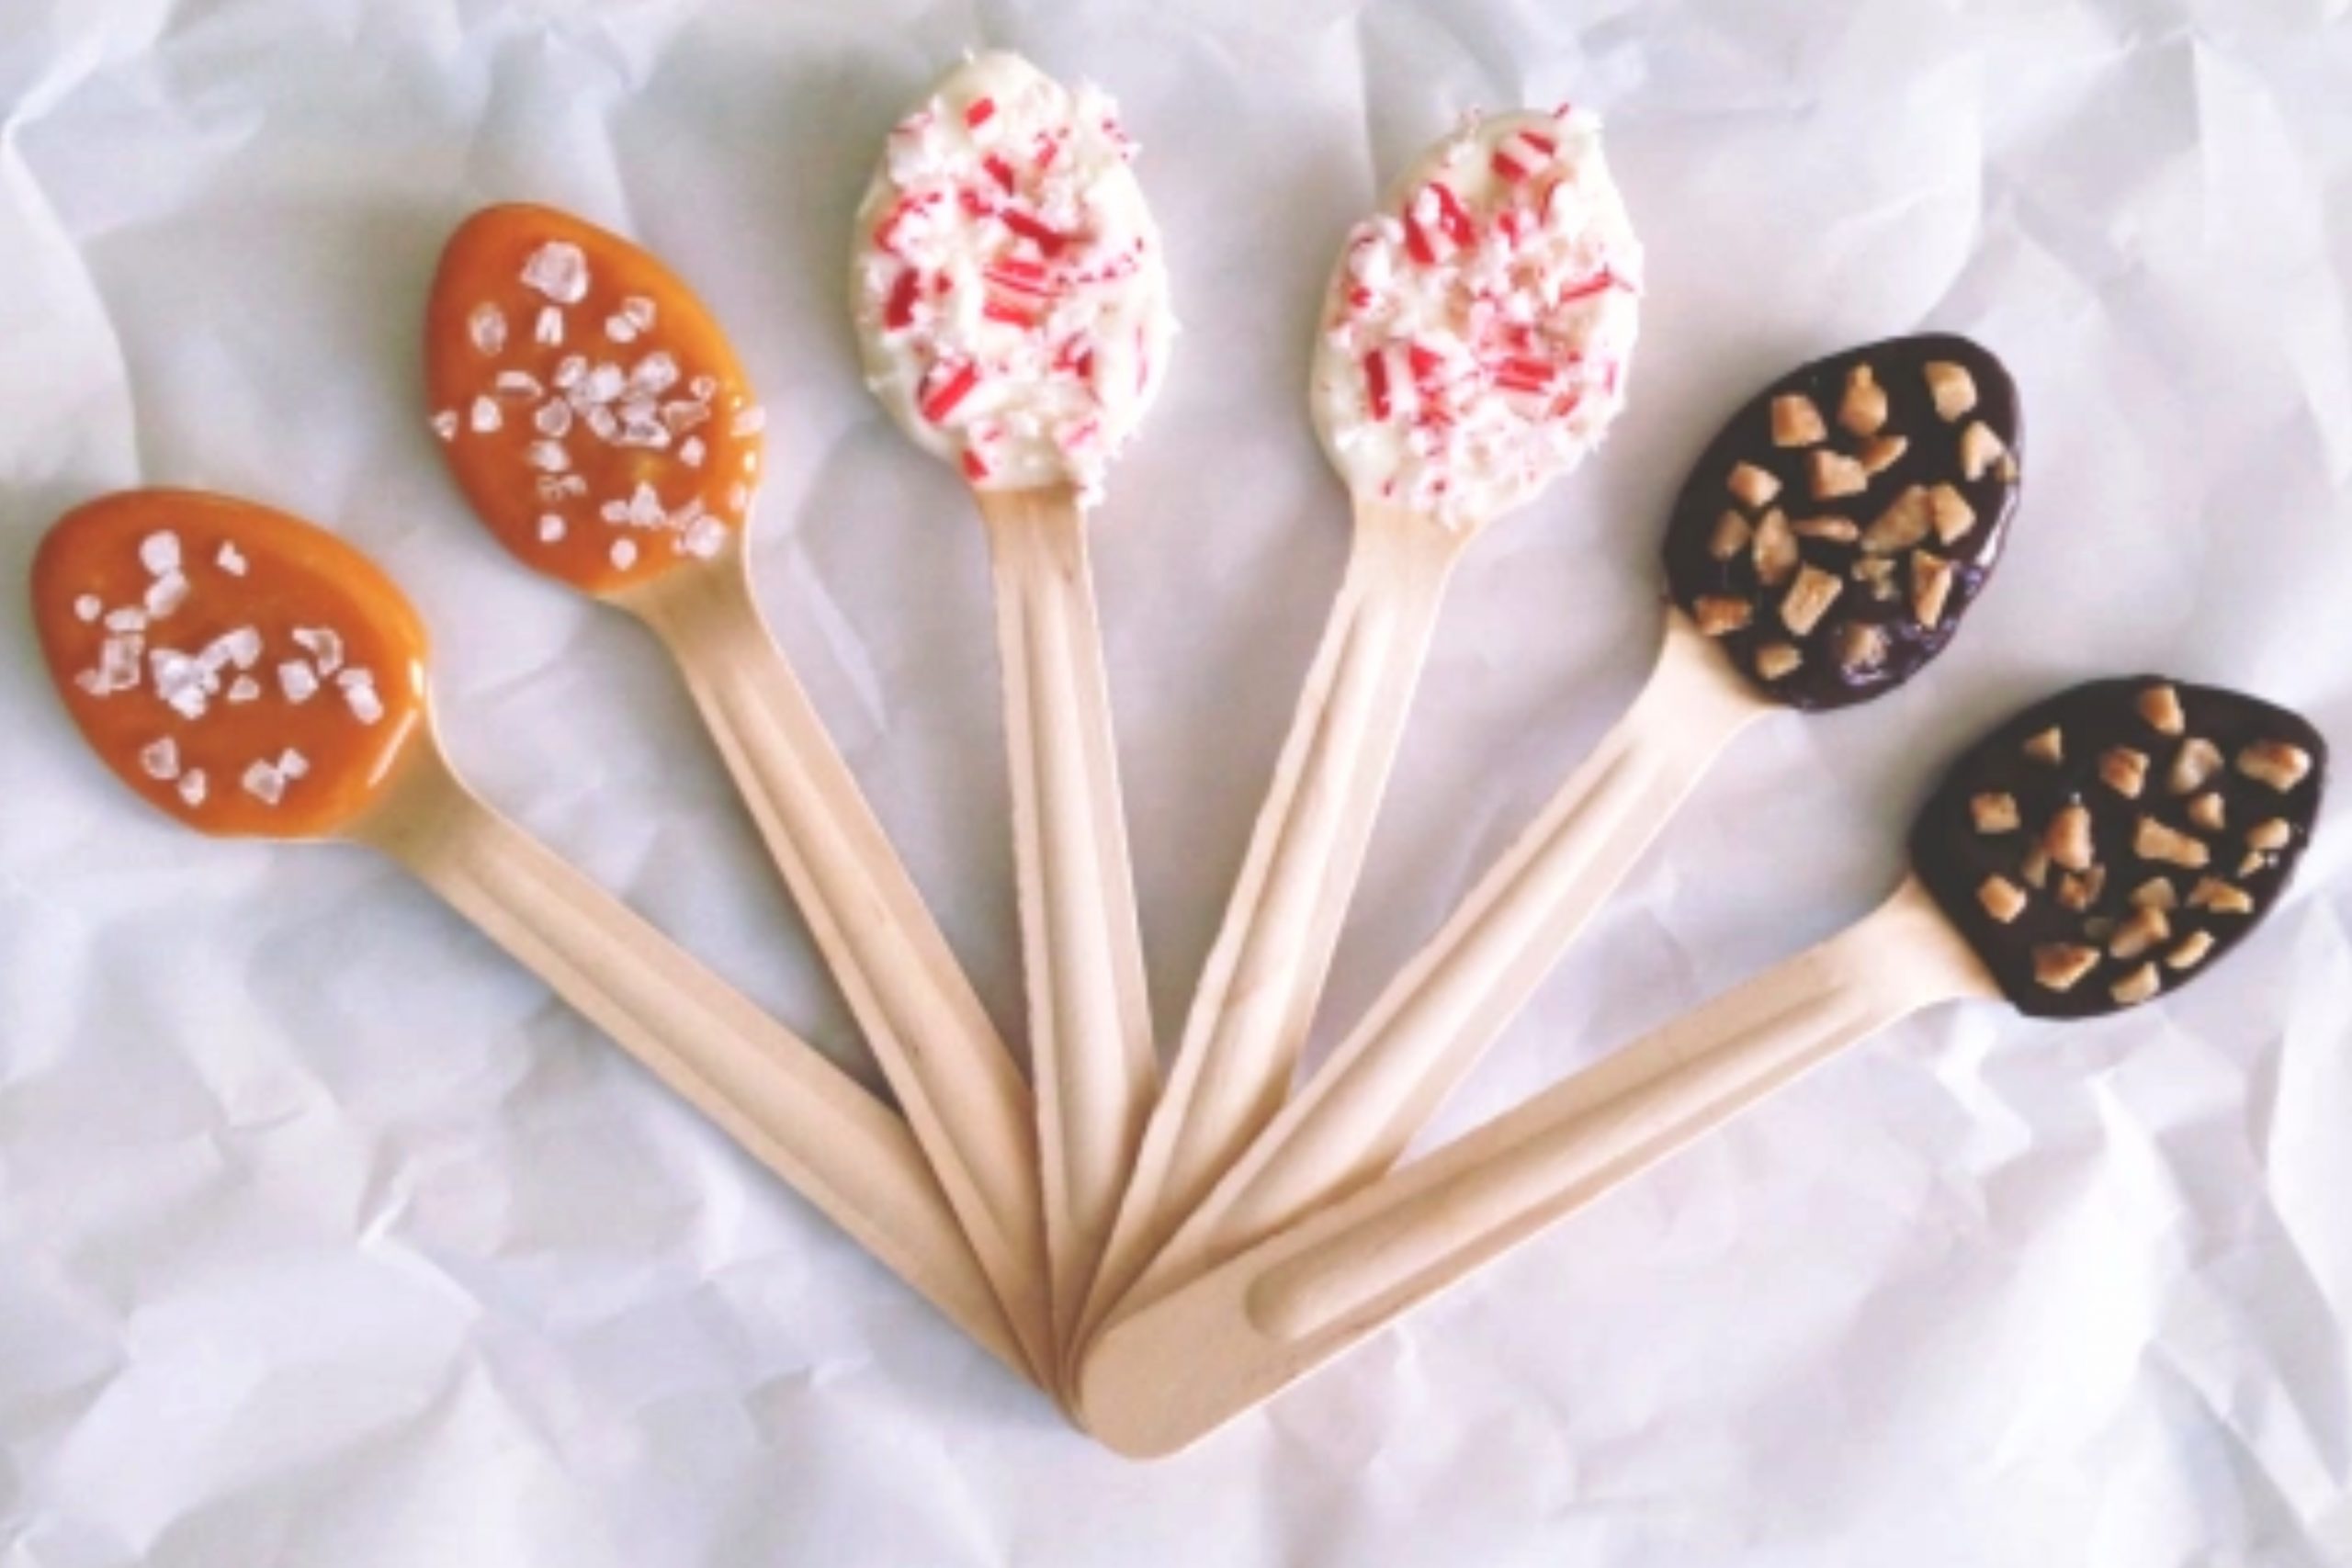
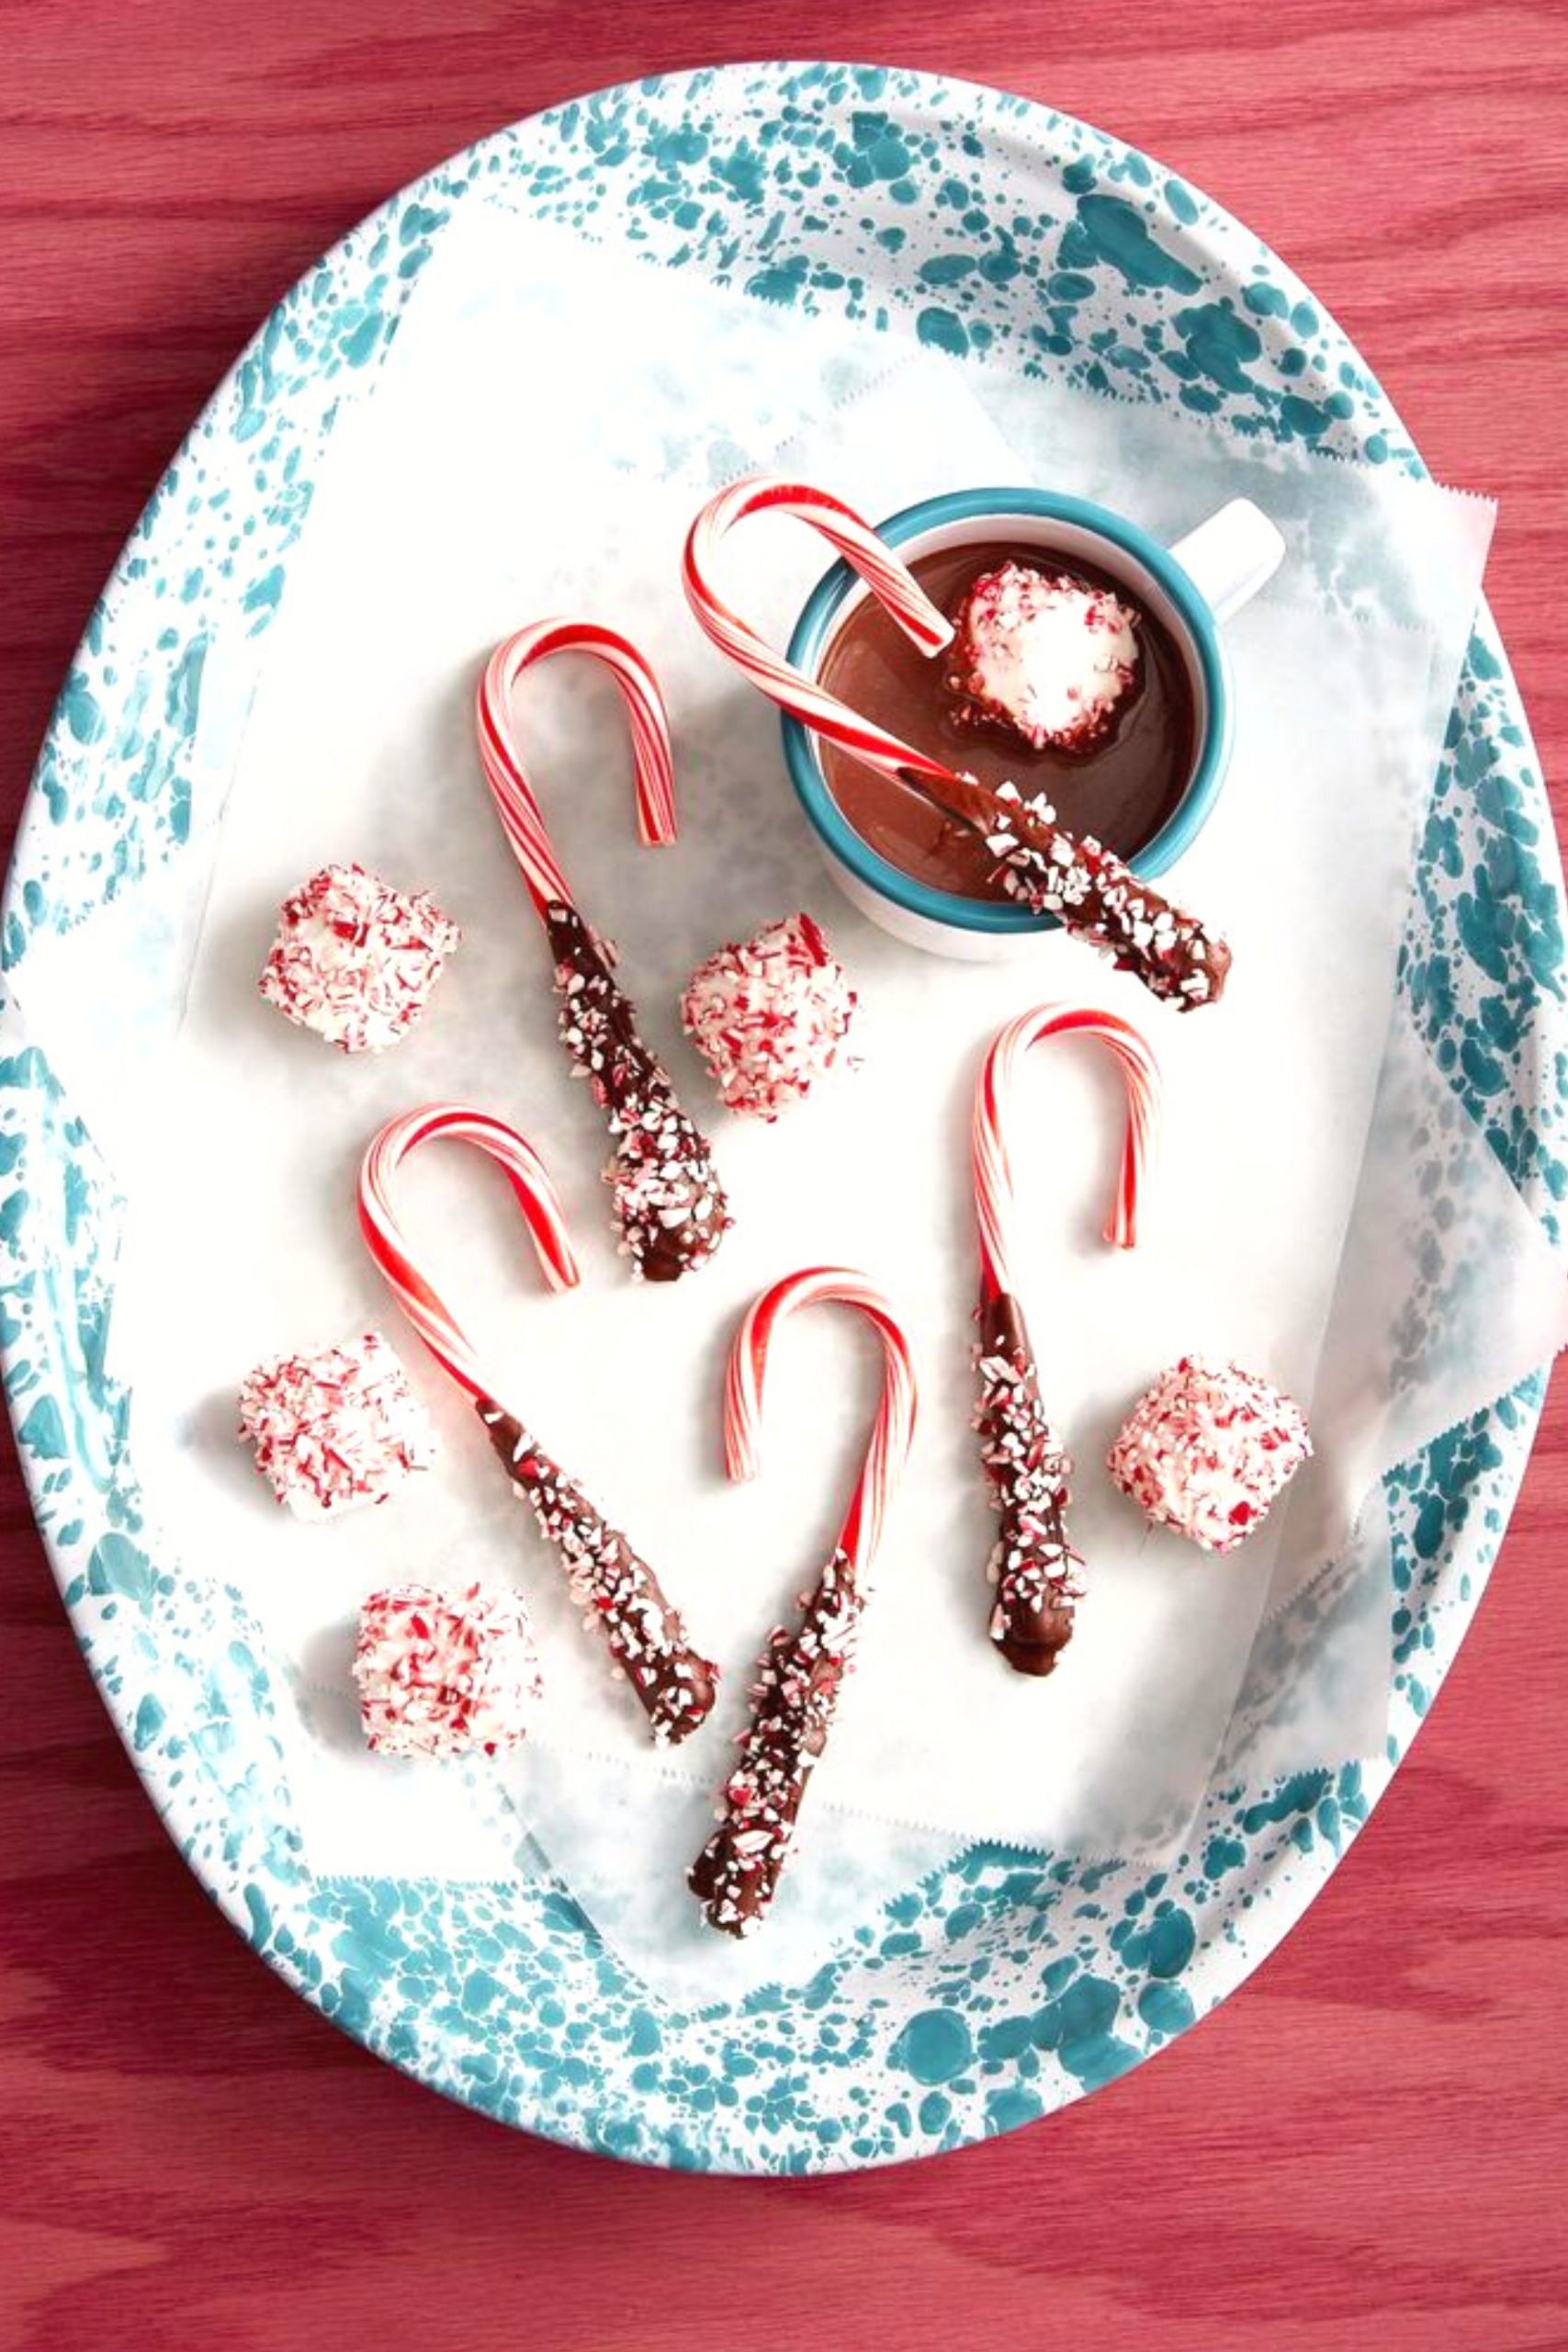
I wanted to begin by sharing creative projects for the tummy! Starting with homemade hot chocolate stirrers. They’re easy to make with kids of all ages! Hit up the local dollar store for your plastic spoons and other accessories.
Here is what you will need:
- 30 plastic spoons – or recycled spoons – or real ones
- Mini marshmallows
- Crushed candy canes
- 12 oz semi sweet chocolate chips
- Bag of Shredded coconut
- A bag of chopped walnuts
Directions:
- Go ahead and crush the candy canes, chop the nuts (you can pick what kind of nuts you want in your hot cocoa) Place them in separate plates or shallow bowls.
- Line your cookie sheets with parchment or grab your Silpat nylon cooking sheet.
- (INSERT PIC OF SILPAT HERE from canva from amazon) Melt the chocolate chips in the microwave using a ceramic or glass bowl. Melt in 15 second increments, stirring each time. This usually takes about 1-3 minutes to fully melt.
- Quickly dip the spoons in the melted chocolate covering the entire spoon’s bowl with chocolate. Then dip the spoon into your topping of choice and lay on your baking tray to cool.
- Freeze the spoons for about 15 minutes or until they are set.
I buy cute little clear plastic bags to cover the bowl of the spoon with and then tie with a festive ribbon. You can get a cute ceramic mug at the dollar store, throw in a few spoons and a nice card and you are all set!
If you have any candy canes leftover and a little extra chocolate try dipping the bottom of the candy cane into that chocolate and then rule that in more crushed candy canes or nuts or some of those mini marshmallows!
Creative projects for your mantle or table display
If you’re anything like me you have a ton of glass jars you cannot part with. You think that someday you will start canning pickles, or collecting buttons, or maybe even starting your own collection of preserved creatures. Lol
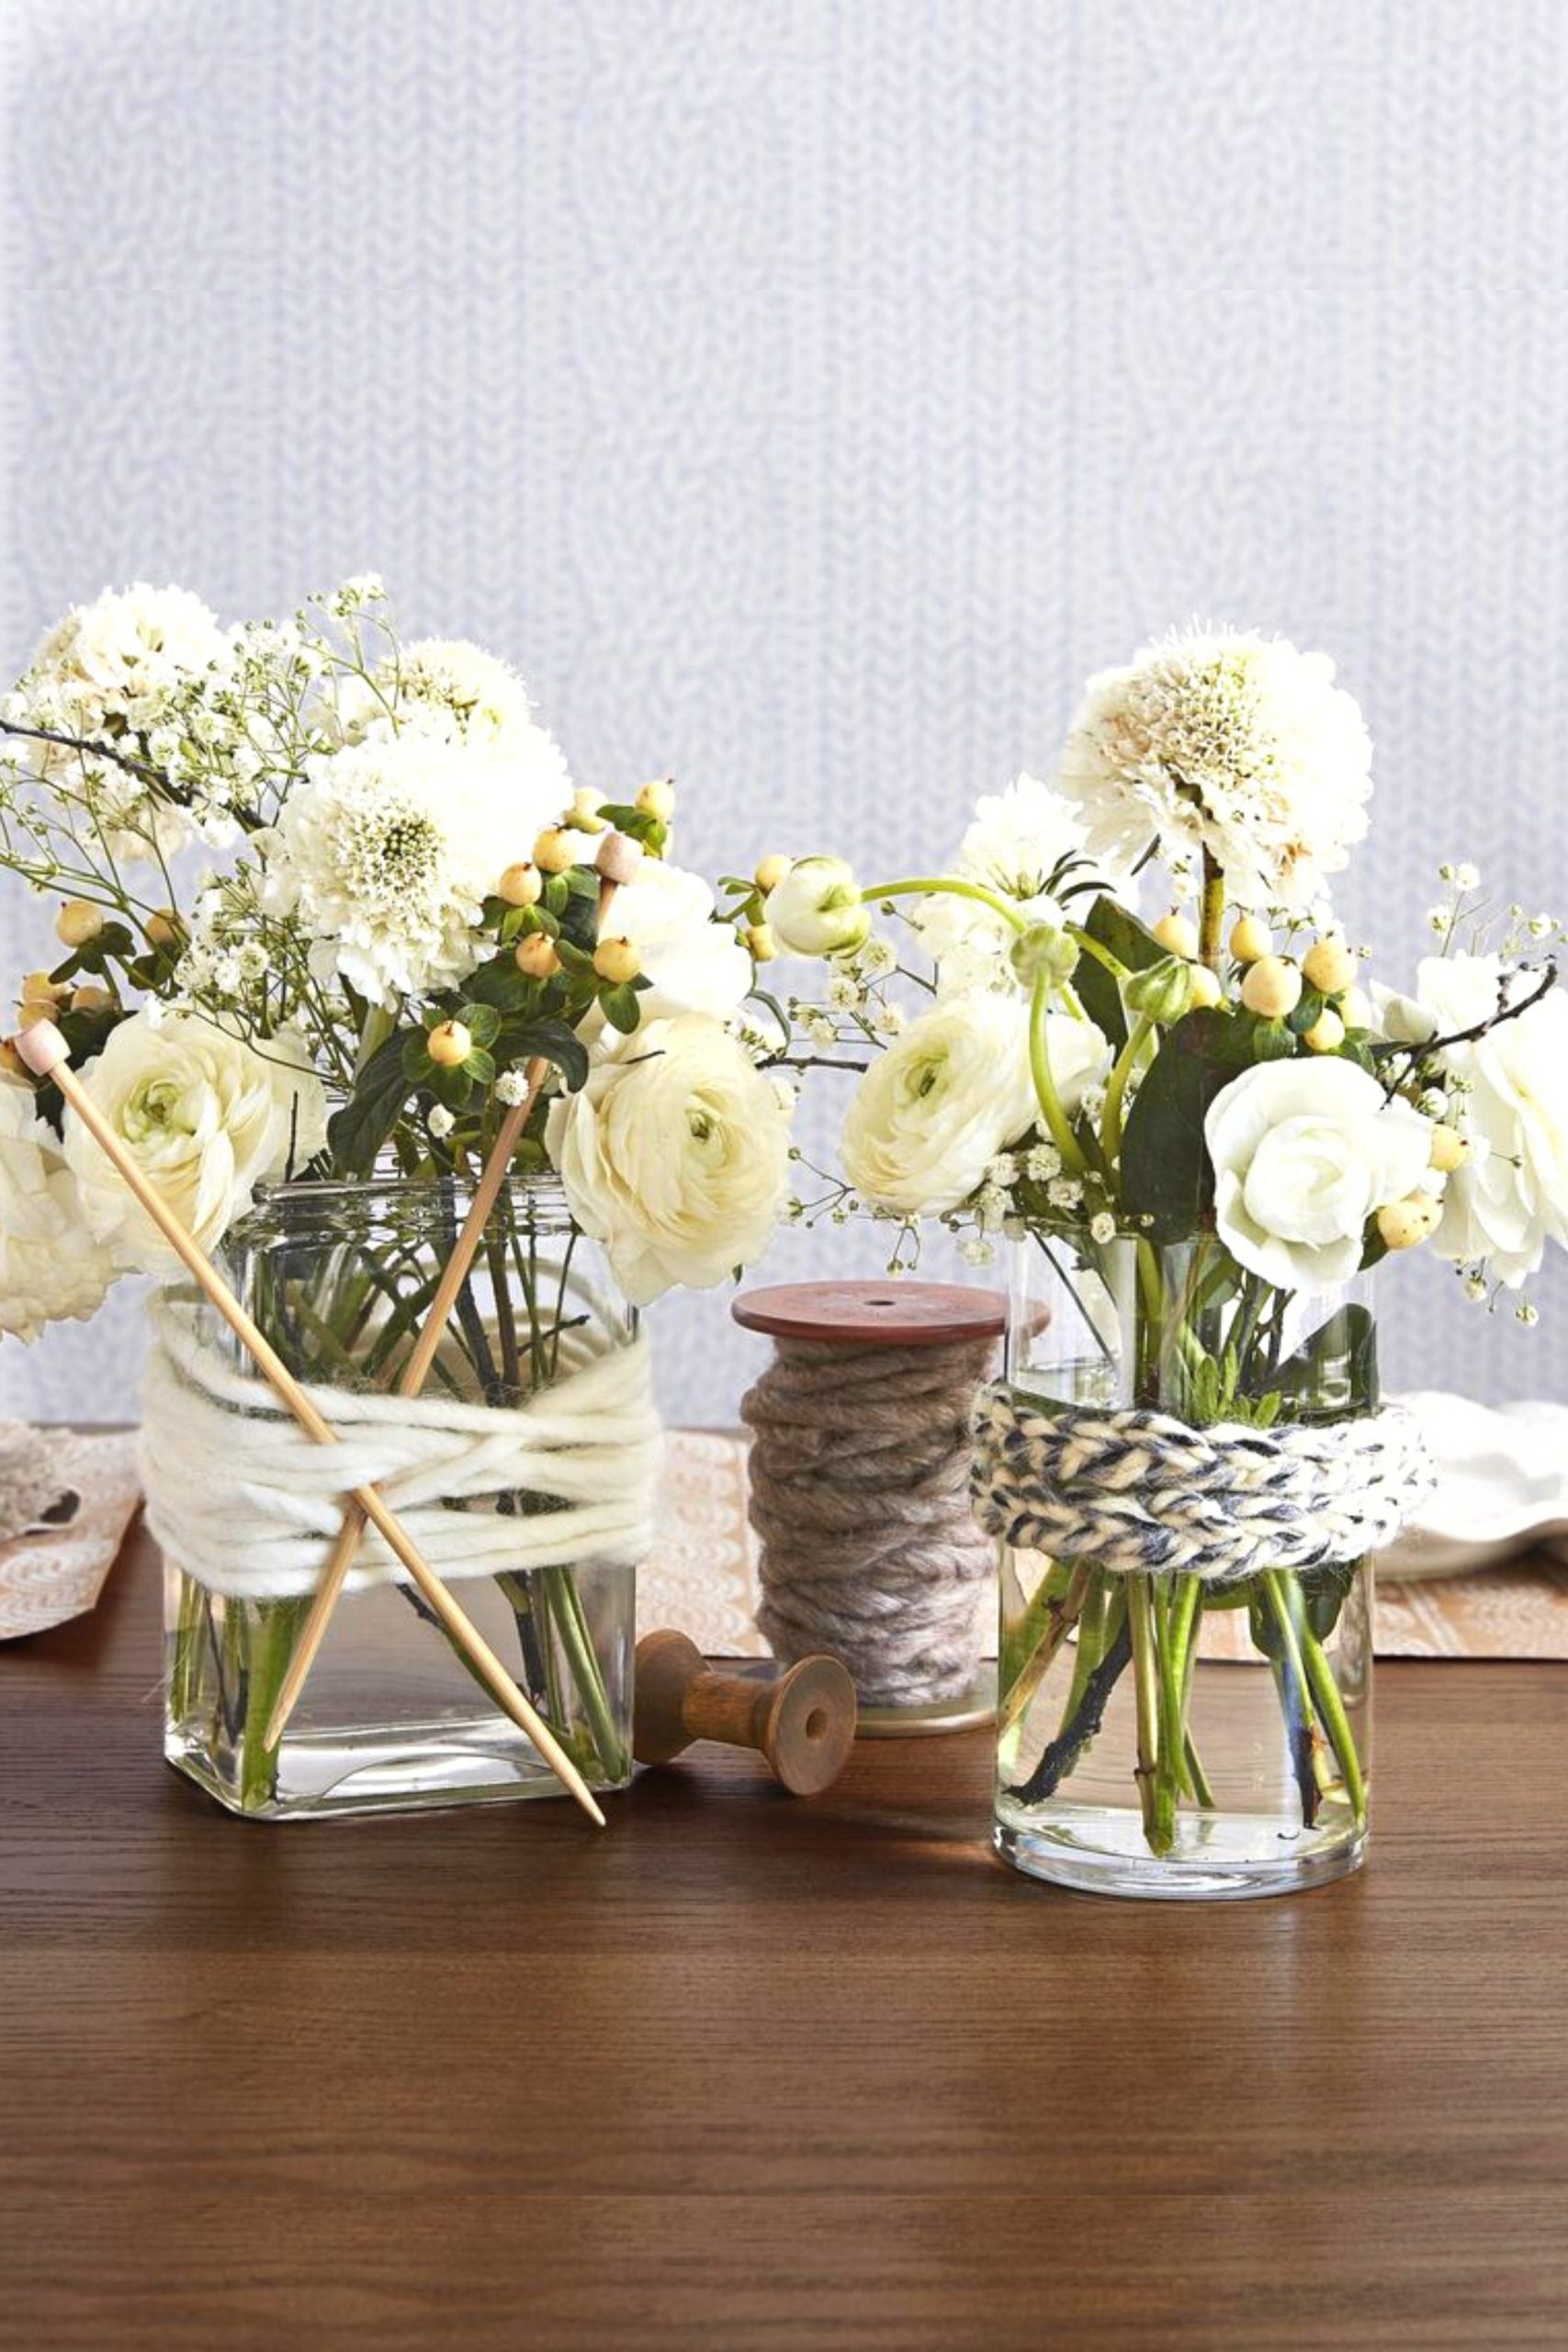
So, let’s use these jars to get festive year round! It’s so simple!
Get all your jars together on the table or countertop. Find all your pretty ribbon and yarn and a pair of scissors and some Elmer’s glue.
If you want to get really fancy, you can even grab your Bowdabra and take things up a notch.
It’s waaayyyy too much to have to try to tell you how to use this amazing contraption so I will just share this link with you to get you an education.
You’re welcome by the way, because this thing is a GAME CHANGER if you are a bow maker.
Now. Here’s the tricky part. Lol
Start wrapping your glass jars with yarn. Feel free to use multiple colors , like a few turns of red, green and gold perhaps.
You can use a little Elmer’s glue to set the ends onto the glass. You could add a ribbon on top of the yarn for some extra flair even.
This doesn’t just have to be a holiday creative project. As you can see in the picture those two jars are decorated very simply they could be something that’s used year-round.
And in my head I would probably reuse the same glasses all year but just change up what I wrapped them in.
Maybe pastel colors for the months of April and May, if I was celebrating Hanukkah I might wrap the jars in blue and silver, or for Valentine’s Day lots and lots of red!
Getting creative with projects from nature and for you mind and body
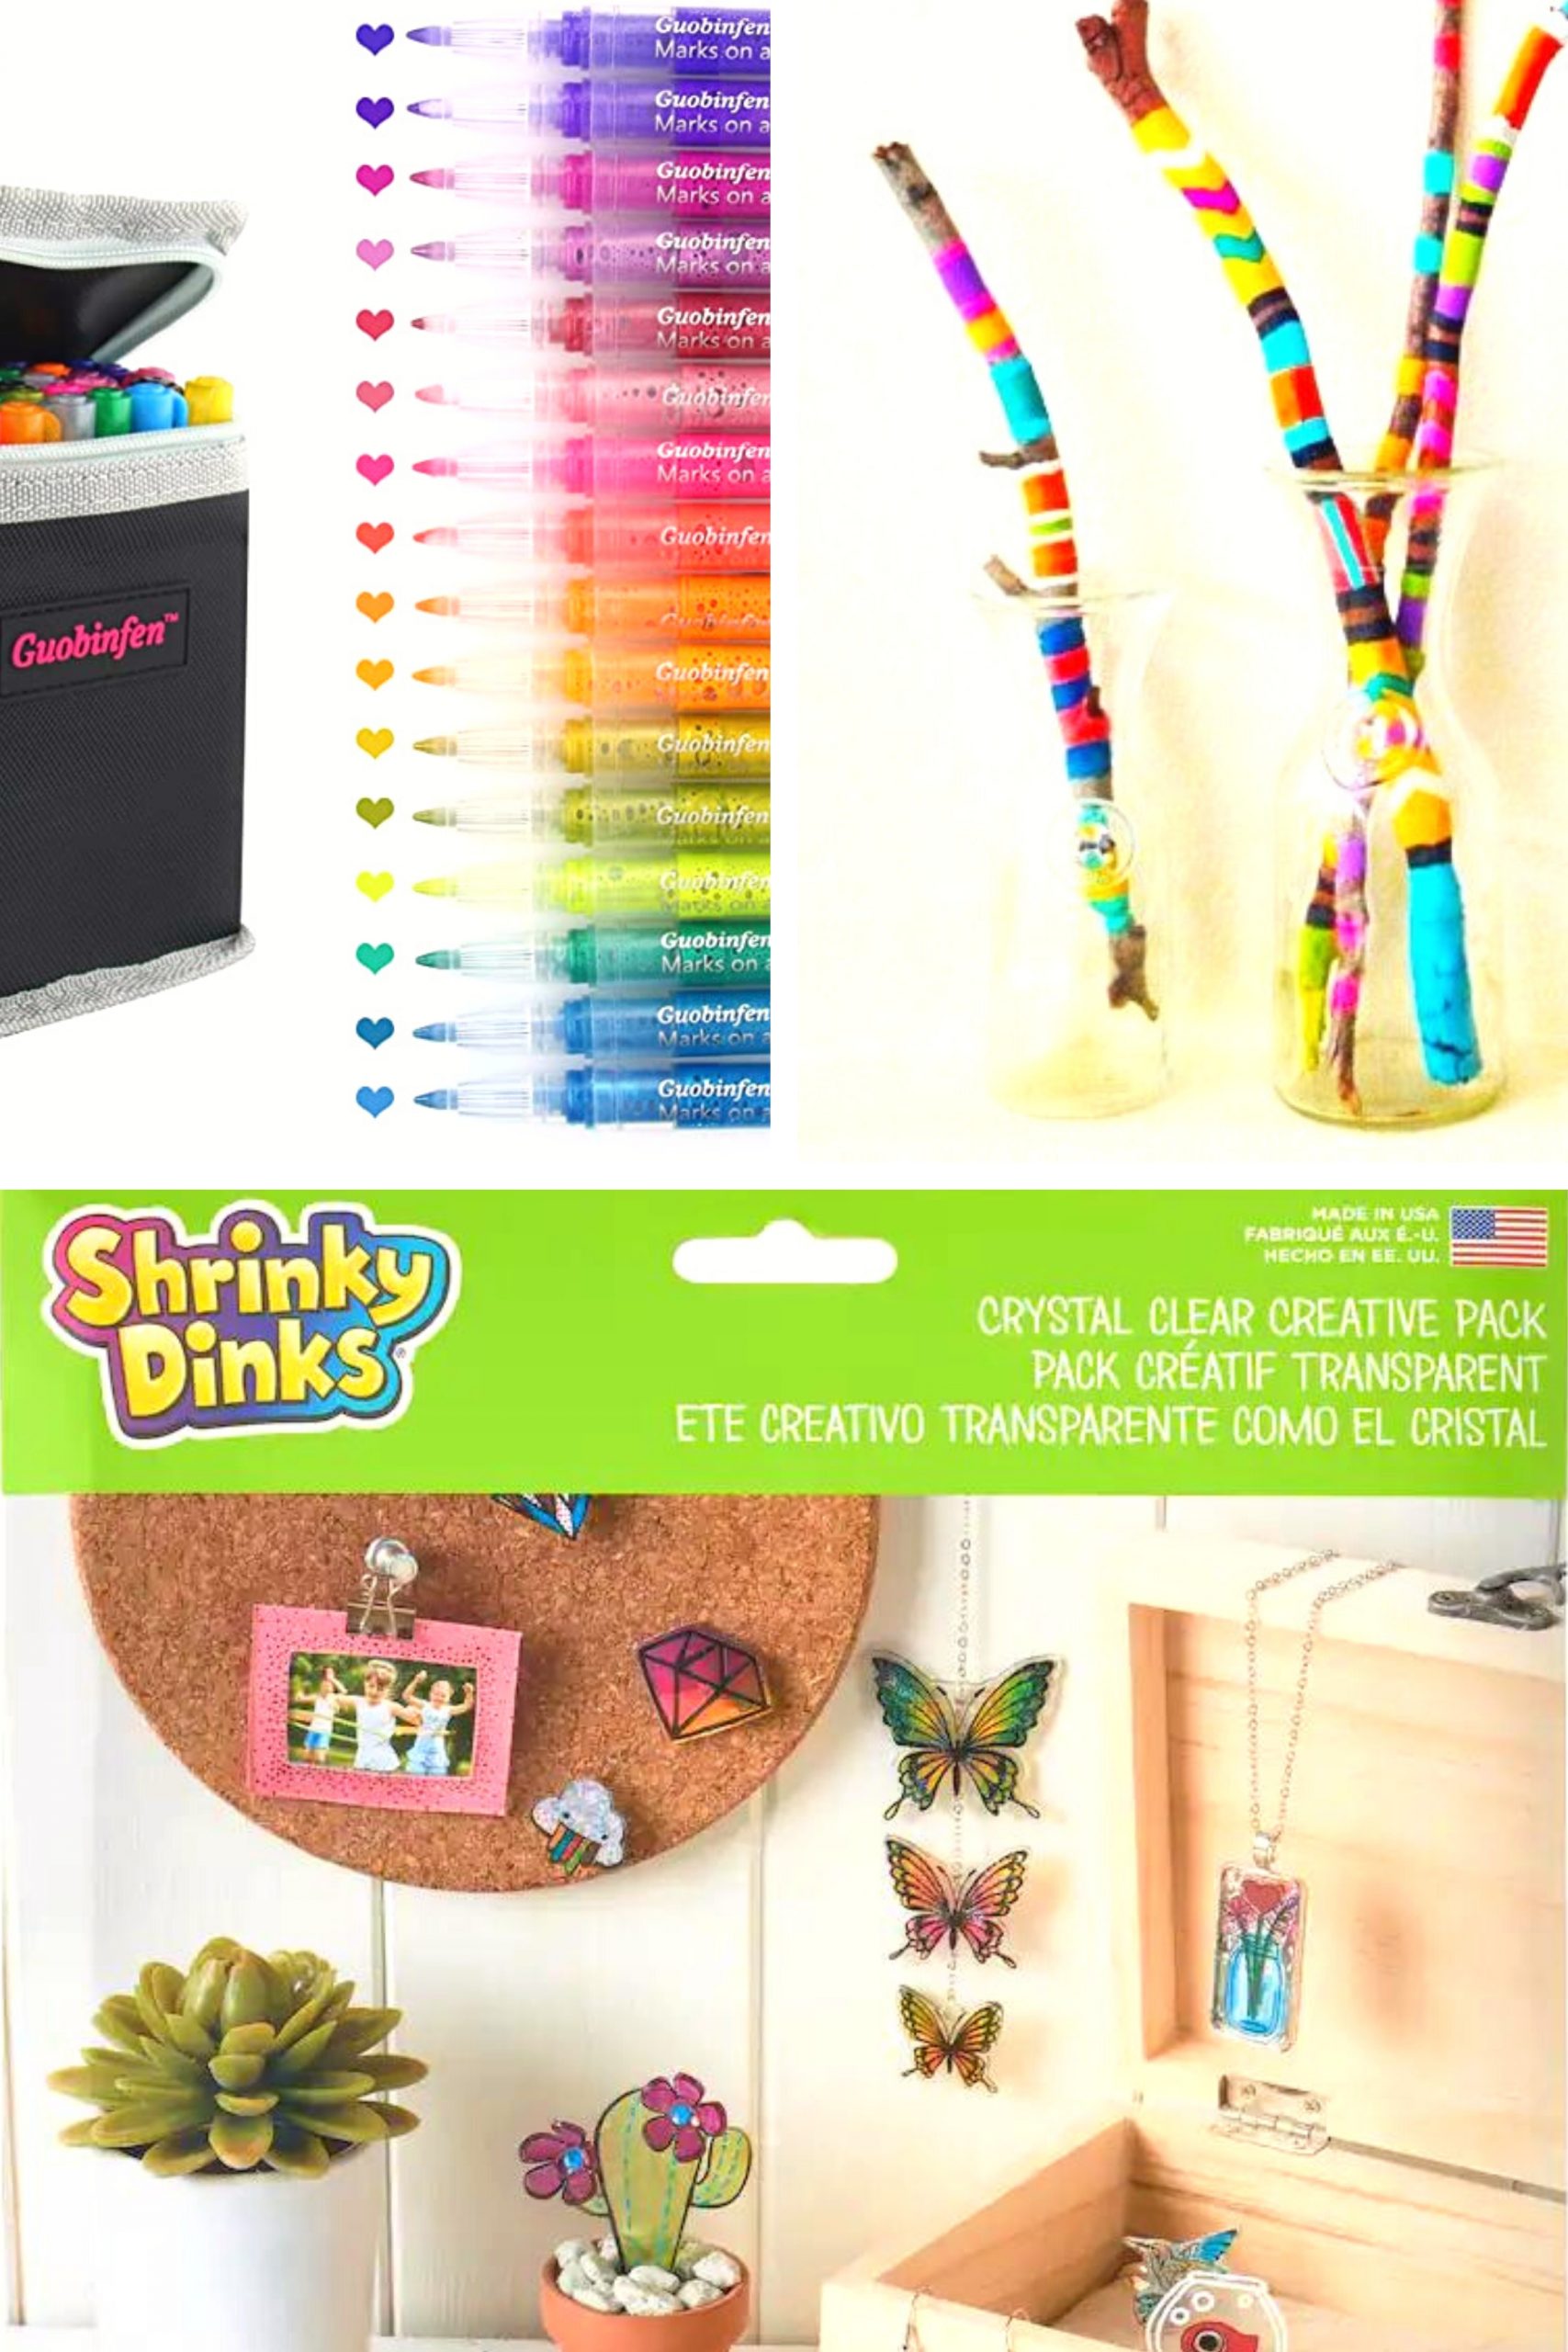
Twig art is a thing! Take a nature walk and find some sturdy small branches. Remove any moss or small twigs sticking out and clean and wash the twigs. Nothing fancy but you just want to make sure you’ve removed any bugs etc..
You can do a few different things here. Paint the twigs with stripes of paint! You can make it festive and do green, black, red and brown. You can do blue and silver, or red and green.
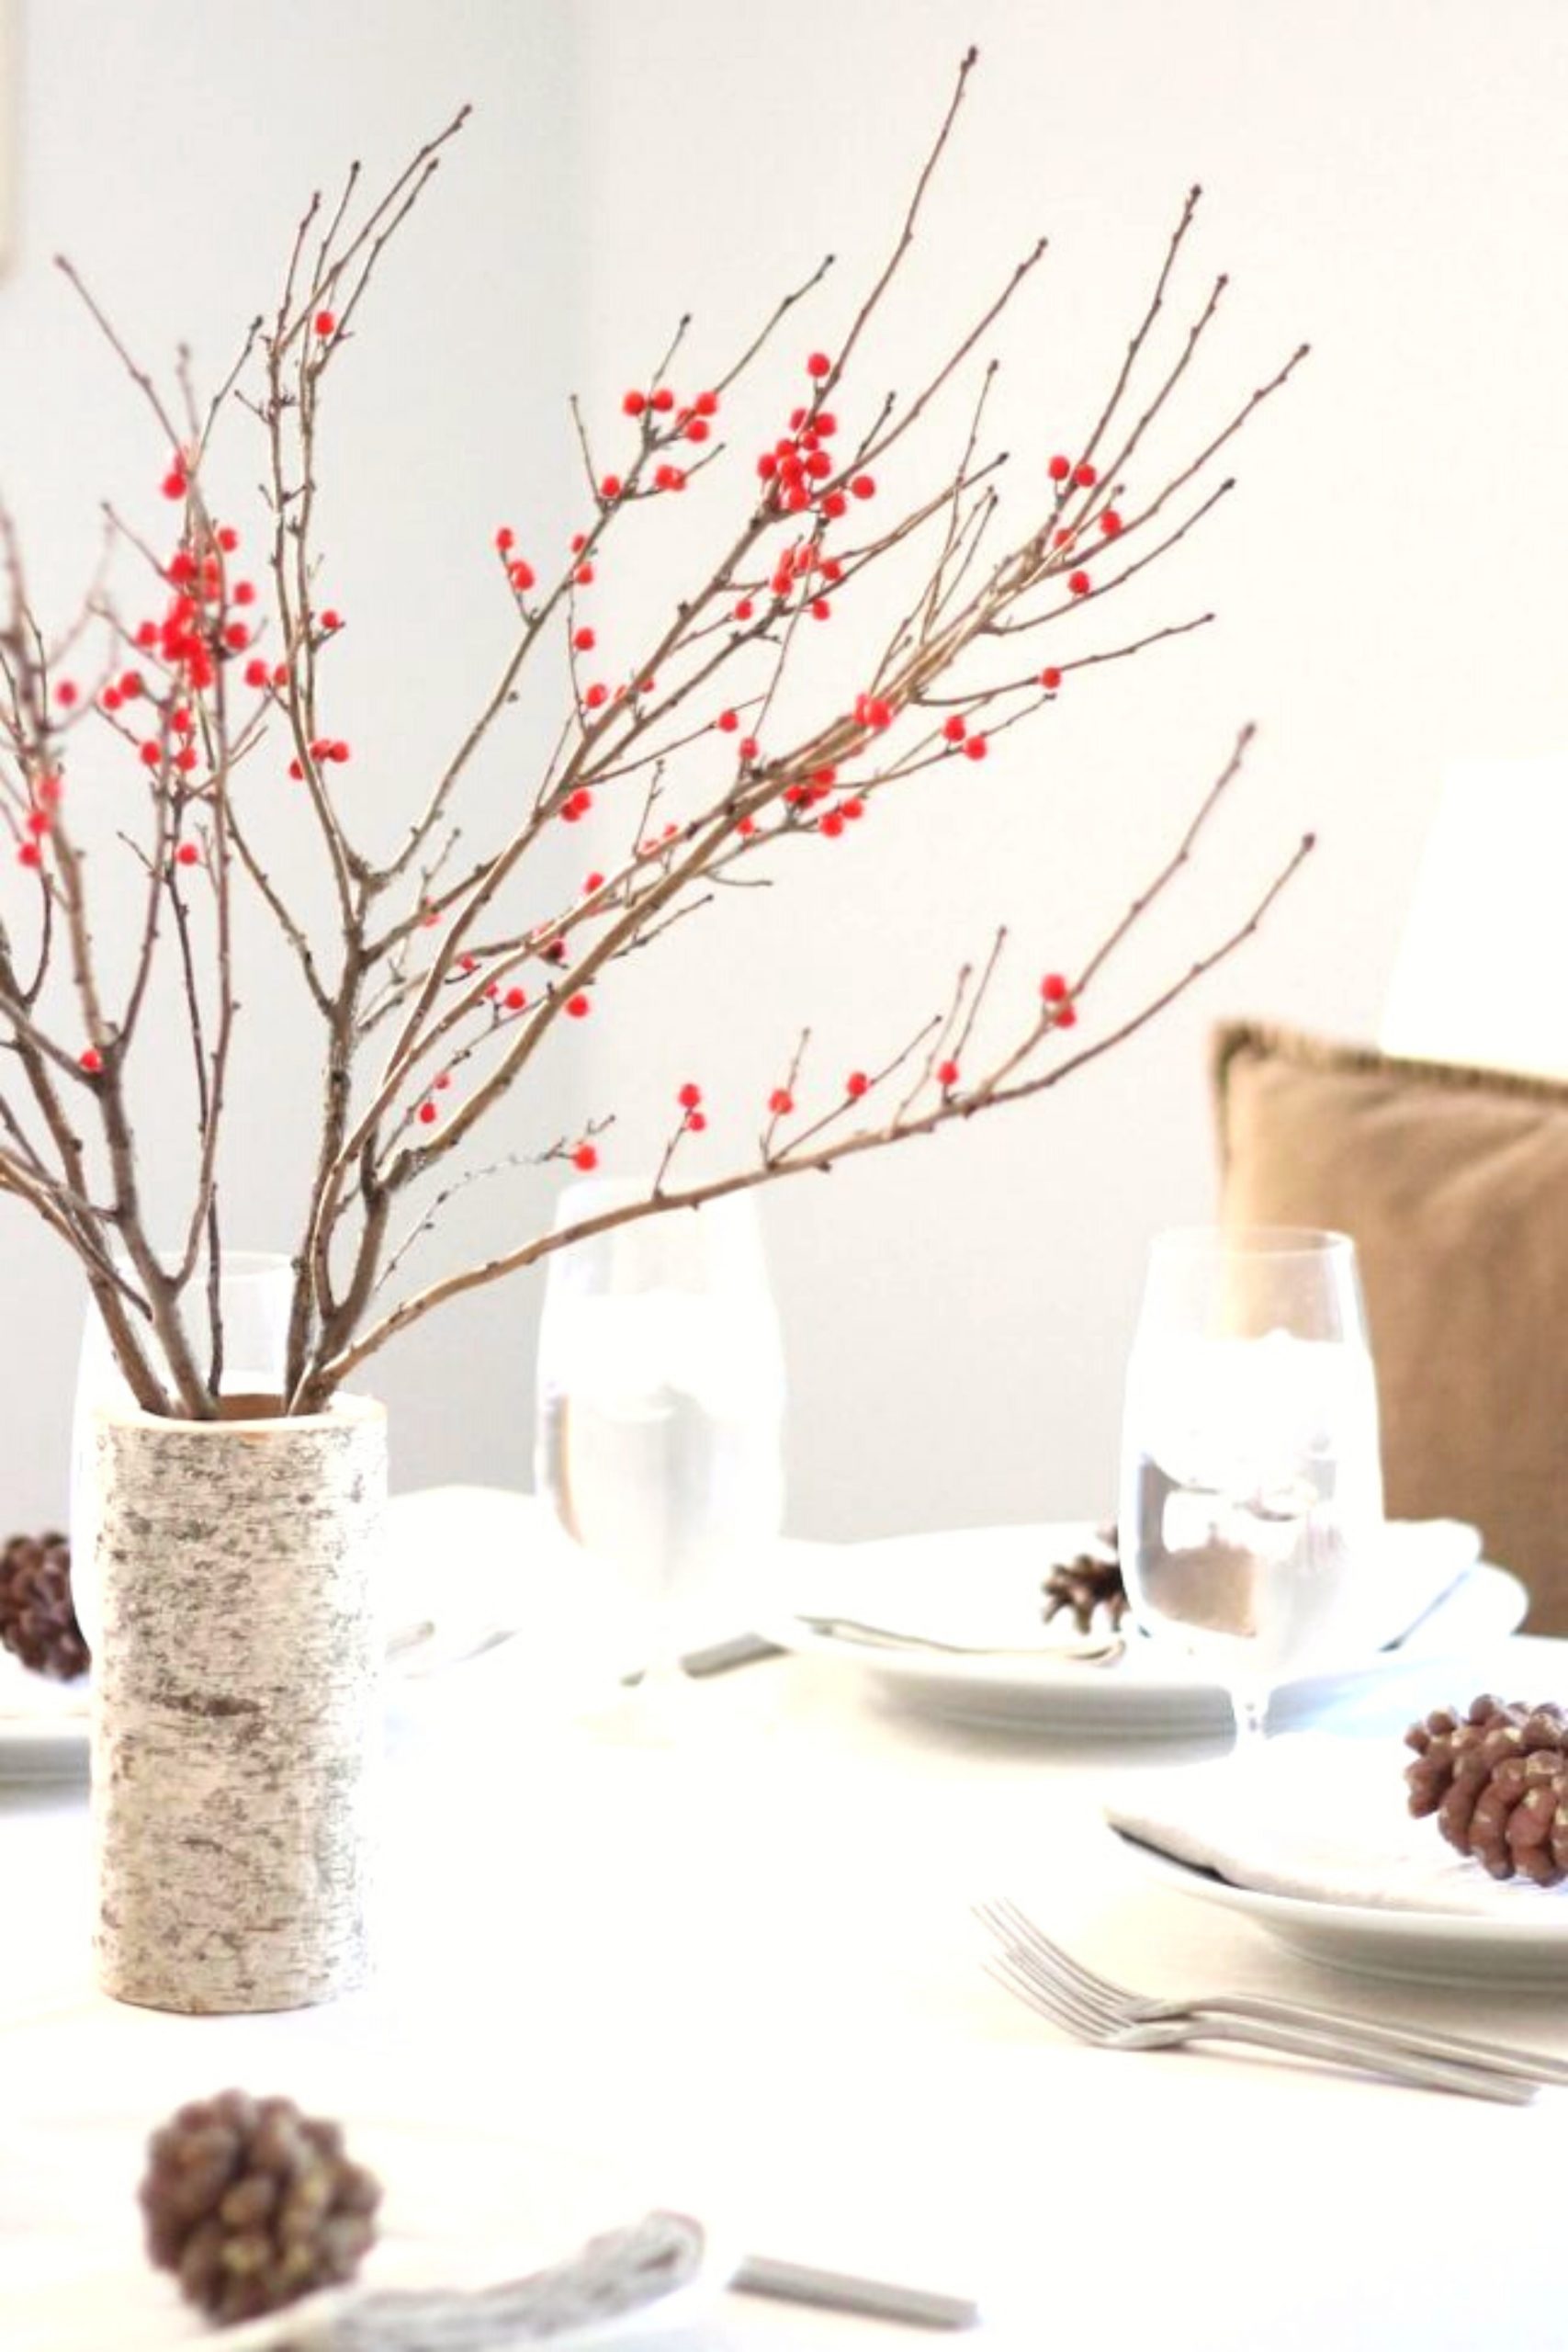
You could also keep the branches the way you found them and glue objects like red berries, or sequins and gems like this image. Julie Blanner shows you how she also made the cool birch vase you see in the pic!
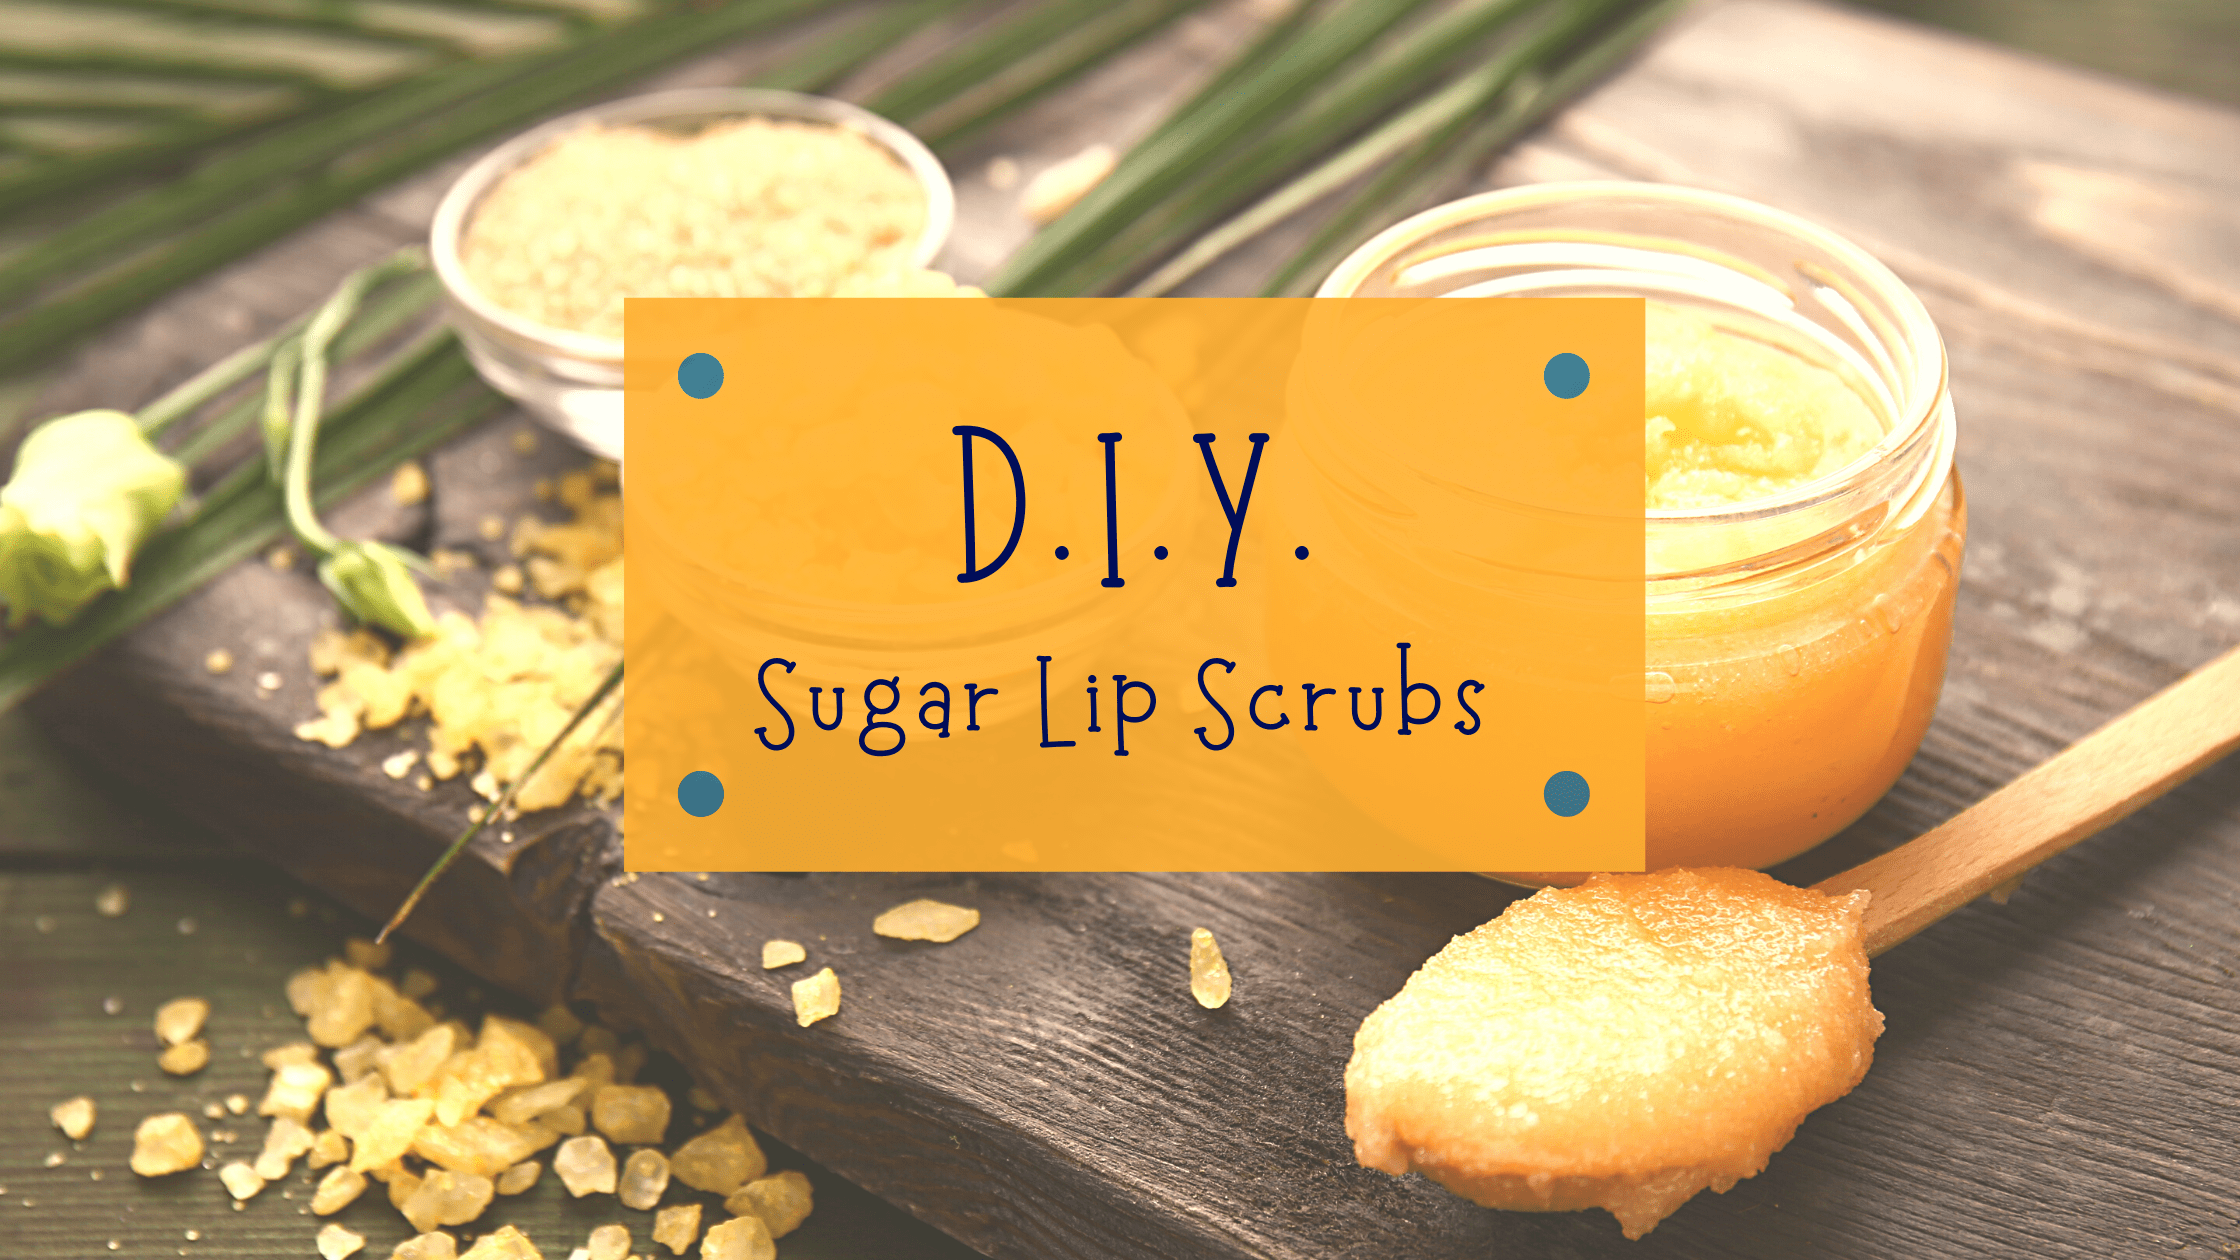
I absolutely LOVE making body wellness products. You can check out this blog I wrote on great making DIY sugar lip scrubs. They are fun, easy and inexpensive. They are really good for winter months when your lips are chapped.
Creative projects you can do with little ones
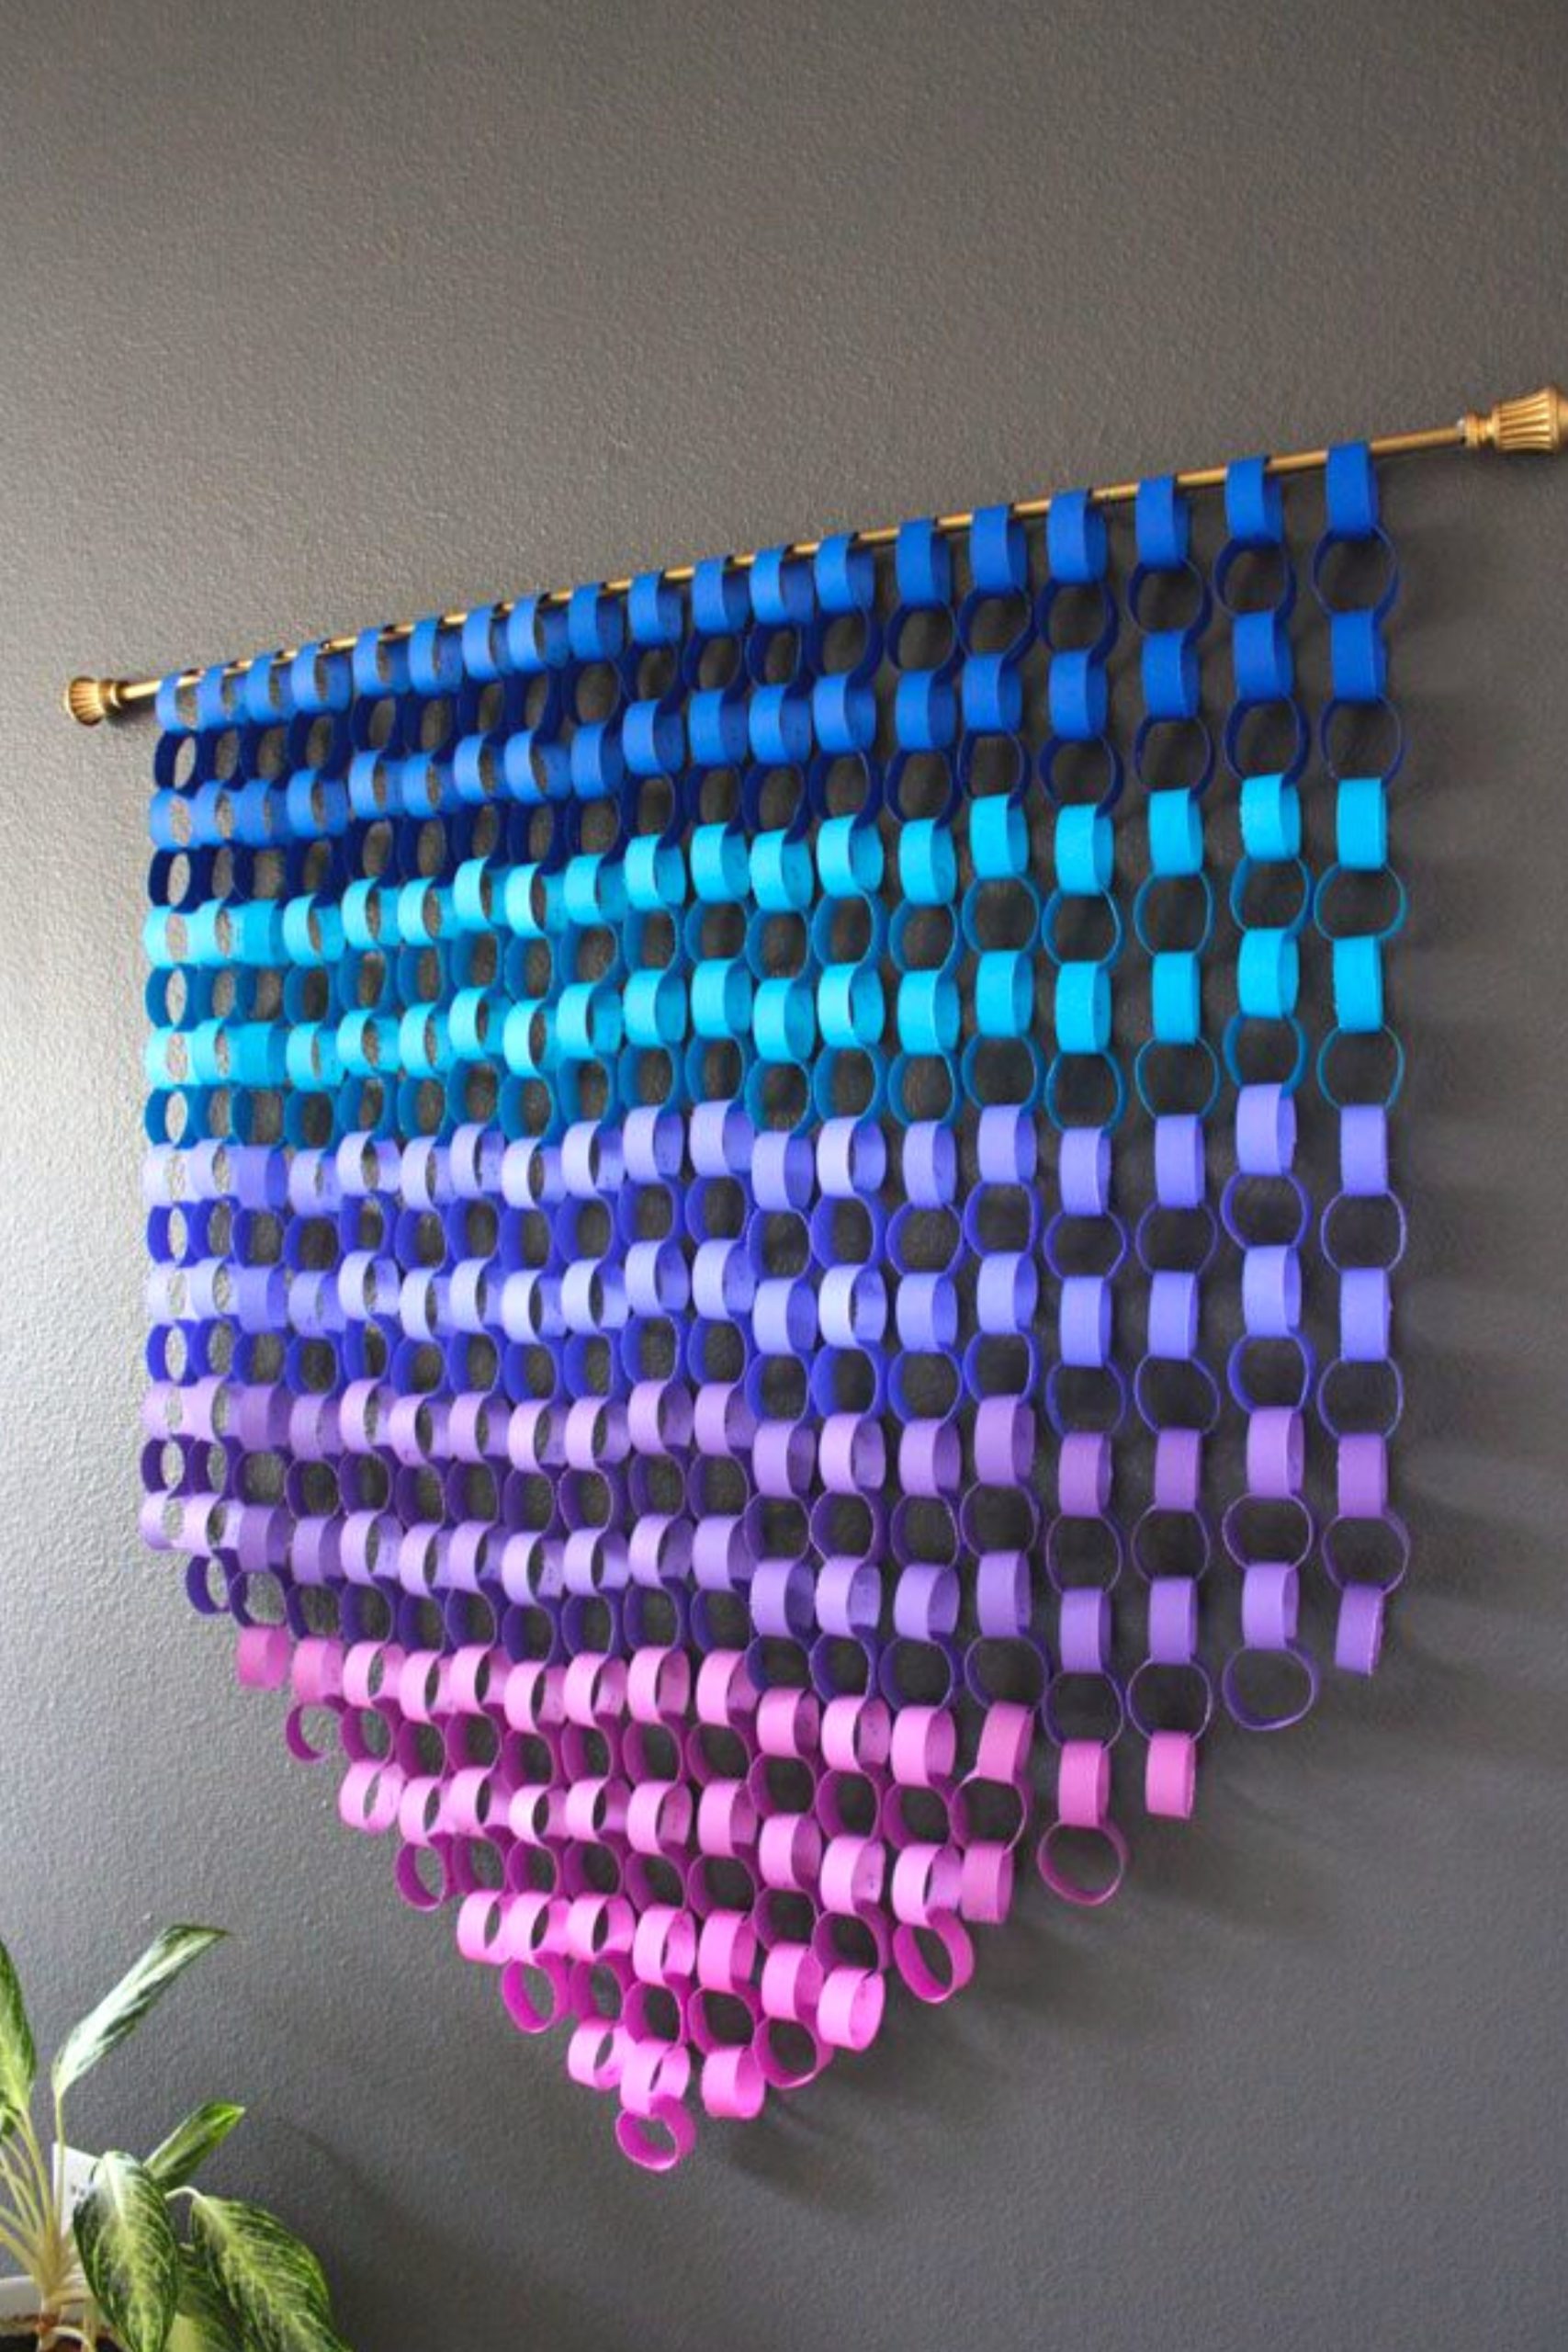
This one is so cute and so simple and yet makes such a dramatic statement! It’s one of those pieces that you can actually change up the colors for the different seasons that you’re celebrating or leave it up year-round the way it is!
All you need is some colorful construction paper, a few pairs of scissors, and some Elmer’s glue or a stapler. To hang the construction paper on, you can use a pretty decorative curtain rod, a large branch (stripped of smaller branches) or other rod like
If you have ever made paper chains this is the basic idea while graduating the colors as you go.
You can use graduated colors as you see in the picture above. But you could also make it festive for Hanukkah or Christmas by using bread green and gold or blue and silver. You can also alter the colors for different holidays such as Easter, Valentine’s Day, or even Earth Day if you like!
The cool thing is that this is simple and inexpensive and you can change it up every month if you wanted to. It would only cost you the package of construction paper. You could also pick up scrapbook paper which tends to be more heavy-duty and doesn’t bleach in the sun as quickly as construction paper does. If you’re planning to hang it for long periods of time then better quality paper is recommended.
As you can see there are so many creative projects you can do as gifts or decor. I hope you enjoy this blog and get some inspiration for your projects this season!
