SOOOO many people have reached out to me to ask about how to do a “dirty pour” “what are the ingredients?” “How do you get all those cool bubble looking things?” “I want to do this but it looks soooo hard”. Let’s back up a second and explain what a dirty pour also called “flip cup” is…
Dirty Pour is an acrylic art technique that allows one to pour multiple colors into a cup and then pour the cup over a canvas and then tilt and swirl the canvas around until the art takes shape. It’s a very fun cathartic and exciting artwork art form that I have thoroughly enjoyed learning, creating and teaching other people.
I’m not really sure when flip cup art originated but I can say that it has consumed YouTube videos, Pinterest pages and Facebook groups all around the world. I’m in multiple groups online and I meet and interact with people across the country across the world and all four corners of the world at all days and time of night. I have been inspired by what I’ve seen from others and I cannot tell you how much fun it has been.
Let’s talk about the basics. . .
Dirty pour basics . . . To begin with you need a clean flat work surface. Typically I like to put down a tarp or plastic tablecloth to cover my workspace. When I got really invested in doing this work however I bought myself a washing machine drip pan from Home Depot, that is approximately 4 feet by 4 feet wide with a good two or three inch depth to it.
It’s perfect for using on your kitchen table. It fits nicely in the back of my truck if I’m taking it to someone else’s house to do a flip cup party at their location and it contains all the paint drippings in one place so I don’t make a mess. And if you know me you know how much of a mess I like to make. Case in point; my “paint clothes”!
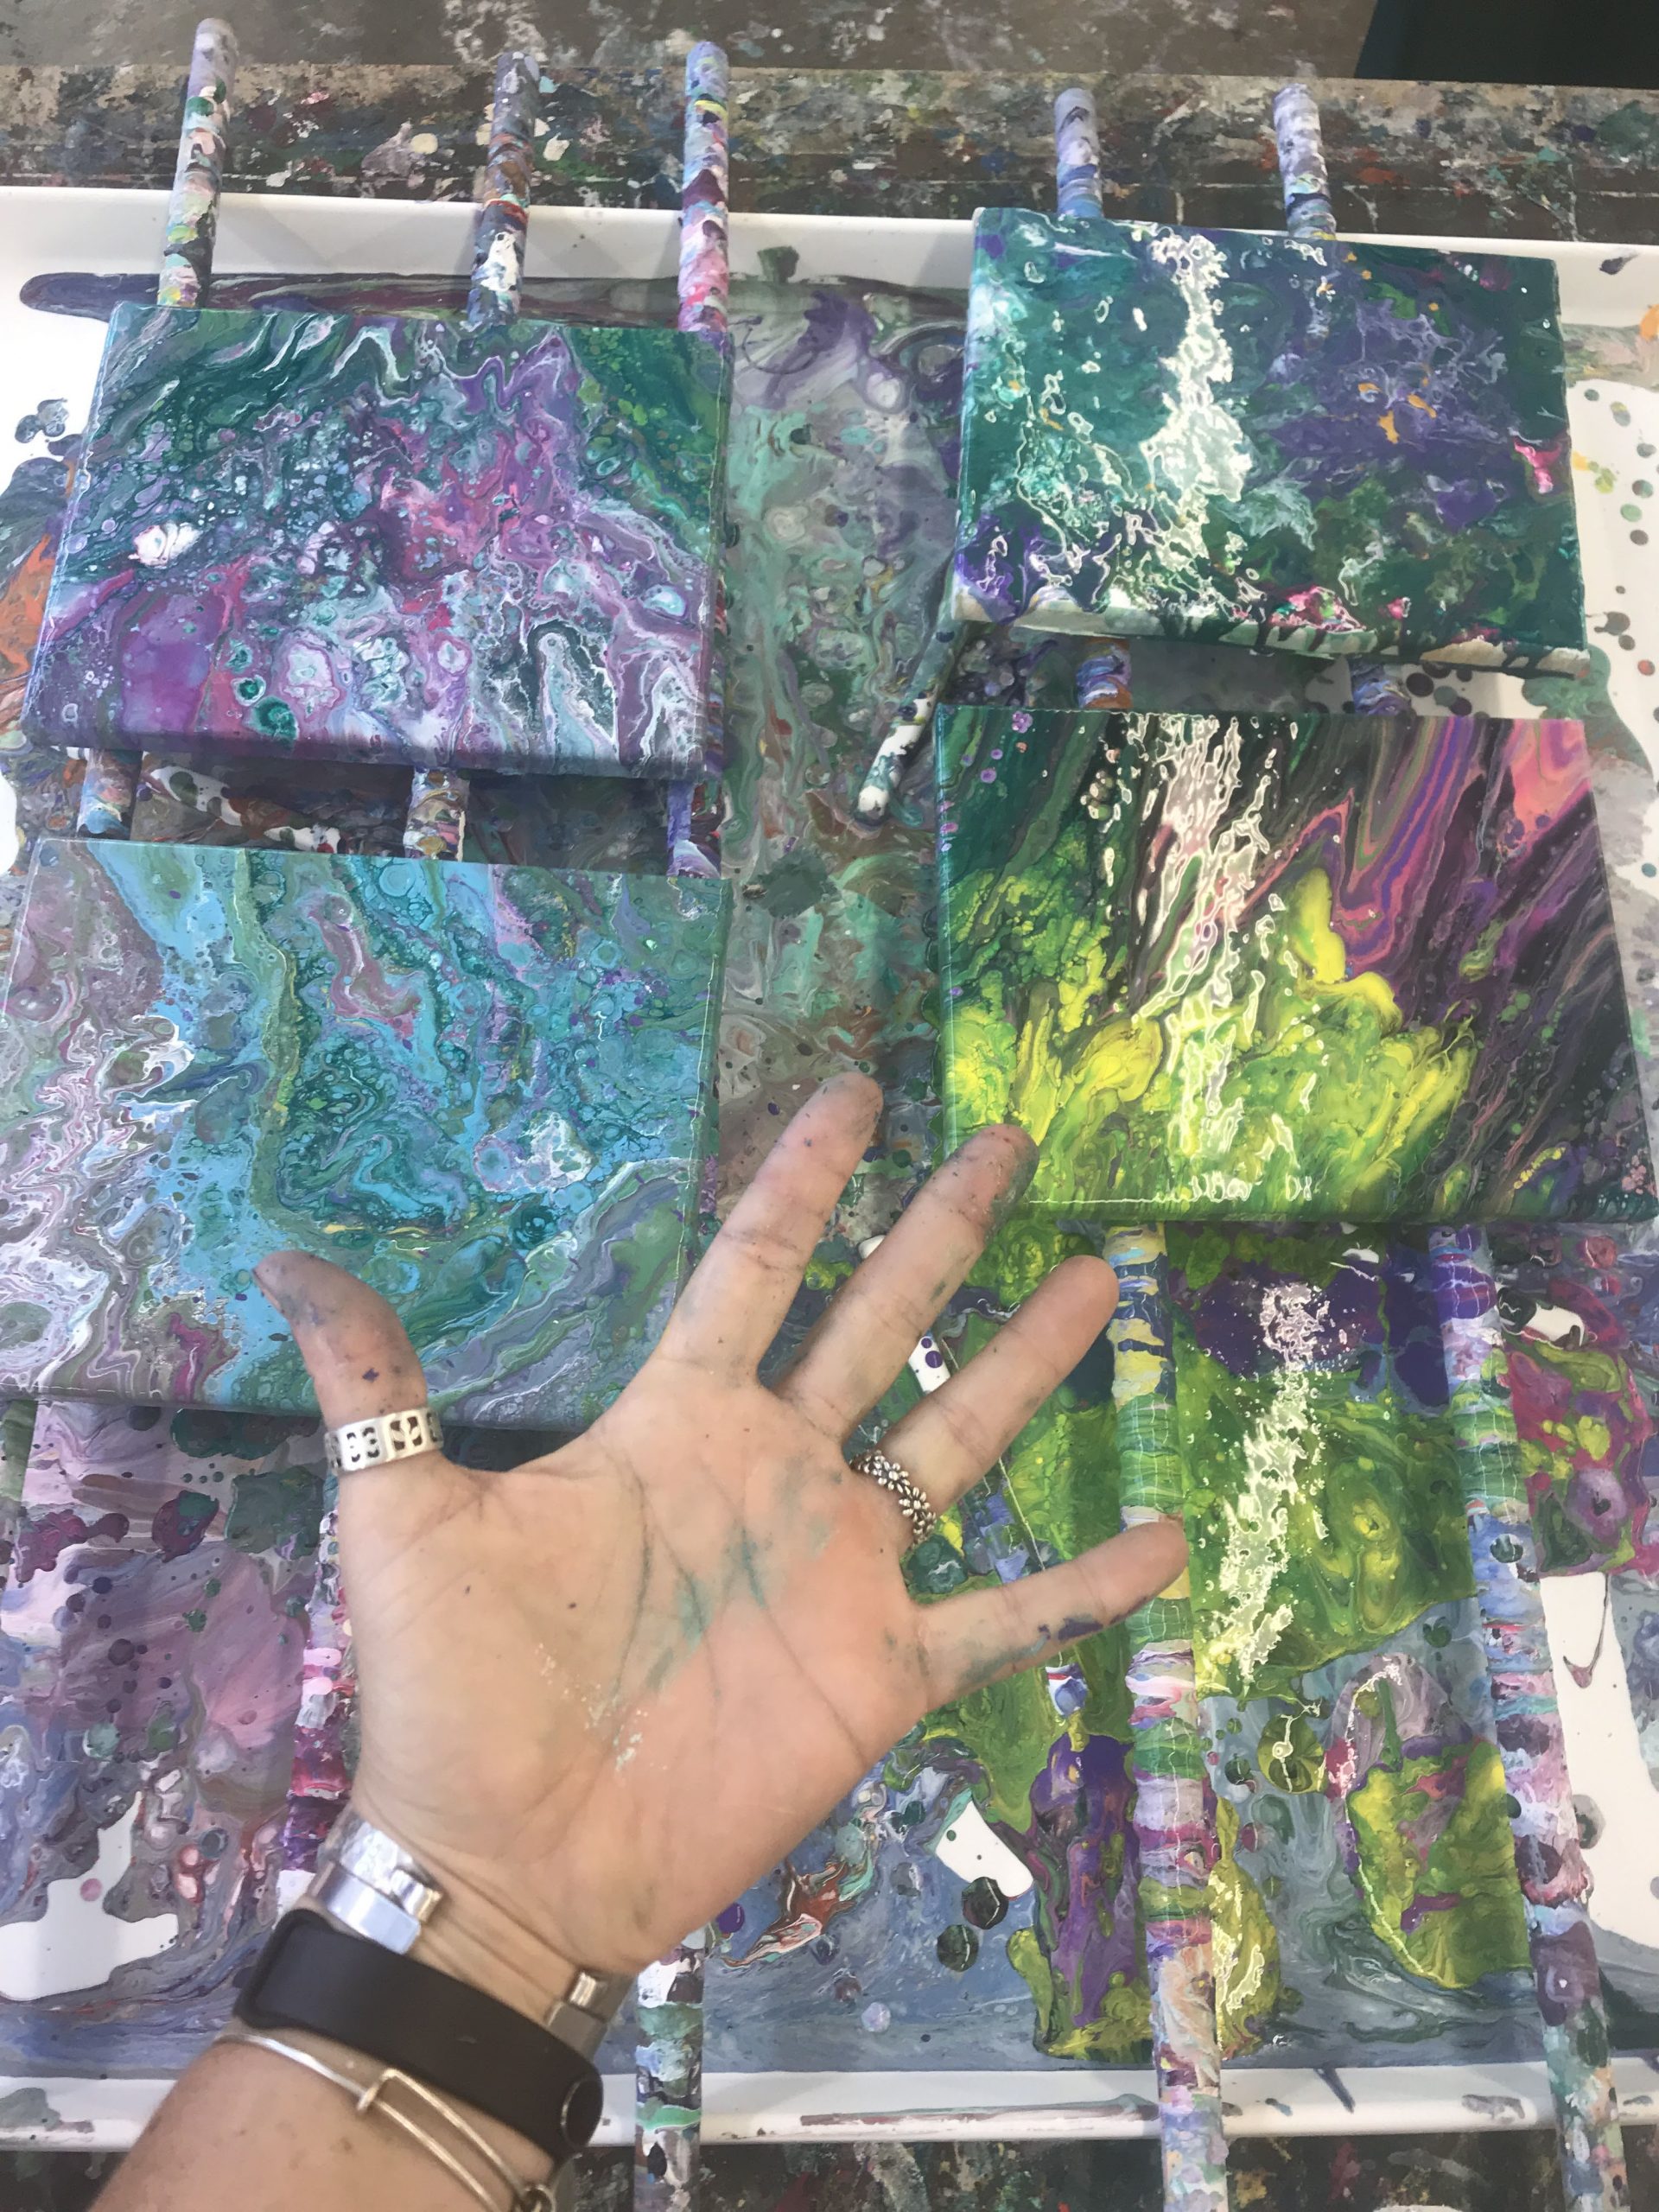
In the picture you’ll se my washing machine drip pan and some wooden dowels are perfect for catching the “mess”!
Once you get the clean space set up, you need the usual supplies; canvas of any size, shape or Texture. Acrylic paints. I tend to buy whatever is on sale just because it doesn’t really seem to matter if you buy the good stuff or the cheap stuff so hit up the dollar store and go to town.
You need water to mix with the paint to make a consistency that is similar to runny yogurt but not as liquid as water. I use red Solo cups for my dirty pour main cup and I like to use those two ounce bathroom cups for the individual colors.


Dirty Pour requires specific tools. . .
You also will want some skewers to unclog your paint dispensers if you’re using those as well as popsicle sticks / craft sticks to mix all your individual colors. Two unique supplies that you need is a bottle of what’s called “floetrol”. I bought mine at Home Depot. It seems to be the cheapest place to get it. If you buy it on Amazon they’re going to triple their cost because they know that you’re about to do some dirty pouring and you’re obviously too new to know you can get it cheaper elsewhere.
The second thing that is specific is something called 3 and 1 liquid silicone. You don’t have to use that specifically but some kind of a silicone oil like WD-40 or coconut oil or other types of lube will work as well. I also found the three-in-one liquid silicone at Home Depot (it seems to be less expensive there too).
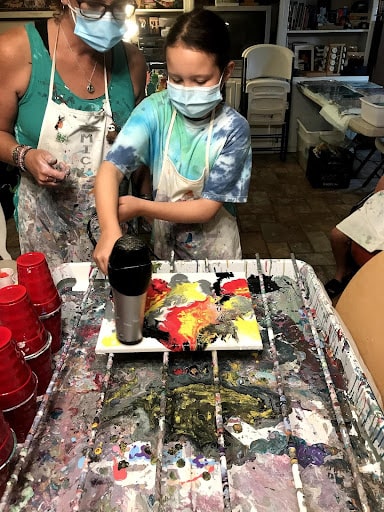
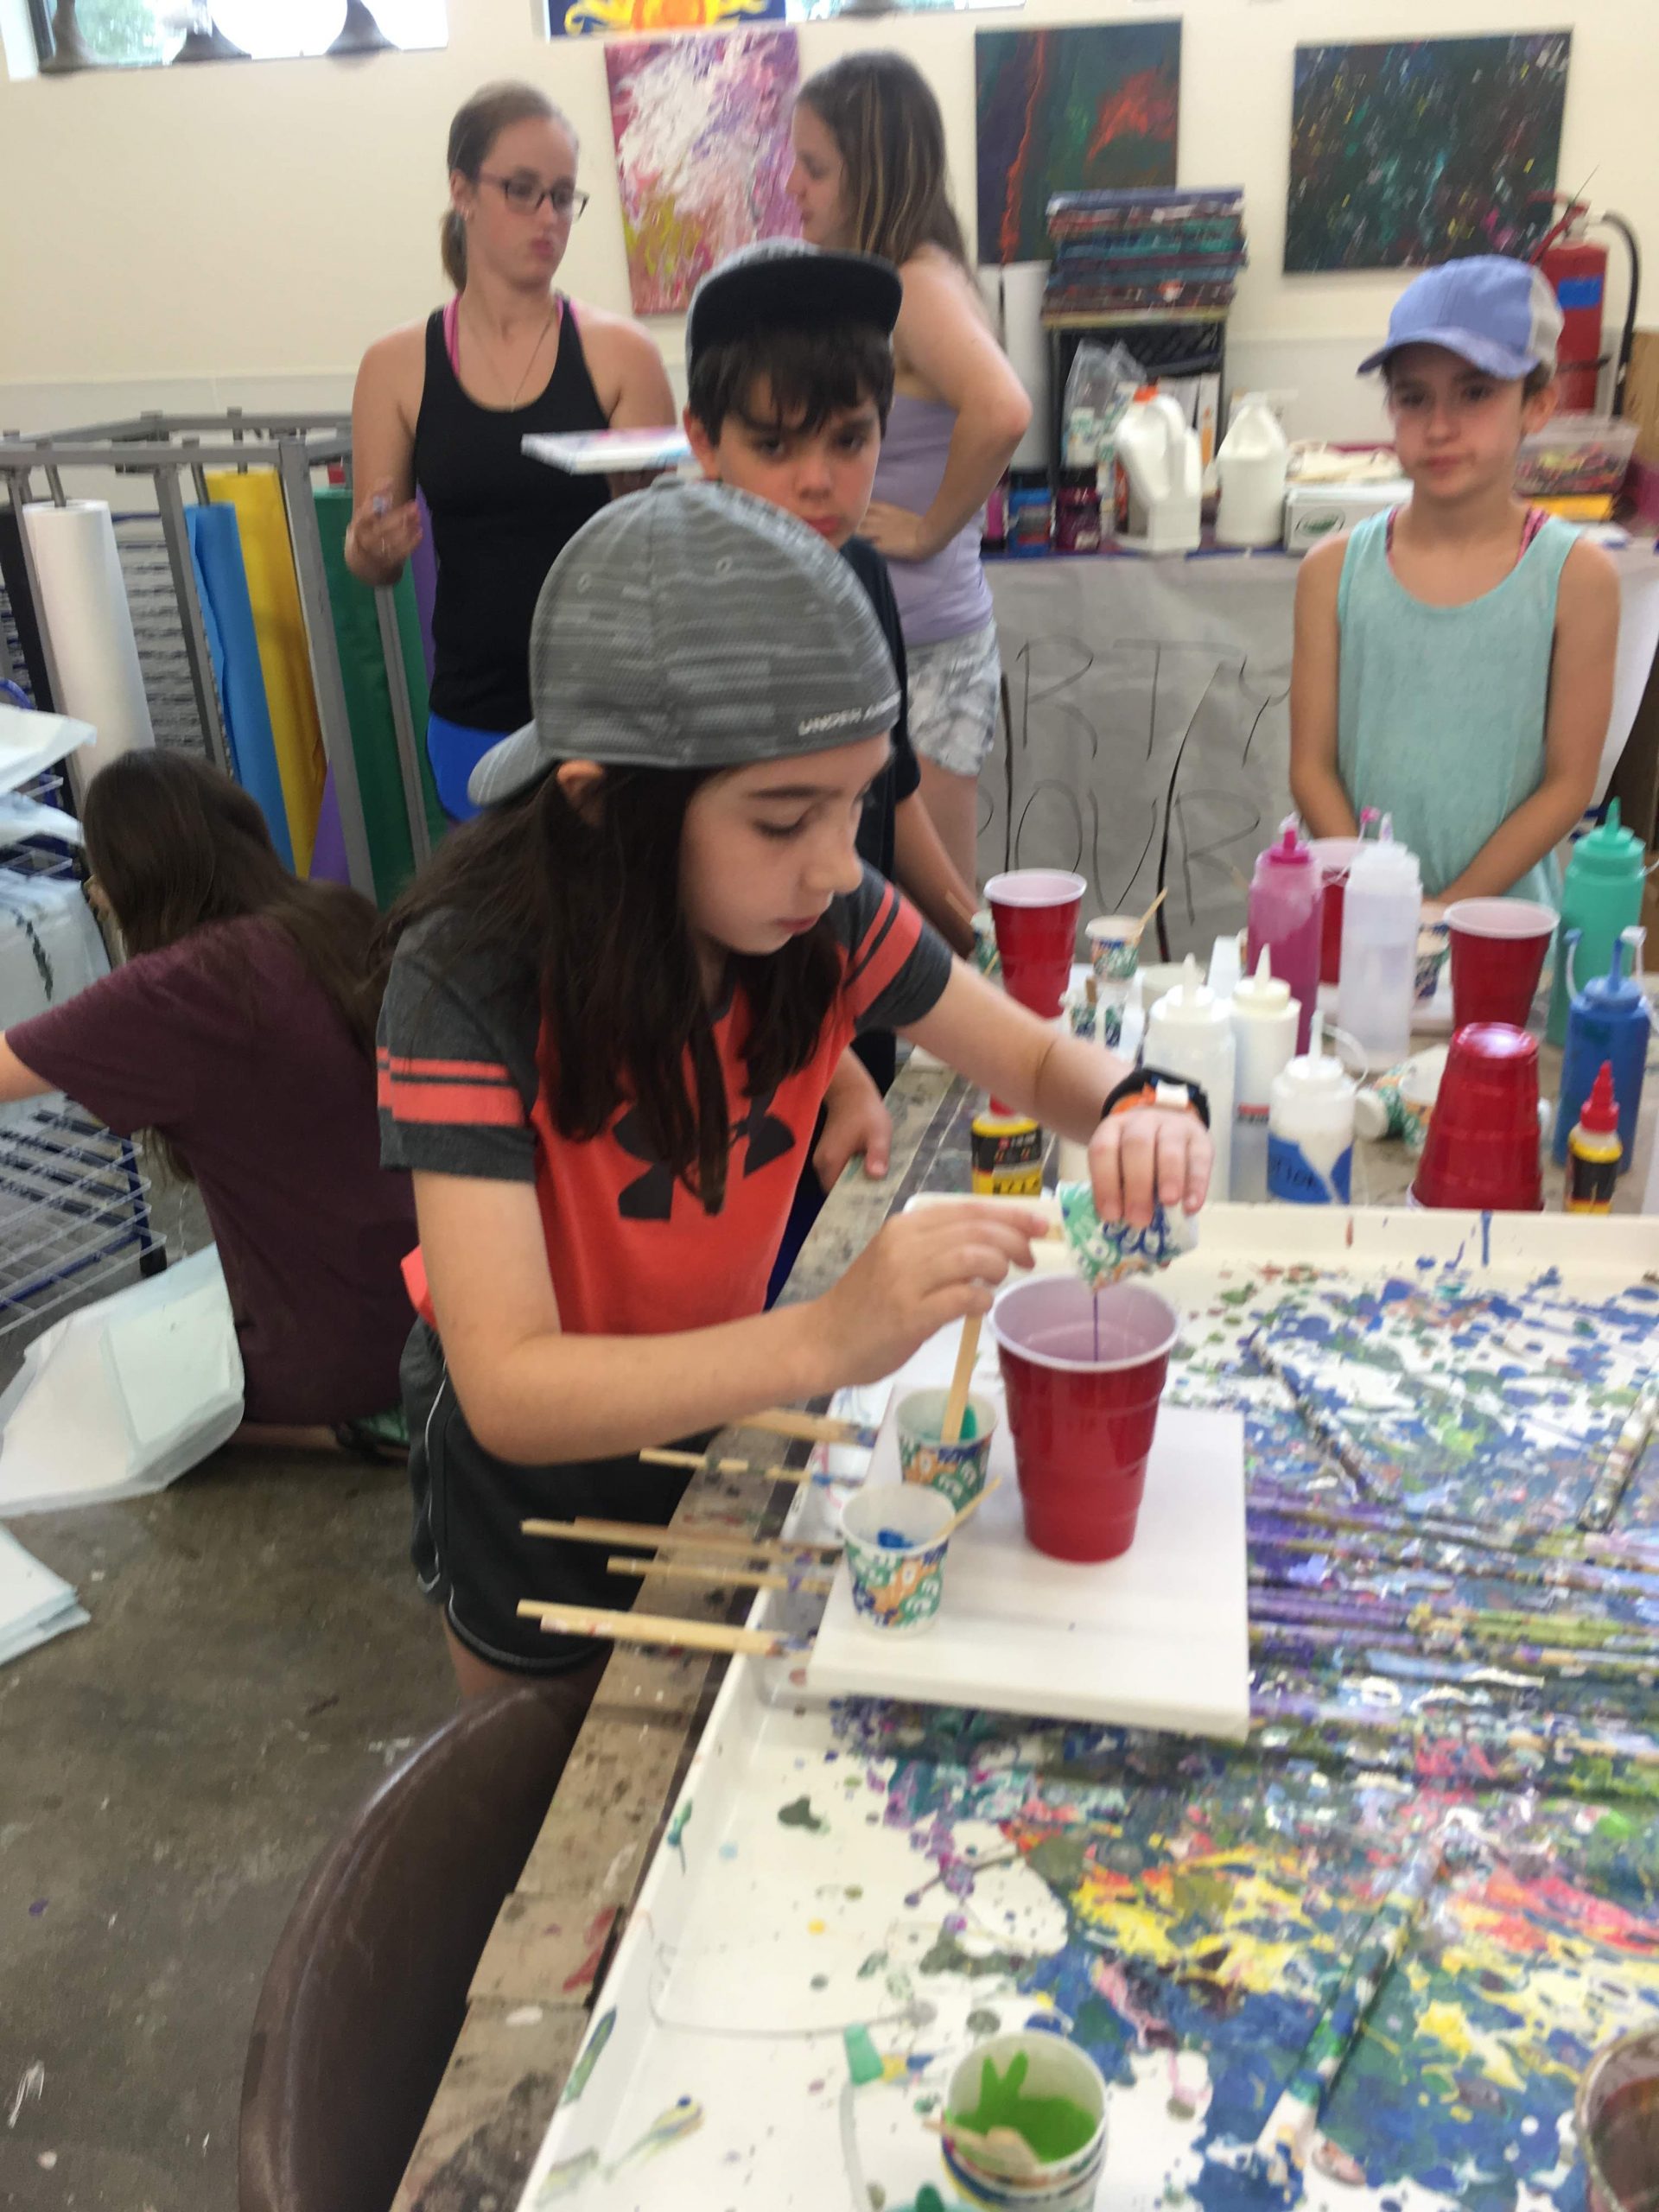
To start the color part of the dirty pour, I basically start out by selecting the colors that I want to use and pouring one color in each of the small bathroom cups filling it about a third of the way.
I then take a popsicle stick and stir the paint to see what the consistency is and to determine if I need to add water.
You want the paint to drip off the popsicle stick as you lift it out of the cup. Once all of my paint colors are ready you are all set to add all the colors into your red solo cup. I fill a red Solo cup with watered down white acrylic paint. Depending on the size of the canvas will depend on the amount of white paint that you need to pour.
If I’m using an 8 by 10 canvas I fill the red Solo cup with approximately 1/4 full of white acrylic paint. I also add floetrol and water to the white acrylic paint so that it has the same consistency as the small cups of colored paint. Just prior to pouring the colors into my Red Solo Cup I add three to four drops of the 3 in 1 liquid silicone to each of the small colored bathroom cups. Stir one or two times so that the silicone merges with the paint DO NOT over stir the silicone.
Directions, Tips as well as Do’s and Don’ts!
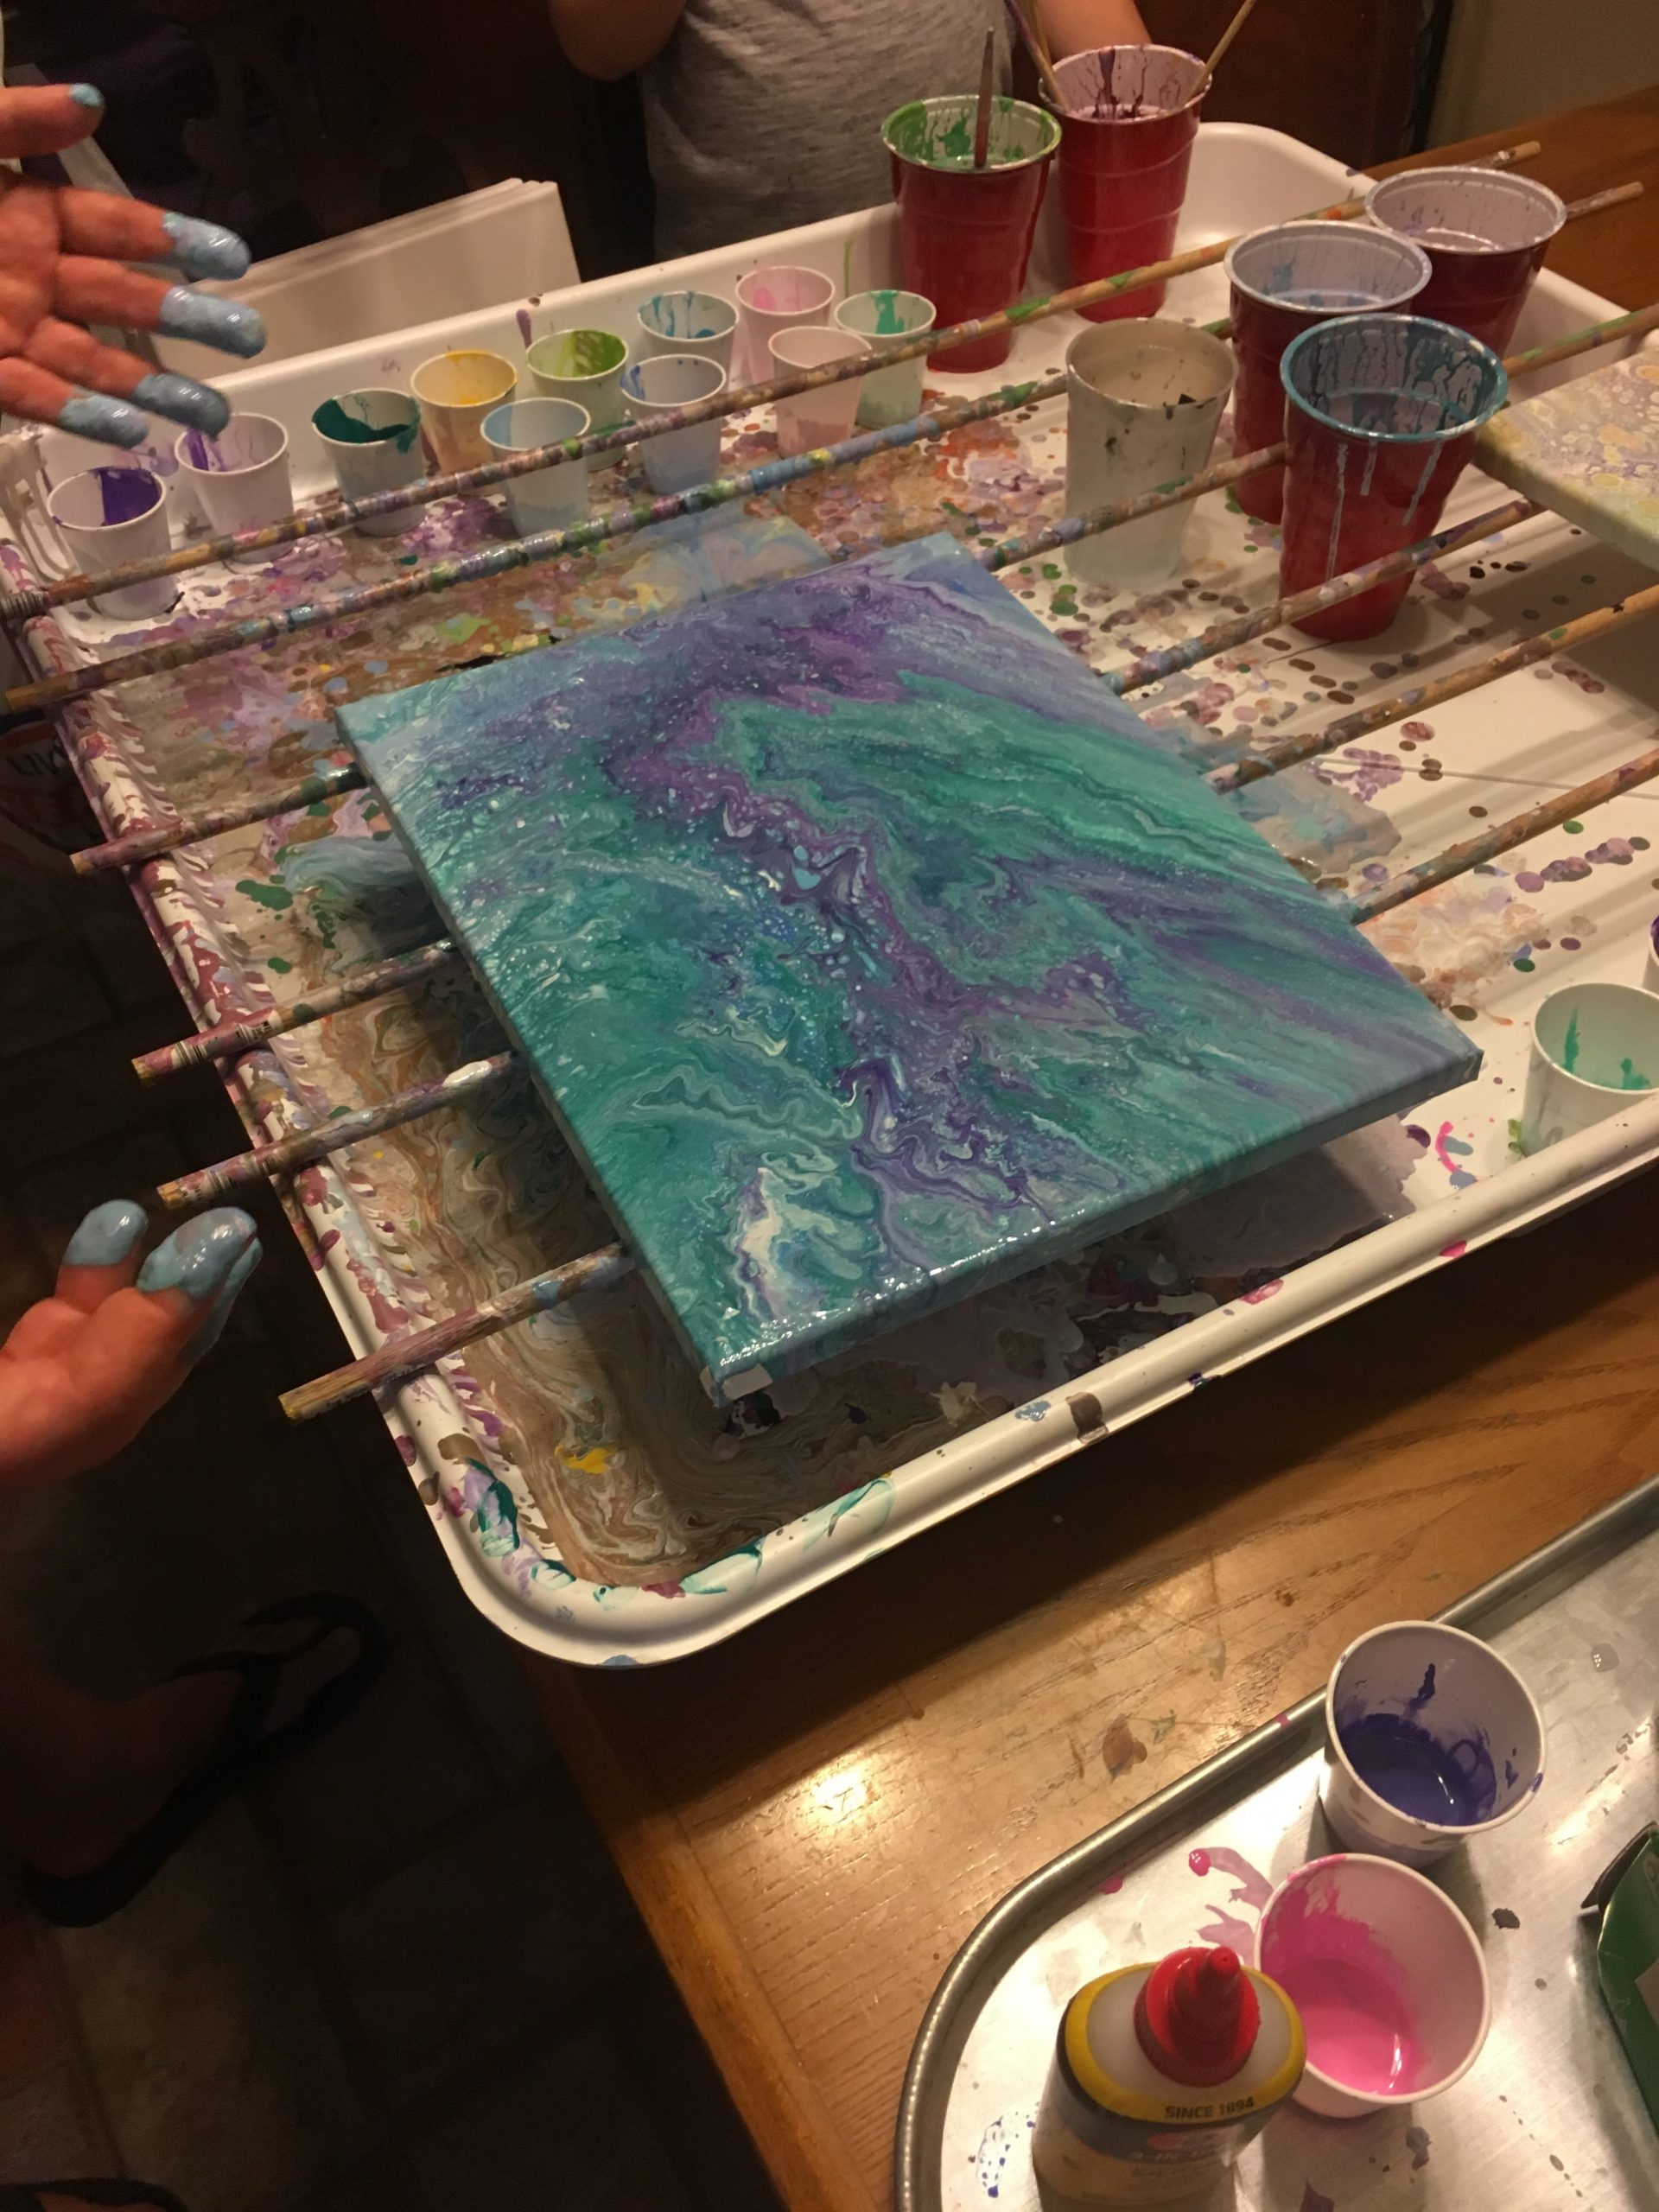
I usually will place four or five wooden dowels across the washing machine drip pan and lay my canvas on top of the wooden dowels. This way the paint that drips off the side of the canvas lands in the drip pan but my canvas doesn’t lay directly on the wet paint.
I take my Red Solo Cup and place it in the middle of my canvas and then start to add each of my small colored paints one at a time. DO NOT mix the paints when you pour them into the Red Solo Cup.
The idea is for each paint to layer on top of the one that went before it. Once you have all your colors inside your Red solo cup you are ready to create your dirty pour.
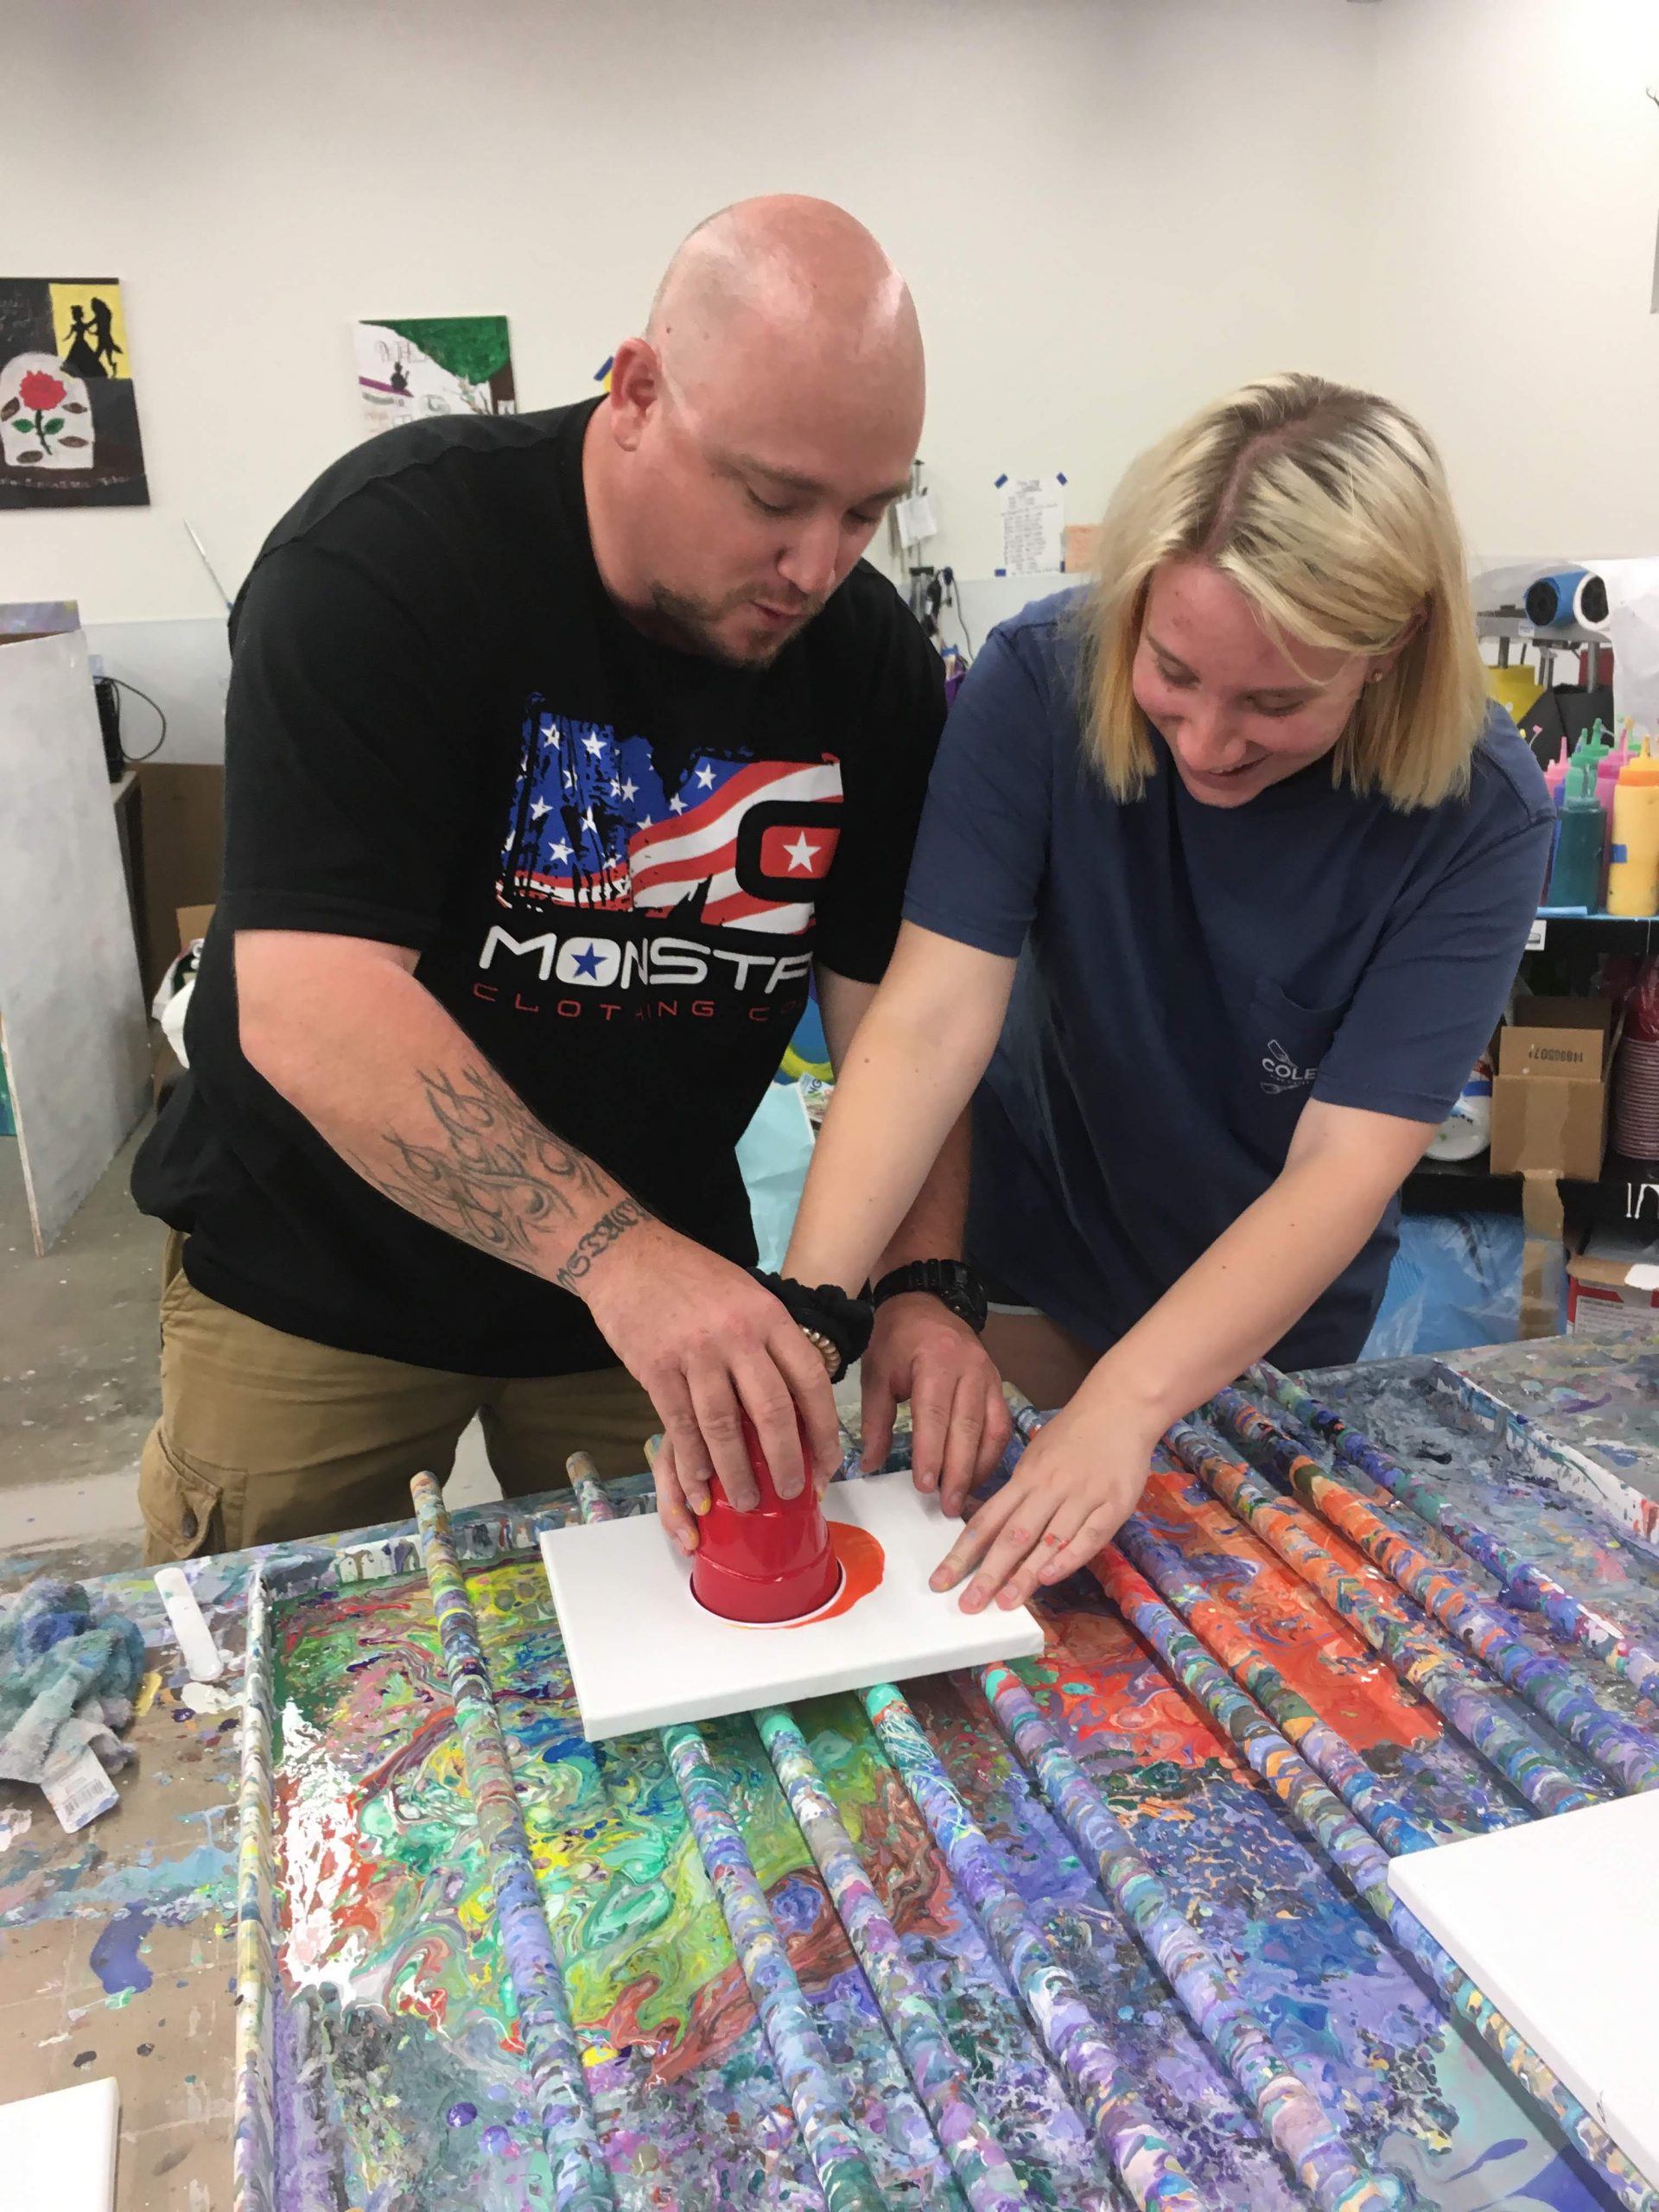
I typically lay the canvas upside down on top of the Red Solo Cup and while holding the two of them together flip both the canvas and the cup upside down. I will lay the canvas back onto the wooden dowels while holding the Red Solo Cup in place so that the paint does not slip out from inside the cup. You’ll want to give a few taps to the top of the cup to encourage any oxygen that might be lingering underneath the paints up to the top.
Then you’re ready to lift the cup off the canvas. There is some suction involved when you first remove the cup from the canvas so don’t be scared if it’s a little difficult to pull apart or if the paint comes out relatively quickly at first. That’s why you’re using the machine washing machine drip pan so it doesn’t get all over everything. (I speak from personal experience).
Once you have removed the Red Solo Cup go ahead and put it aside and pick up your canvas and while holding it over the washing machine drip pan tilt your canvas to all four corners until the paint has covered all the sides of your canvas. You can continue tilting and swirling until you get the paints into a place that you like or an image that you’re happy with.
Once you’ve laid your canvas down on the wooden dowels, check the edges of your canvas to make sure that it’s all been properly coated with paint if that’s what you wanted it to look like and if at all possible leave it there to dry. If you are making multiple canvases and you need to reuse your washing machine drip pan, I like to use Dollar Store disposable cookie sheets. Just transfer the canvas onto one of those and put it on a table somewhere else to dry.
One fun thing you can do now that you’re done with the paint pouring part is to grab a blowtorch (everyone has one in their home right?- No? Just me? No one else wants creme brulee at 3am and keeps a torch in their kitchen? NO? Fine. just me then) and at a distance of approximately two to three inches from your canvas quickly and consistently run it across the top of the painting.
The liquid silicone that has merged with the paint will pop like tiny little bubbles and create these really cool patterns that I like to call brain cells or tiny bubbles or galaxy type images. If you don’t want the tiny little bubbles sometimes I will pour more silicone over the top of the canvas which oftentimes will create larger cells as we call them or brain cells if you’re me and like to be weird. (Don’t squeeze the silicone out, let it fall from the bottle naturally)
Your canvases will take several days to dry, sometimes one day, sometimes three depending on the thickness of the paint. Try not to sit your canvas in front of an air conditioning unit, in front of an air conditioning vent or a fan of any kind. Paint dries on top first and the faster the paint dries on top it tends to cause cracking in the paint and I don’t know about you but I don’t personally like cracks in my paintings. I have seen people fill the cracks with silver or gold paint and it looks super cool!
Dirty Pour is only one technique of acrylic art pouring that is blowing up the internet these days. I have attached some pictures for you to see the different points and styles that I’m talking about and I will also include some videos as well for you to watch.
Every time you do a flip cup art piece it will be completely different. You could use the same six colors six times on six canvases and every time it would come out completely different. It’s pretty fun to do for birthday parties or other gatherings because it never gets old and you never go home with the same piece twice so it makes it nice for people who enjoy art and want to continue to do it but don’t want to get bored with it either. Bored is something I simply cannot tolerate. lol
Dirty Pour Supplies are Simple – Don’t Overpay for Them!
Like I mentioned before, don’t buy your stuff on Amazon or a specialty craft store they tend to upcharge because they know that you’re about to do a dirty pour. I also don’t suggest buying the pre-poured mediums that they sell at the craft stores. It can be more expensive.
However if you’re starting out and you just want to figure out if you’re good at it or you like it; it’s worth it to buy the pre poured kits just as an experiment to see if you are intrigued enough to continue doing it and then after that go out and buy the supplies that you need in bulk. It’ll be much cheaper and you’ll be much happier. Michaels sells their canvases online in bulk and if you match that with a 40% off coupon and you’re in good shape.
I hope you enjoyed this week’s blog. It is probably one of my most favorite art styles that I like to work with and I’m very happy to consult with you, answer questions, give you feedback and host a class or two; just give me a holler.