What do Wicked on Broadway, hot subways and Time Square have to do with tie dye? For me, they all scream summer! Here’s why . . . I just had an amazing weekend in NYC, as I cling nostalgically to the memories of such a great trip. Holding strong to the experiences I had in the theater district, WICKED was amazing as always.
Stifling hot air in the subways makes you realize you’re gonna need more than one shower that day. The screaming vagrants on the streets, nights in Times Square as bright as the daytime. It’s all the summer vibes at once. And it reminds me that I am not just clinging to the memories of this trip.
I am grasping HARD to the last days of summer. School is right around the corner. The summers for us teachers and students is a time to regroup but our vacations are not long enough and we always seem to have one hemisphere of our brain focused on school, lesson plans, SEL, classroom set up and what the next chaotic pandemic chapter will be like. I find my list of things I wanted to do this summer very much ignored and I start to scramble towards the end to stuff as much into the last week or two as I can.
With the tail of summer coming close, I think about the warm happy summer activities that I love. Swimming in a cold pool, hammocks, gardening, afternoon rainstorms, mid day naps, arts and craft projects galore and reading a good book with a cold drink.
One of my favorite summer projects is TIE DYE. Well, it’s actually a year round love of mine and I know many of you are vibing with me on this one.
So, let’s talk about Tie Dye shirts. Of course you don’t have to choose a shirt, But whatever you go with, try to get 100% cotton. Tote bags are fun, shirts, pillowcases, headbands etc..
Here’s my shopping list for your tie dye
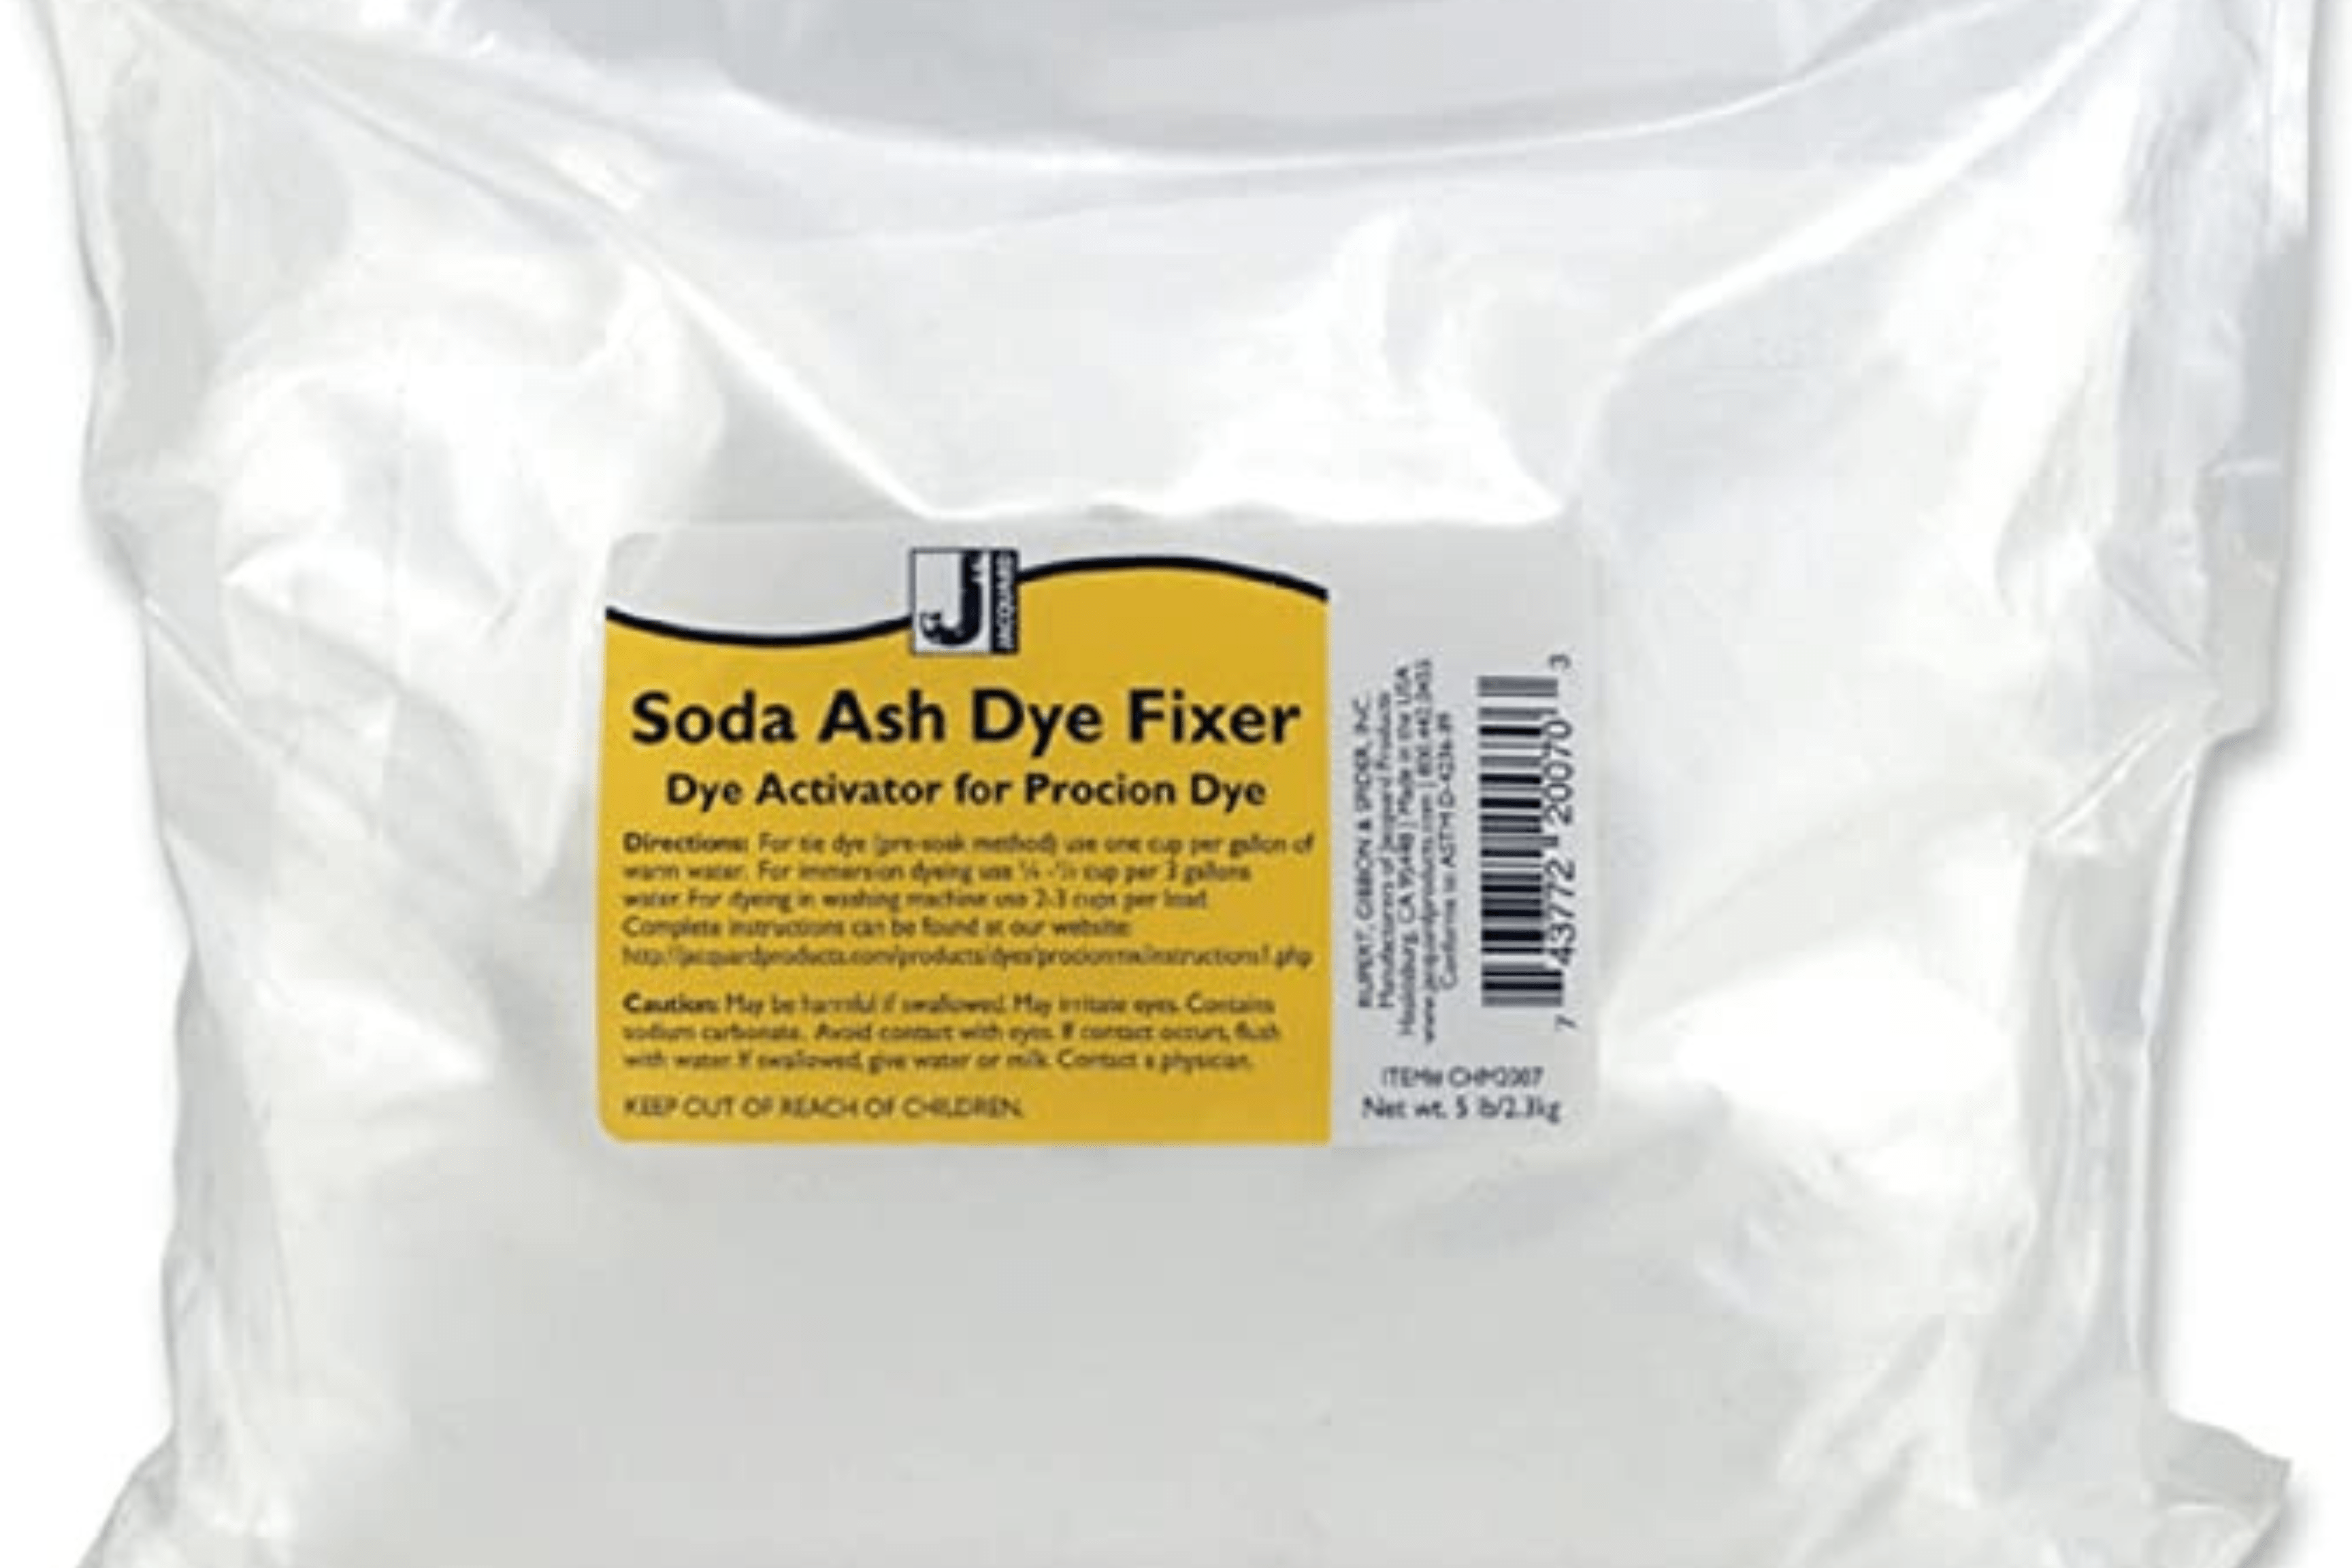
Soda Ash and a large tub. Pour one bag of soda ash into a large tub and start adding water. Fill the tub with water that will cover all your shirts and things. Add them one at a time and press them down so they start to absorb the water mixture. Let that sit for at least 10 minutes.
Table and plastic tablecloth. I use a folding table and a dollar store plastic table cloth that I’ve taped down so it wont move around while I am tying the shirts up. This table is what I use to tie up the shirts. It’s best if the table is clean and free from dirt or old paint or glitter and other things that most of my tables are covered in. Lol
Ketchup squeezy bottle things. I get these babies on Amazon or in the dollar store. I don’t bother with the ones with little lids, they don’t stay on and are hard to keep up with.
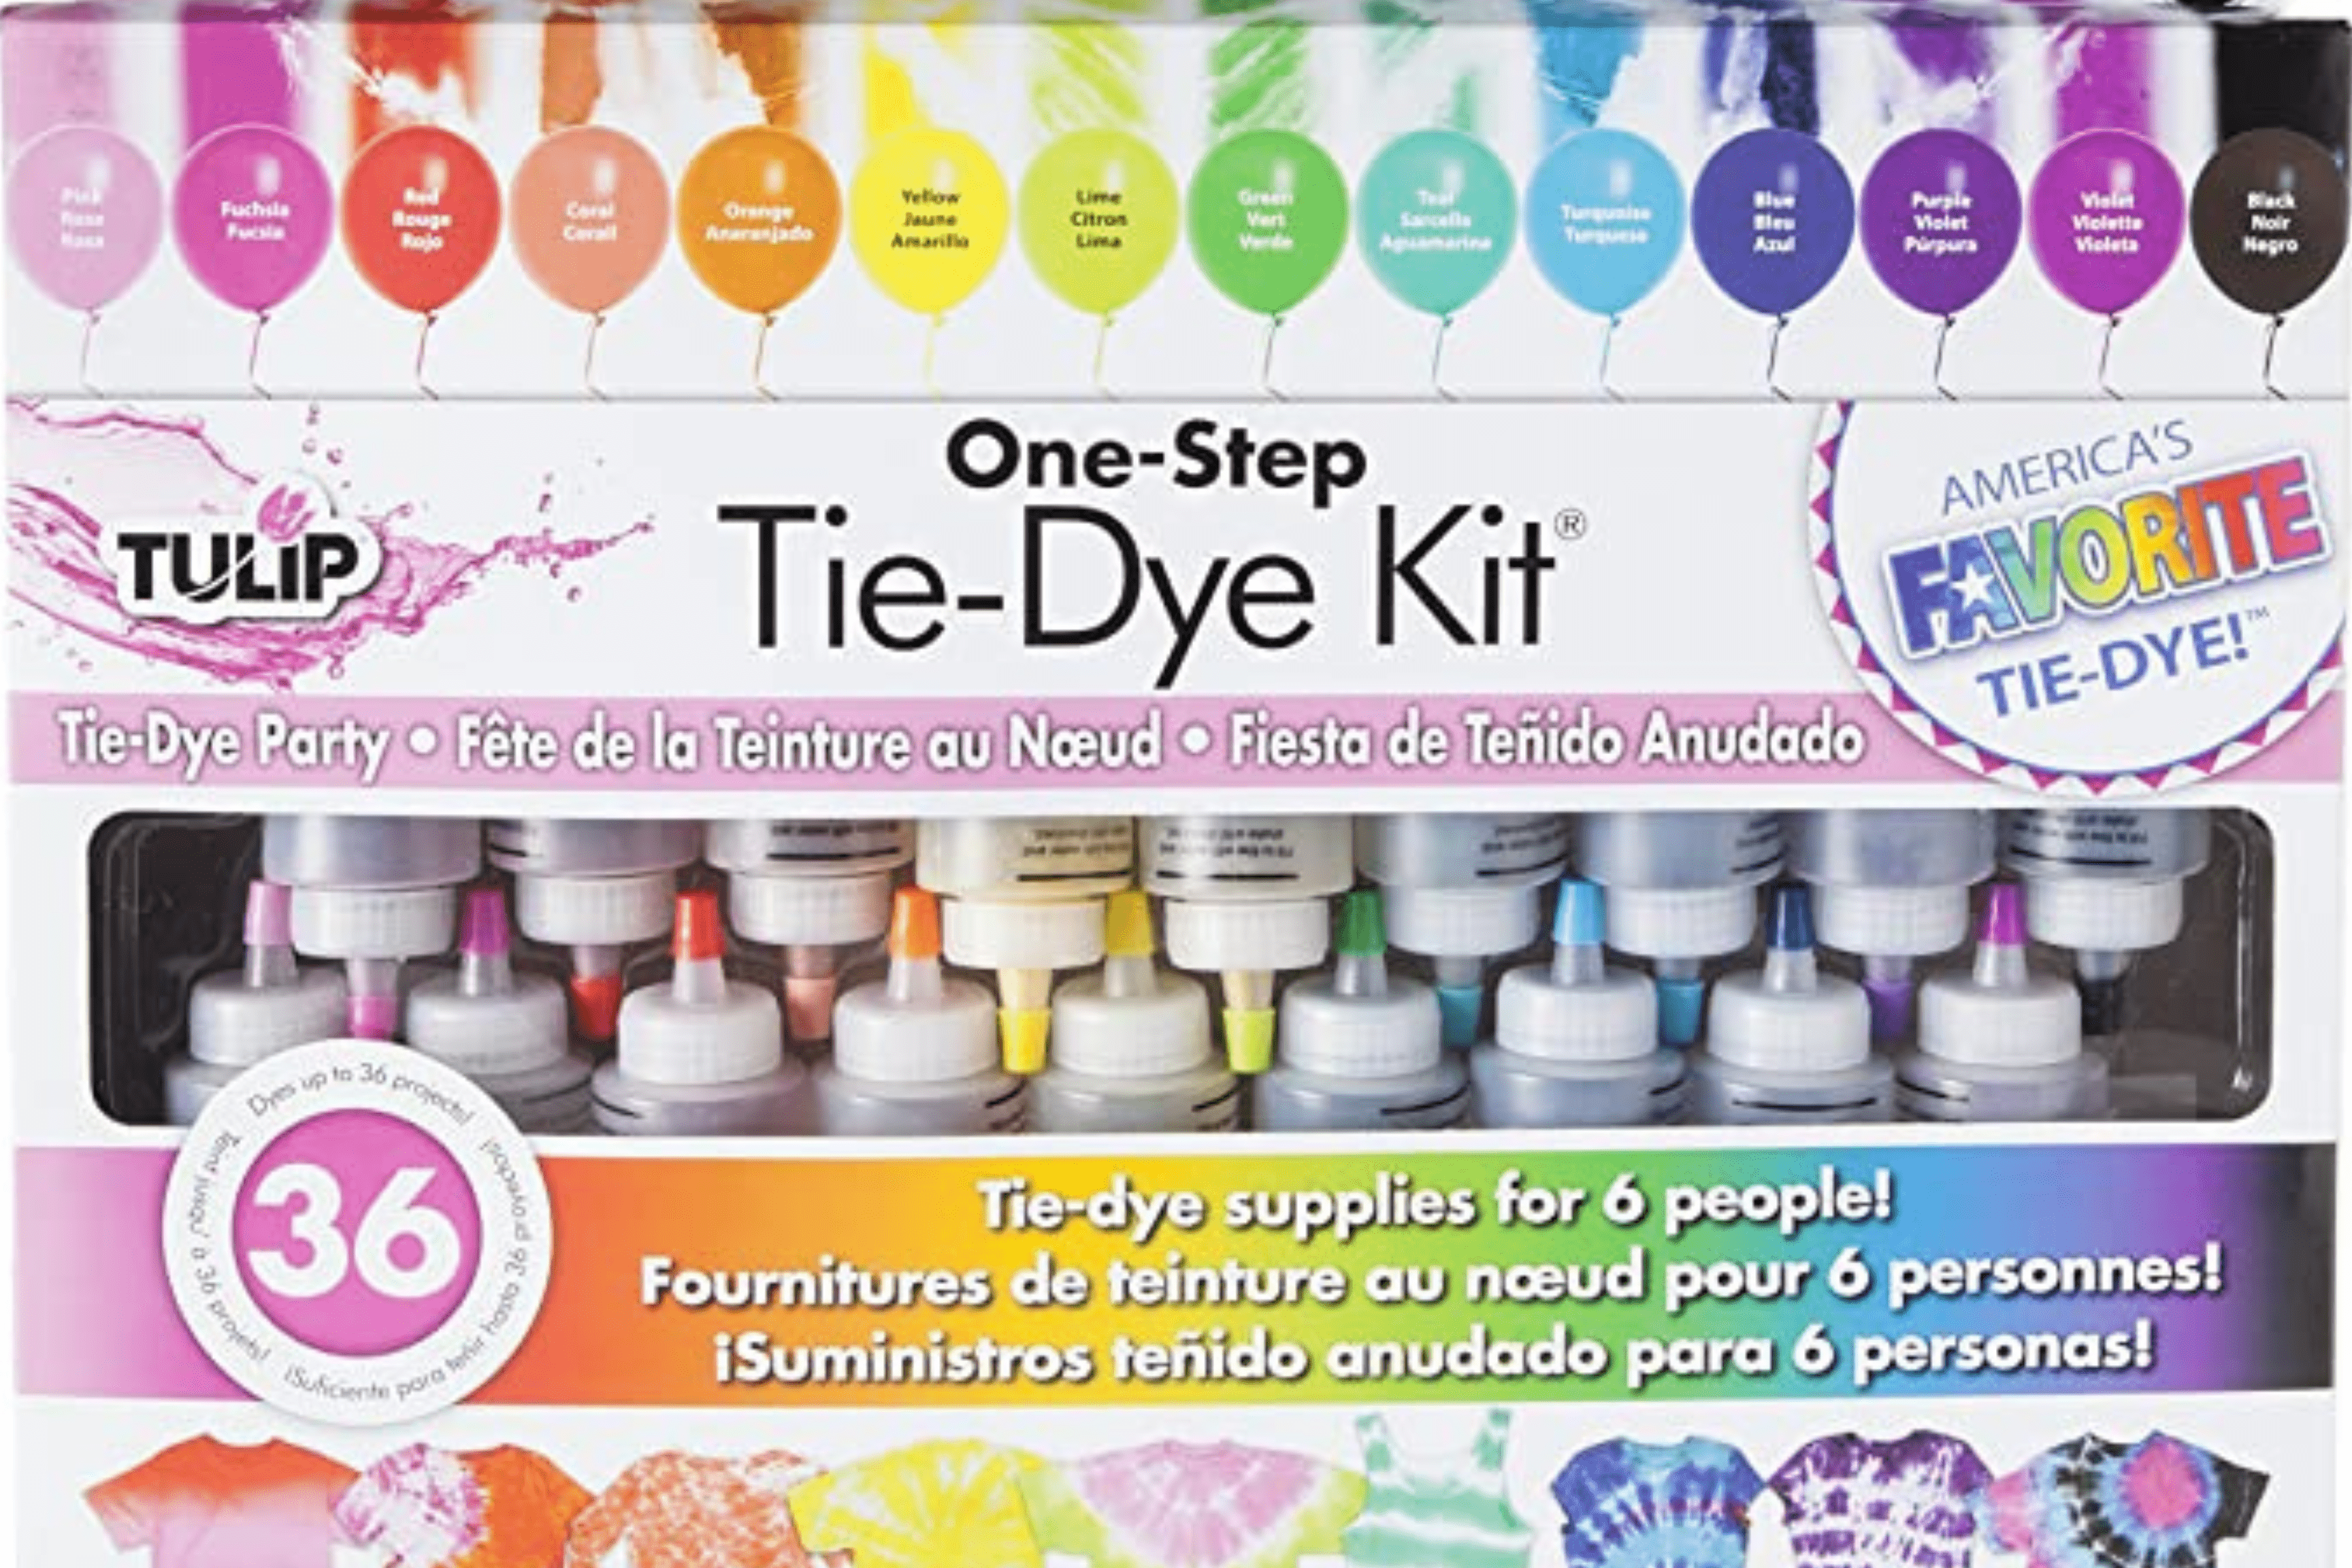
Dye. Buying a starter kit with the ketchup squeezy bottle things that have some of the powder dye already in them is a great way to invest in those bottles and get some dye too. This way you get the bottles and can reuse them if you intend to do this a lot.
I also recommend buying a large tub of the primary colors, red, yellow and blue. From these you can mix a LOT of different colors. I like the procion dye. I got it from a local art supply store, but you can find it online in a lot of places too.
I have also scored big on buying small packs of a variety of different colors to make the selection larger and more desirable. Black and olive green are two of my favorites from this pack.

Pre mix the die the day of and try not to make too much. The dye can sit for a while but if it’s in the bottle for too long sometimes they aren’t as vibrant when you’re done. My friend mixes red, yellow, and blue in old milk jugs when she’s doing a lot of items at once.
Rubber bands. I usually get an assortment pack but a big bag of regular ones is best. You’re gonna need about 4-8 per item. And don’t forget to account for breakage. And the occasional rubber band shooting match. Haha. Speaking from experience if you have kids. Or adults that act like kids. Ha ha
How do you make all those cool patterns you ask?
Let’s check out the fold and techniques you can use to make some pretty cool patterns on your items.
Lay your shirt flat on that clean table with the tablecloth underneath.
For the accordion fold I start on the bottom, side or one of the diagonals of the material. I do an over/ under fold all the way across the shirt.
Then you can either fold it in Half or leave it long and start putting the rubber bands at whatever distance you prefer. I usually do one about every 2” or so.
Wrap the rubber band tightly around the clothes. I usually do 2-3 twists to get a snug seal. The tighter the seal the more likely you’ll get a nice white section between the colors you add.
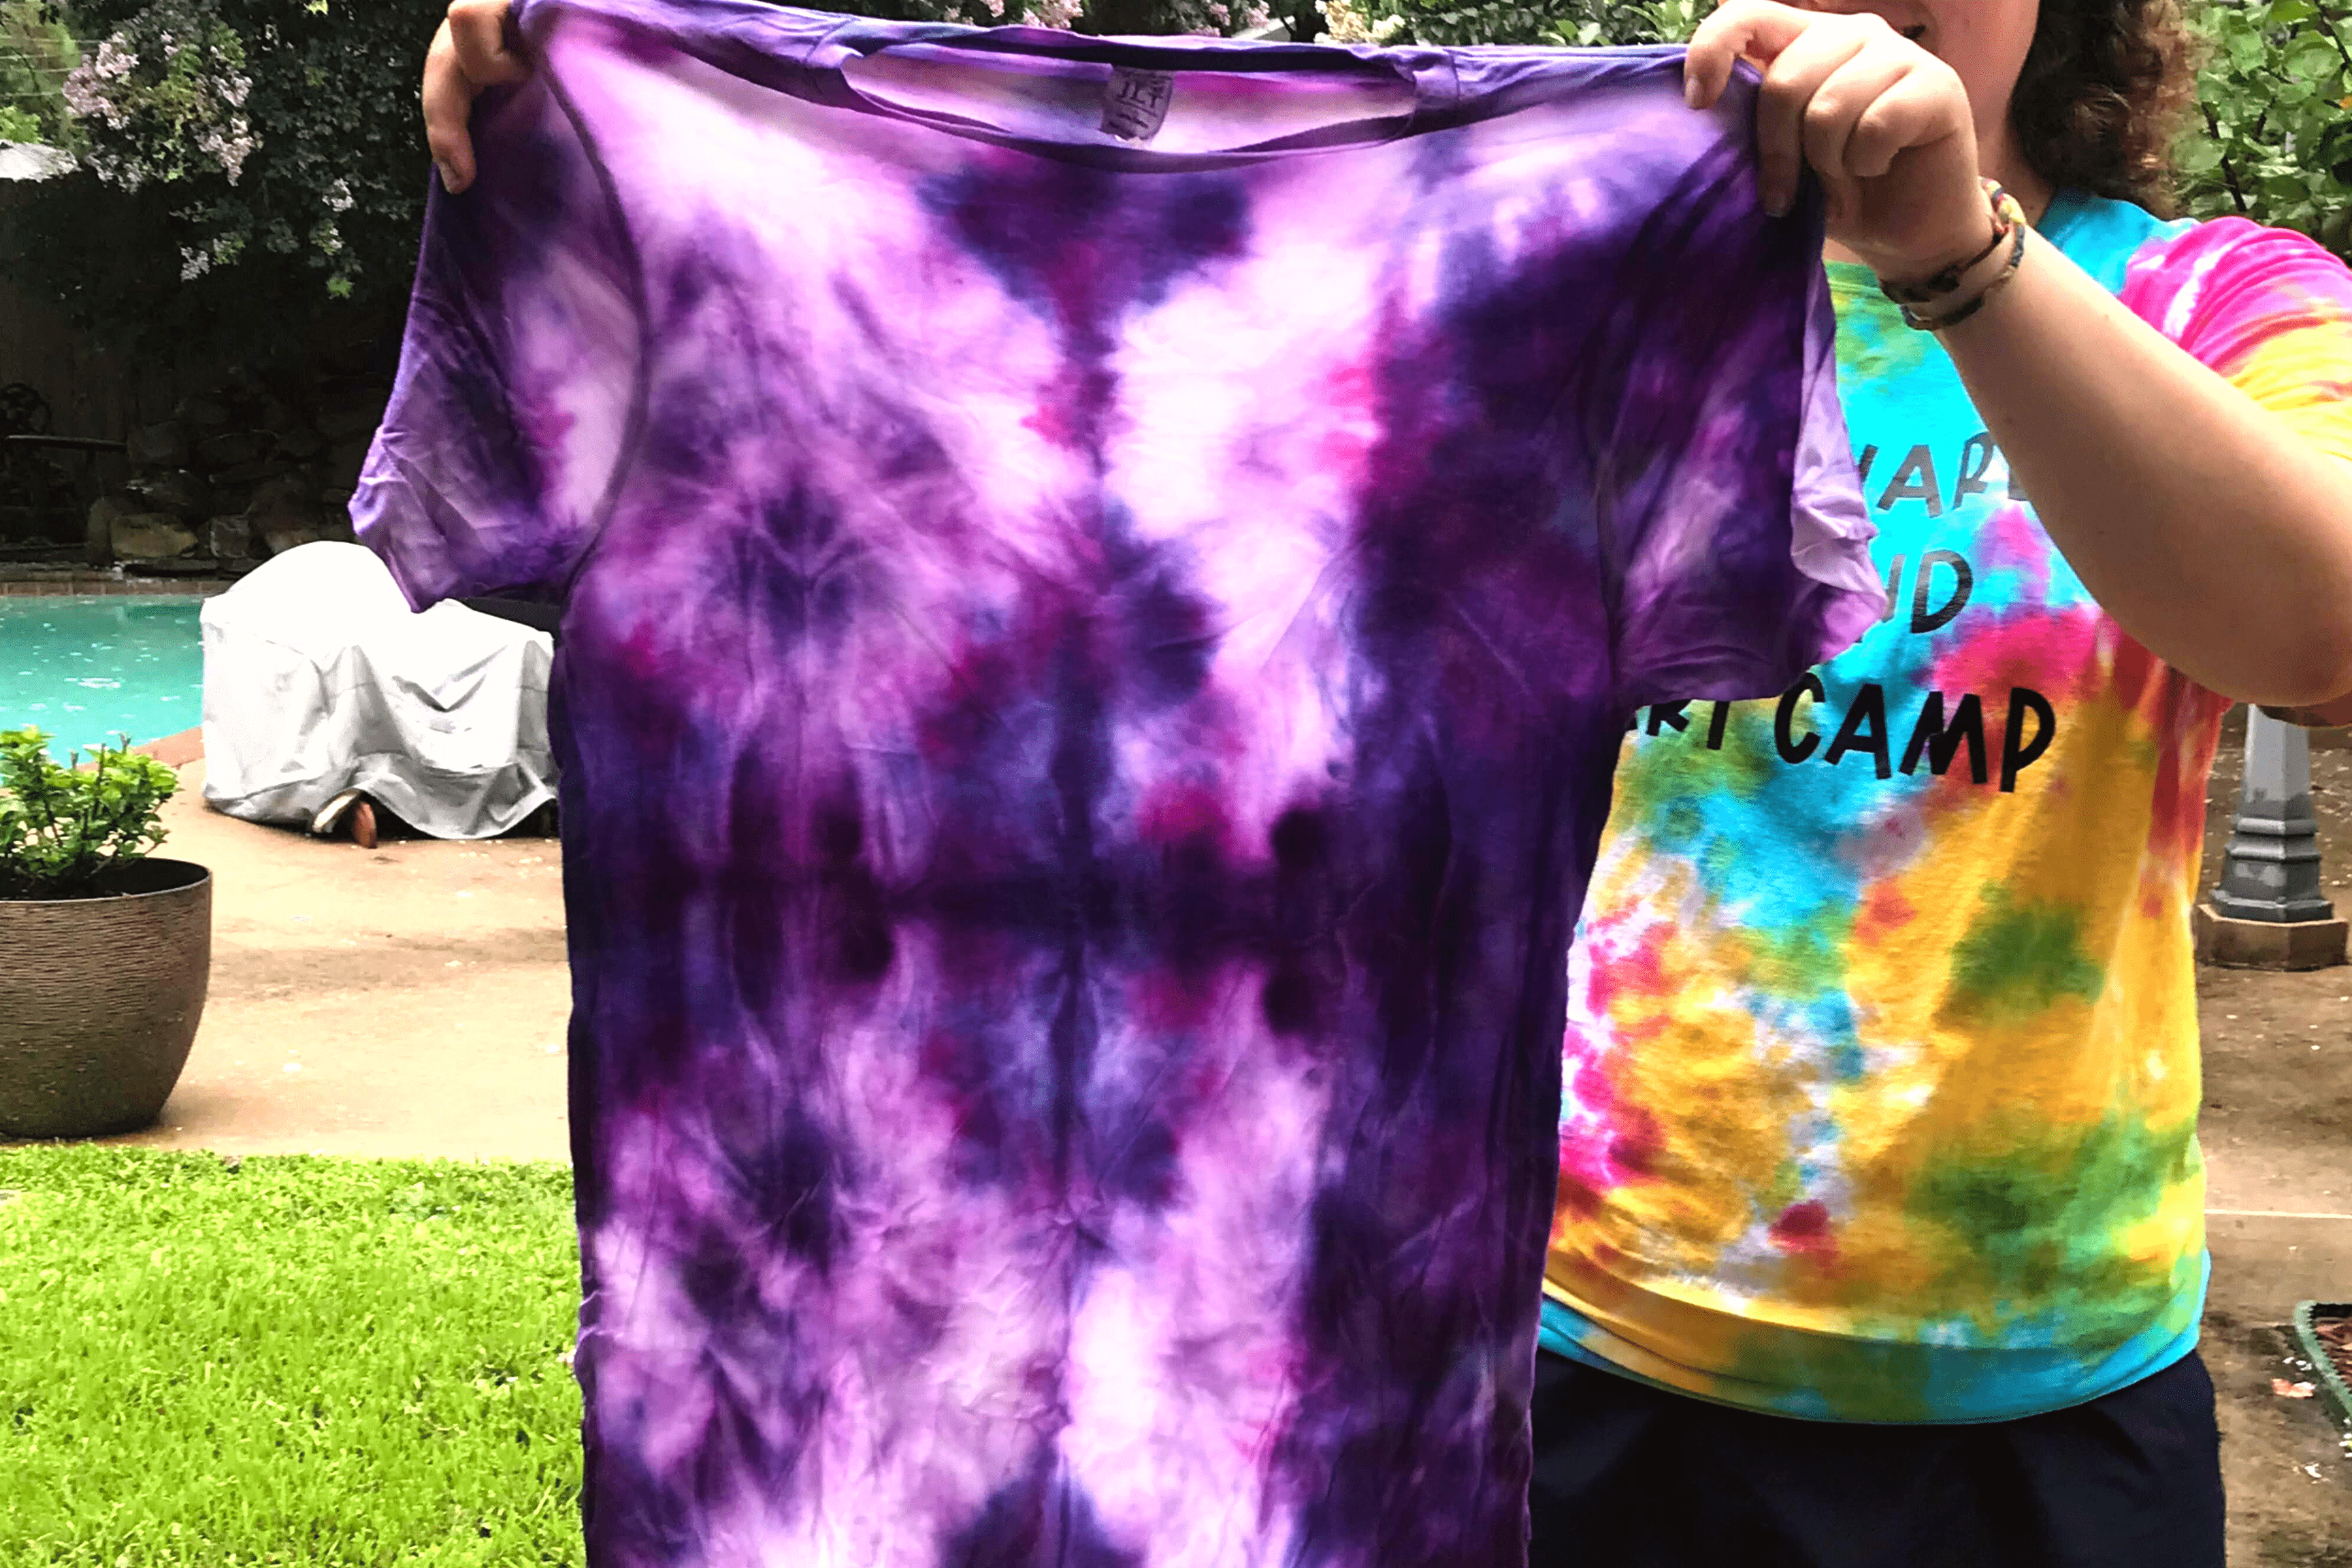
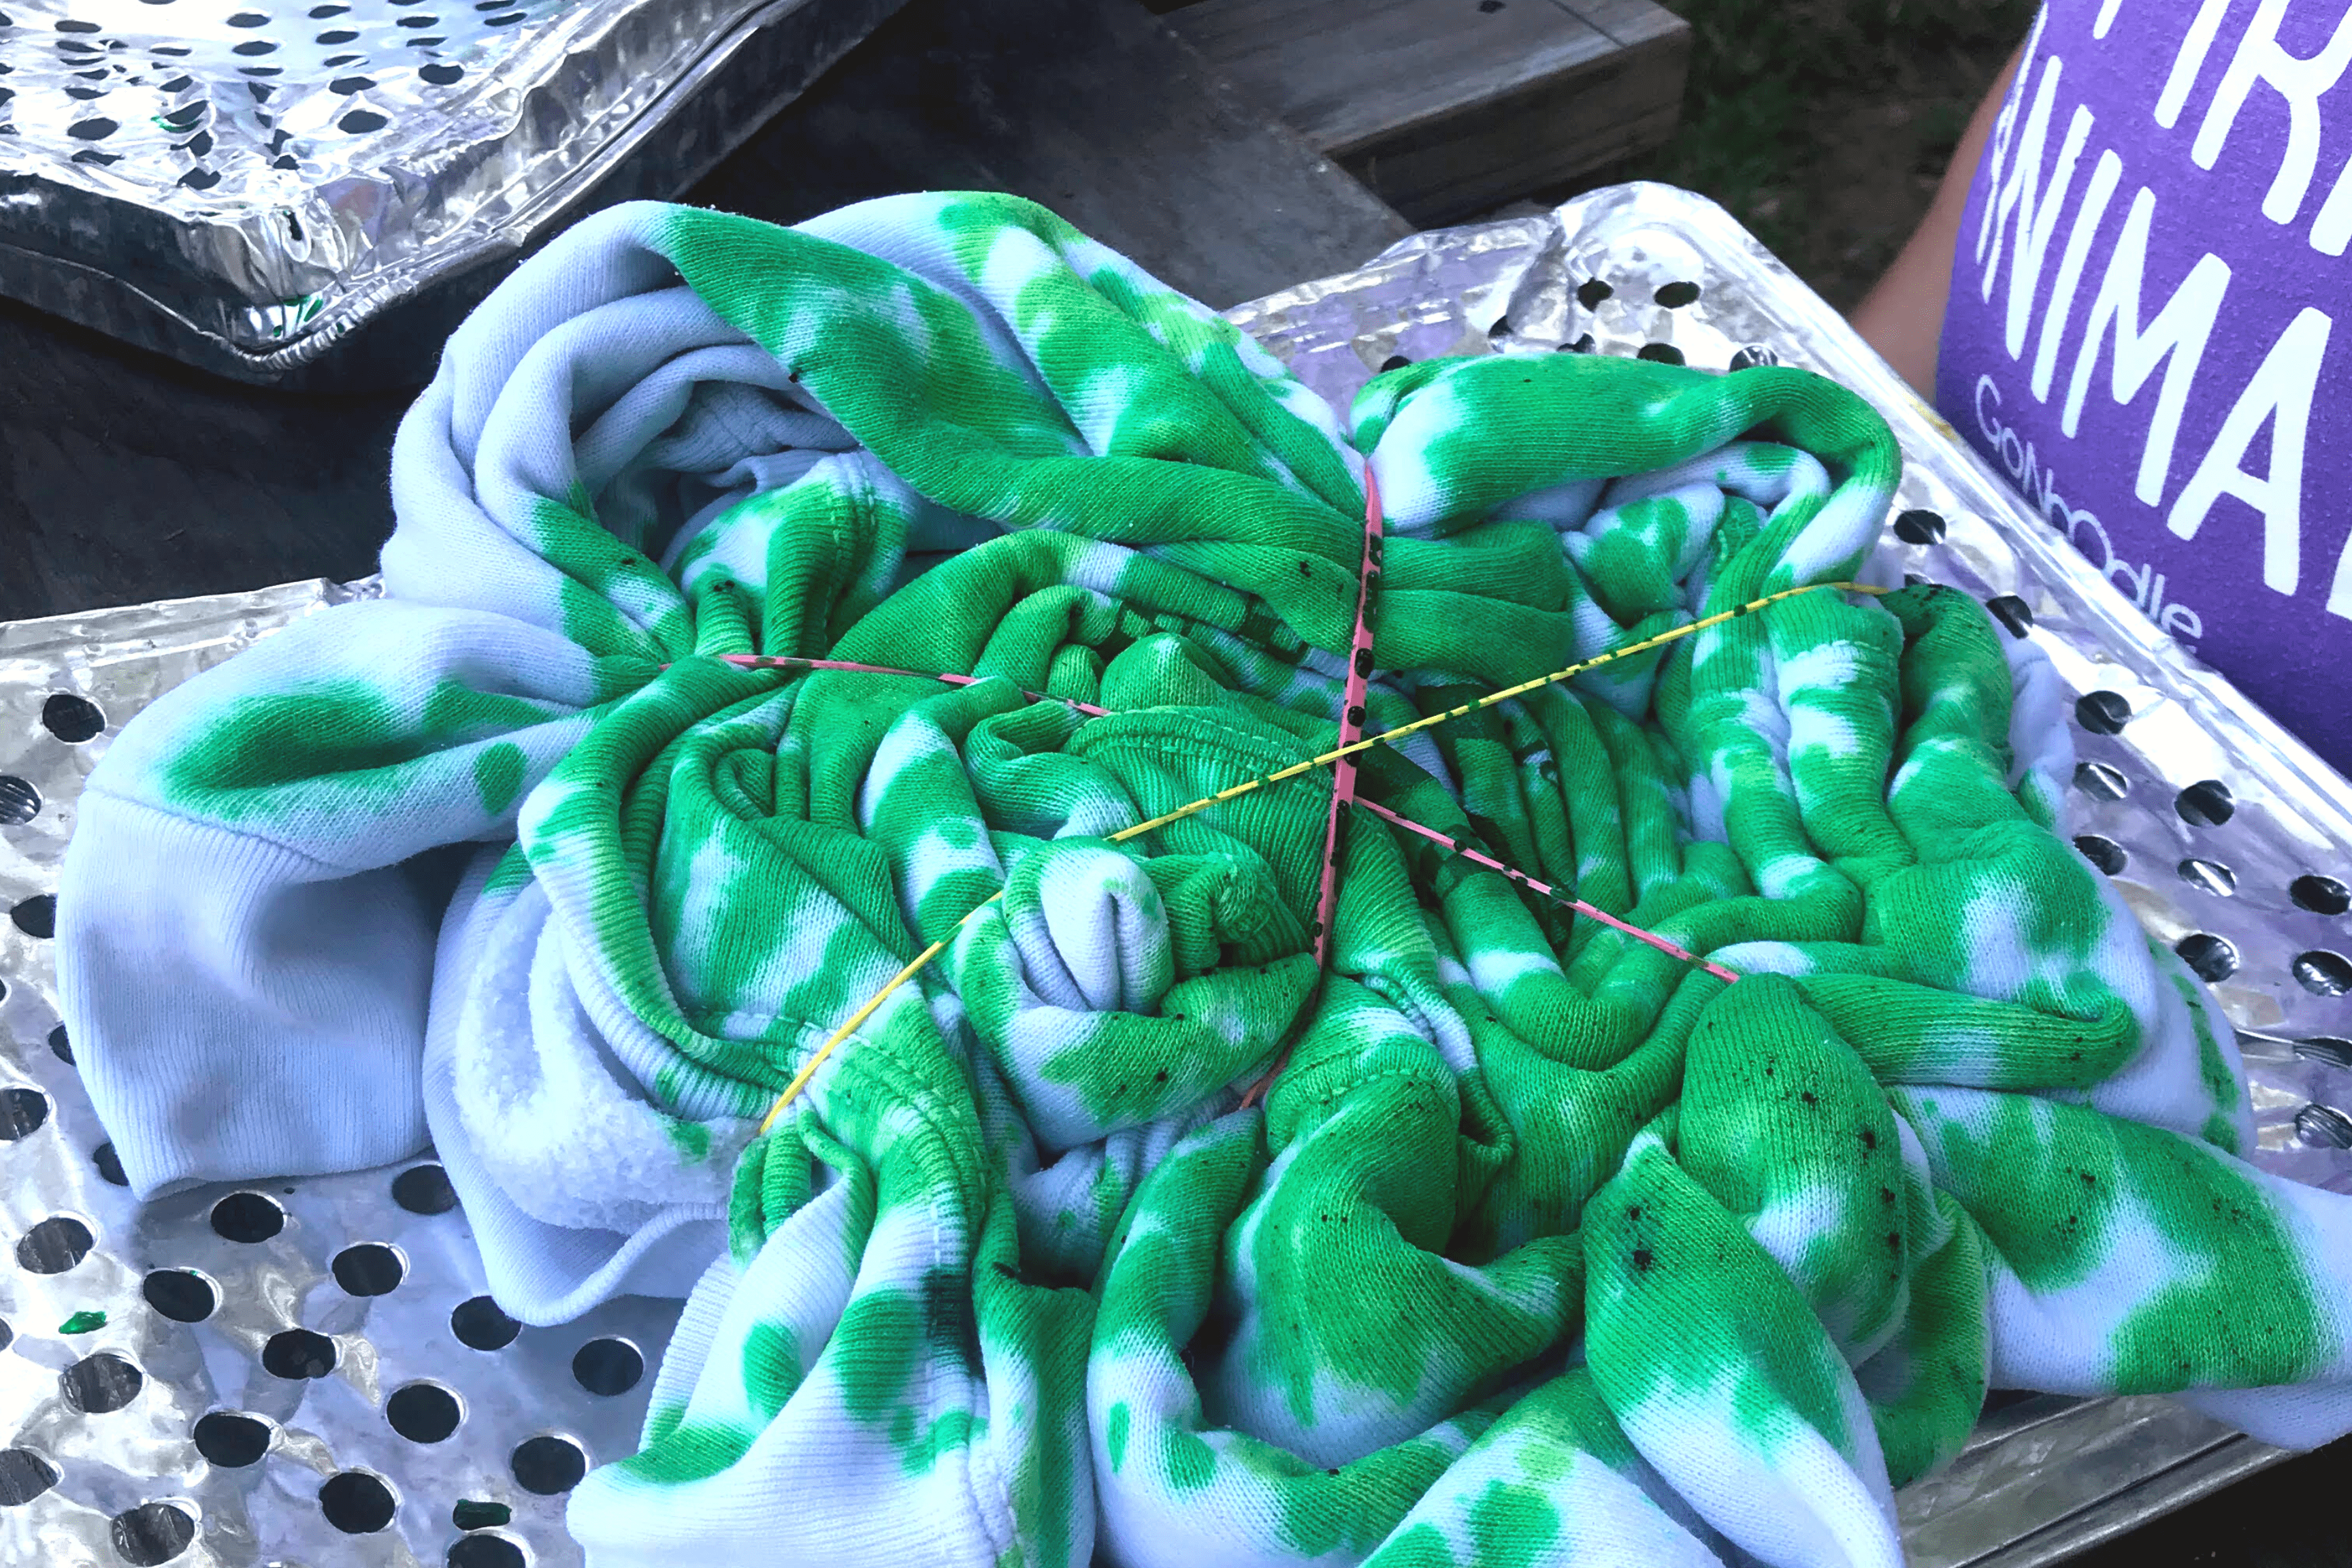
Come on baby, let’s do the twist. I also call this the Grateful Dead spiral. With that same shirt spread out on the table, pinch the center with your fingers and start turning the shirt around and around until you have something that looks like a cinnamon bun. Then take those rubber bands and tie them in a pizza pie type pattern. Your shirt should look like the image above when you’re dying it.
Bursting at the seams for this pattern. With that shirt laying flat in front of you. Grab a bit of the shirt wherever you want and hold the shirt up in the air like a tissue. Put a rubber band at the tip of that pinch. Then put 2-4 more along the whole thing. If you want to have multiple bursts then repeat this process in several spots on your shirt. (DON’T do two bursts side by side across the chest of the shirt). It looks very inappropriate but does get some good laughs. Lol
Metal roasting pans and roasting lid One of each per person or have them take turns. (the ones with the baby holes in them). This is what I use when dying the clothes.
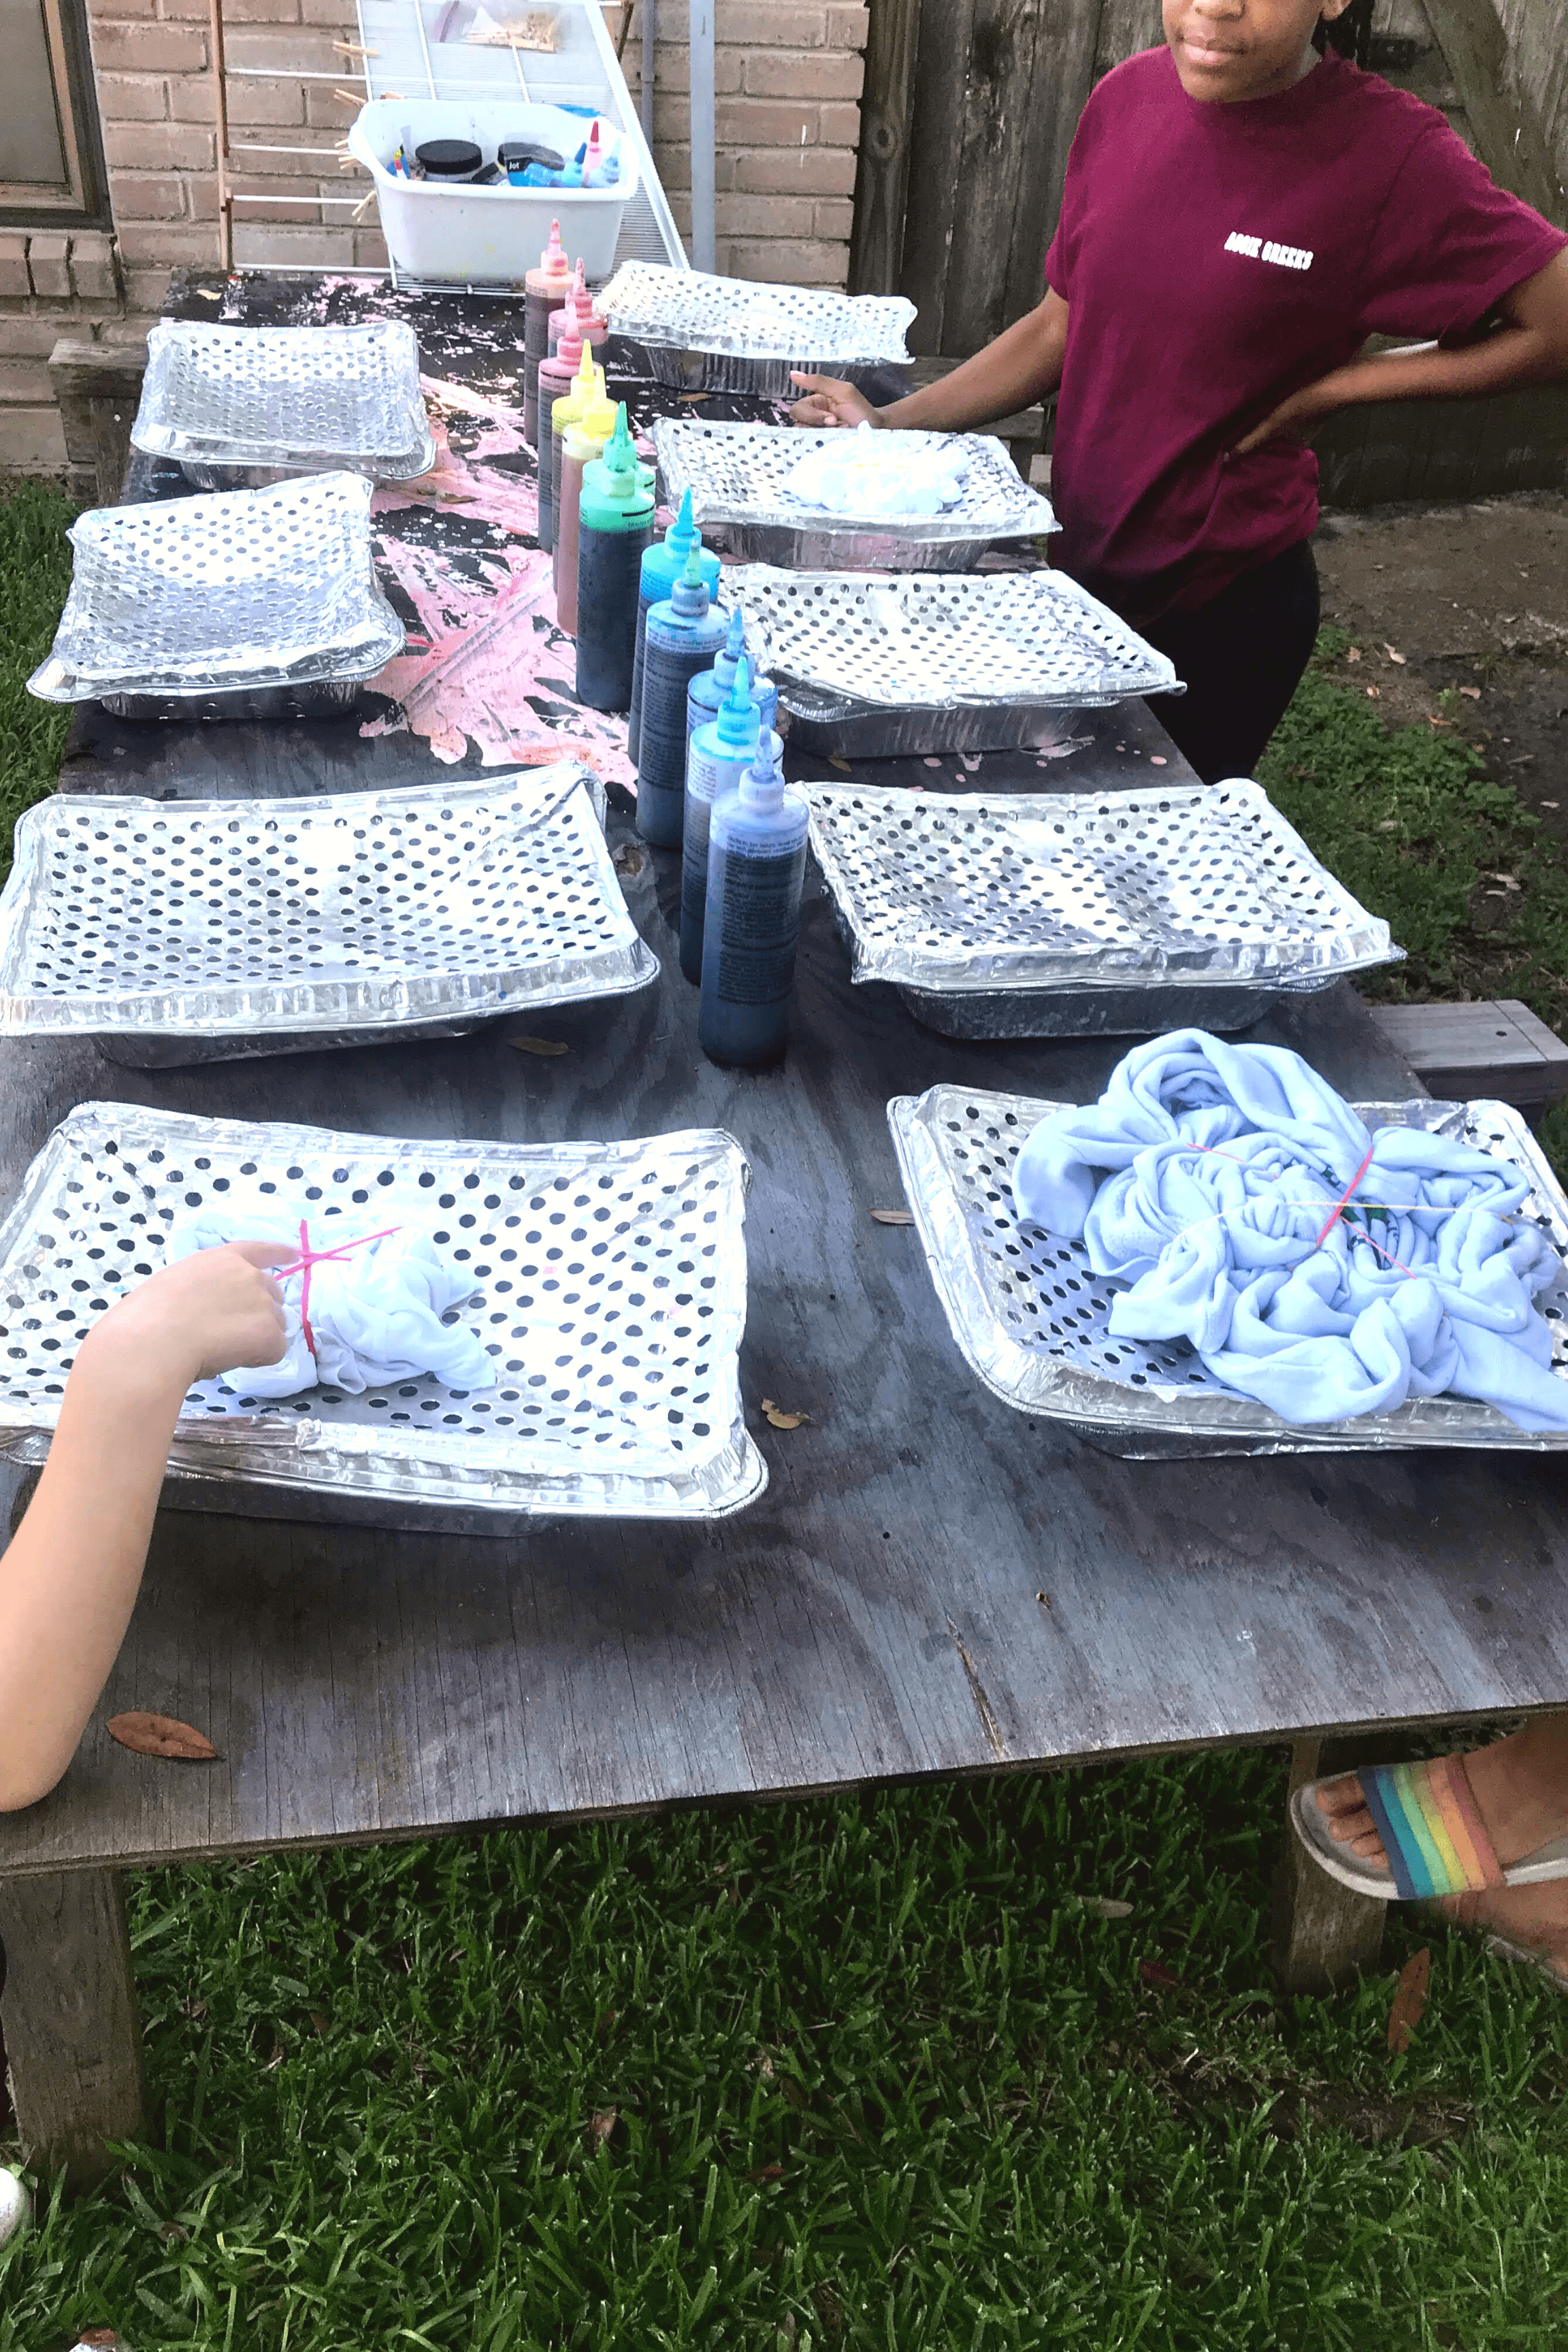
Put them on the table after you have got the clothes all tied up. I usually line the pre filled bottles up in the middle of the table and then put down the pans in two lines. One on either side of the table.
I usually do a quick demonstration about how to get the dye on the clothes, using the pans to catch the overflow as well as how NOT to get the dye on yourself or your neighbor.
The dye is PERMANENT.
And yes, you will get it on your hands and it may be there for a day or so depending on how much you wash your hands.
DO THIS PART OUTSIDE IF YOU CAN.
This way you can wash down the ground and the roasting pans. Another option is to die over the grass. Then you have very little mess to worry about.
One the items have been dyed, if it’s a birthday party or a “make and take” event, I give everyone a large ziploc bag to place the items in so they can soak overnight and not get all over your stuff while it sets.
If you’re doing all the work, then I will usually just let them sit in a few of the roasting pans to sit overnight.
Tie Dye Washing Instructions
- Place item in the sink (do NOT remove rubber bands yet) BE CAREFUL REMOVING YOUR CREATION FROM THE BAG
- Run your creation under cold water to get the majority of the dye rinsed out.
- Begin to remove the rubber bands- cut or take them off by hand is fine.
- Rinse your item out until the water washes clear.
- Place your creation in the washing machine by itself.
- Add the washing solution provided in your bag. Wash on a short cycle using HOT water.
- Dry in the dryer as usual!
- I prefer to wash my tie dye separate from my own clothes but they should be fine mixed
To wash the dye out. I put the shirt in my sink and ran some cold water over it. I do this for a while to get the majority or the dye to wash out BEFORE cutting off all the rubber bands. Once the water Is kinda clear, start taking off the rubber bands. If you can take them off without cutting them, great, save them for the next time. If not, you can cut them but be careful not to cut the shirt.

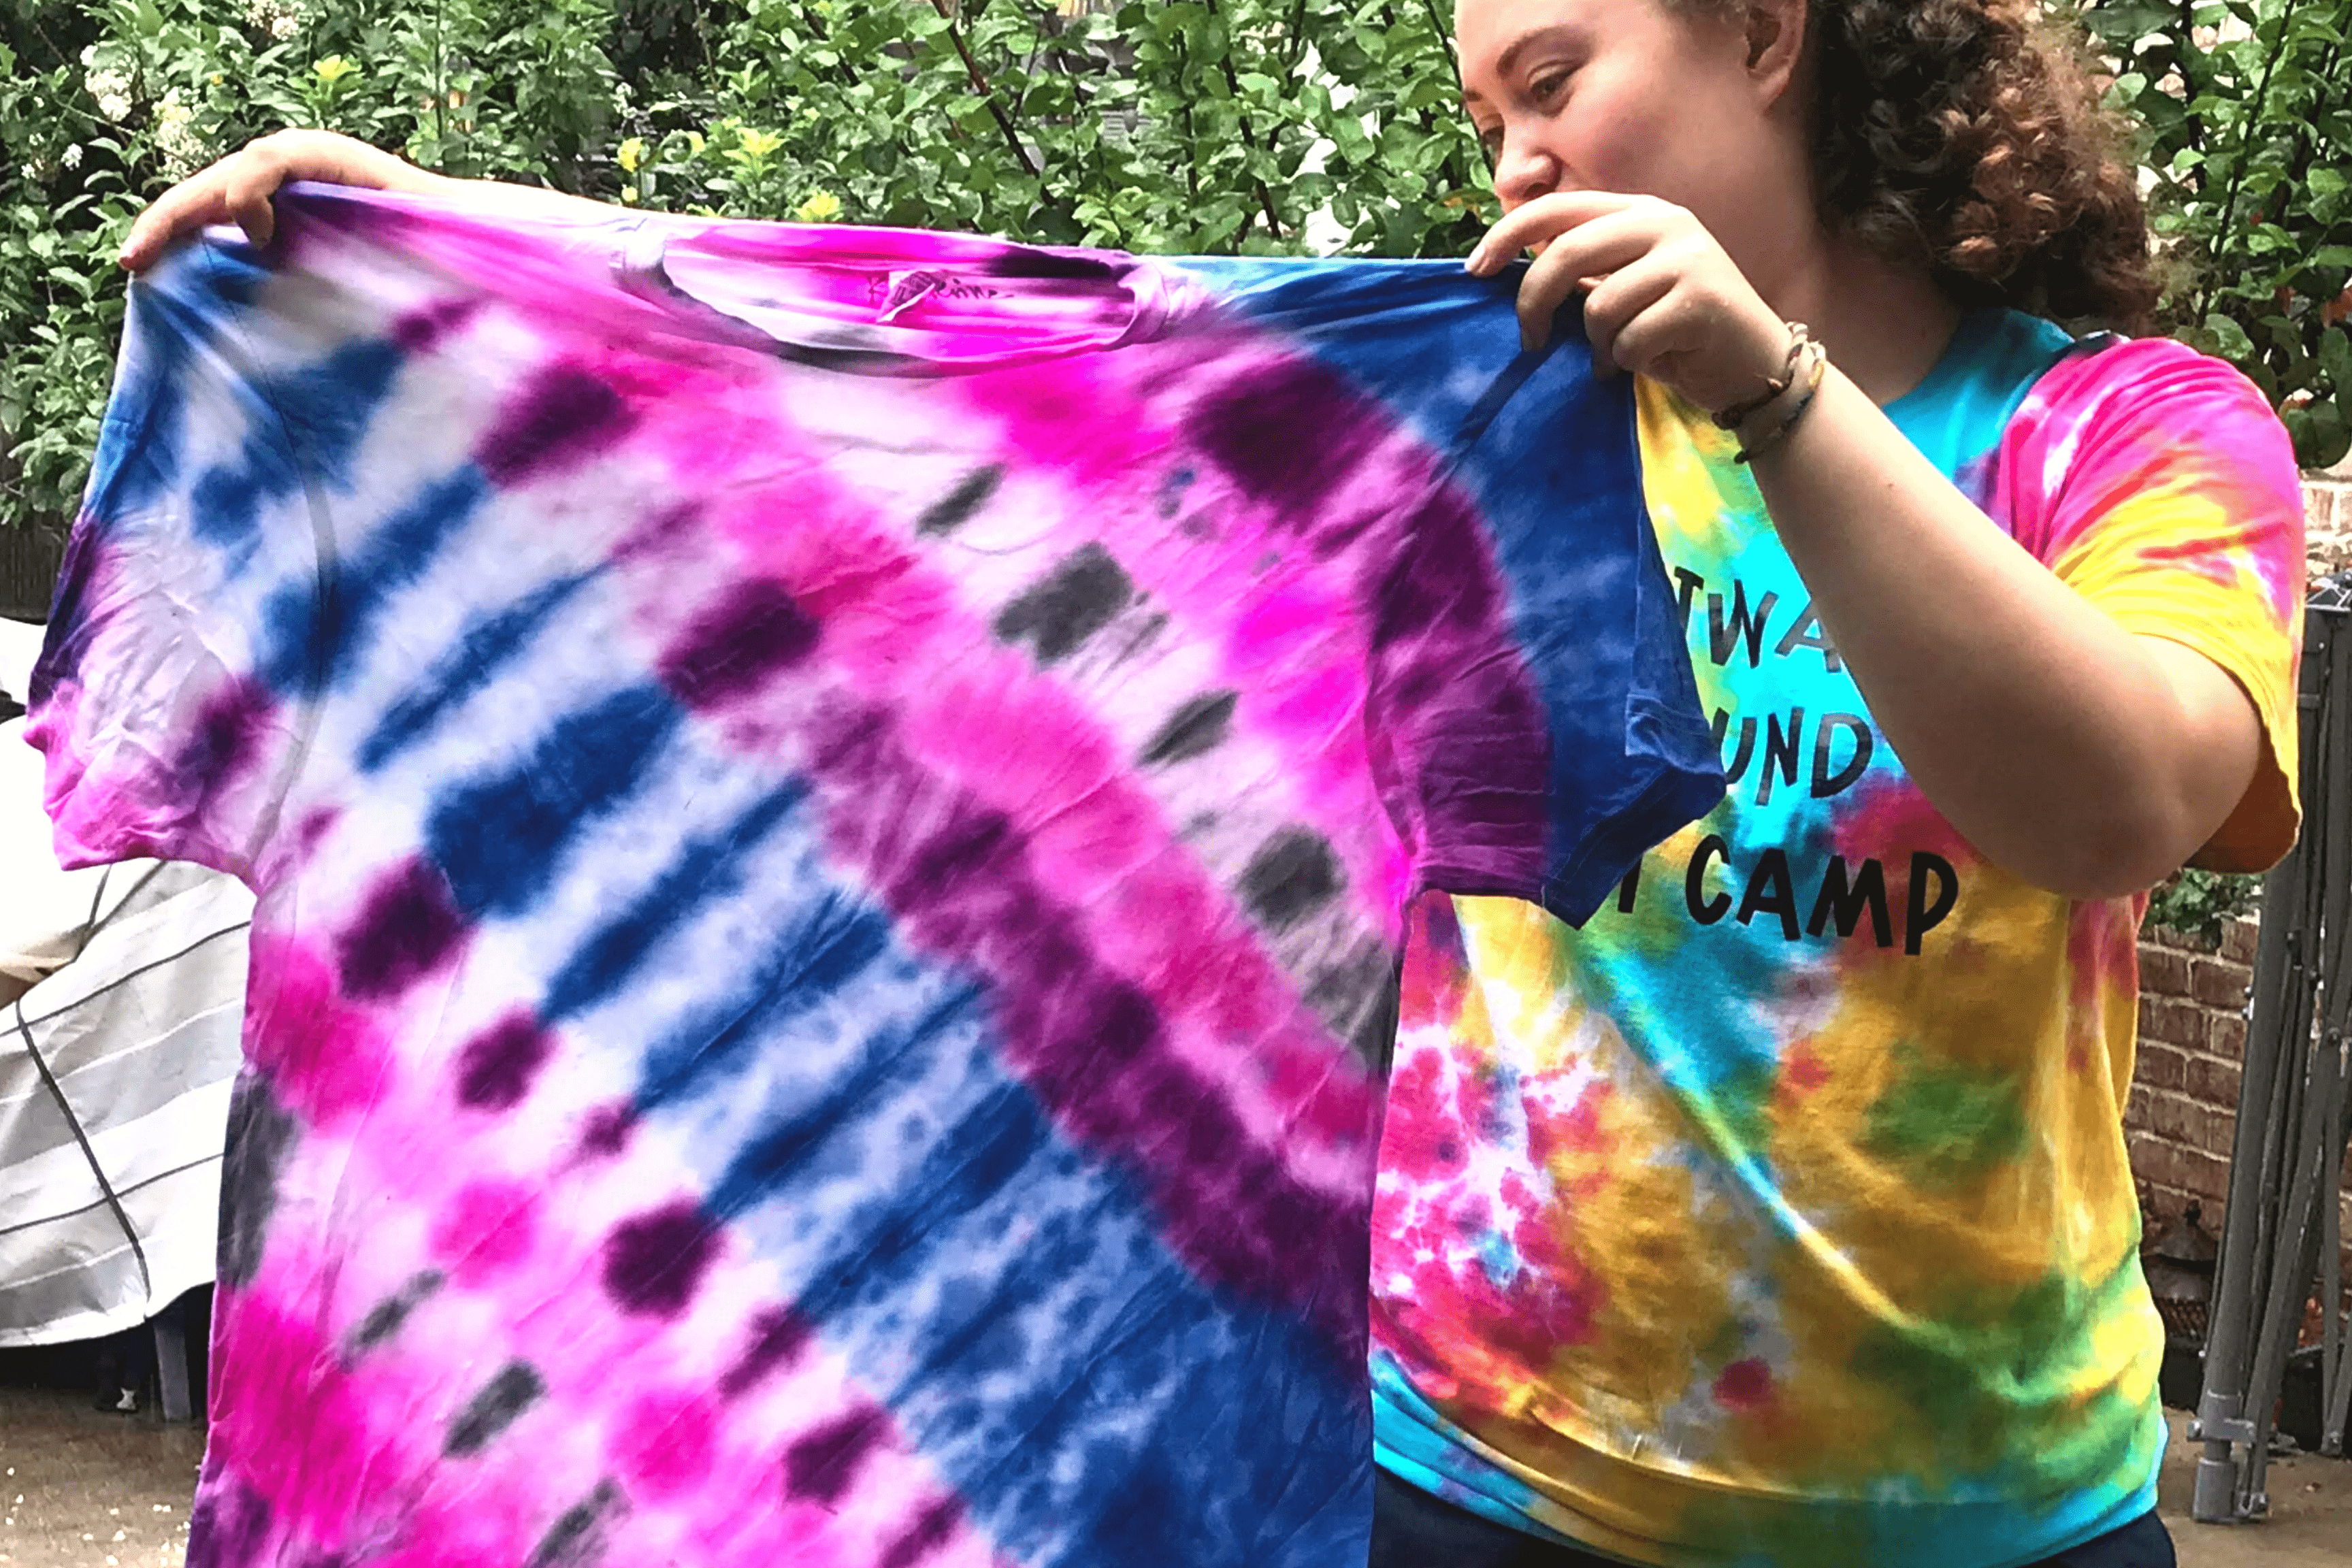
Once the bands are off, go ahead and open the shirt and get a first look at your creation! Oh and ah over it and show everyone in the room! Then start to rinse it out some more to get the rest of the dye out. I usually squeeze over and over while running it under the faucet. Once you have the majority of it out you are ready to put it in the washing machine to set the dye. I cannot believe I have to say this, but DON’T wash these items with your Poitier clothes. Yes, I have to say this, because someone did it once. (Not me, but I am speaking for a friend. Hahahahah)
Synthrapol. If you’re washing all the stuff yourself a small bottle of this will work. If its a “make and take” I buy the tiny portion of snack ziploc bags and put 2 TBSPs in each one to send home with the shirts.
If sending home, please add some washing instructions so the grown ups know what to do and don’t curse your name for sending home something this messy. Lol.
Here are the instructions I sent home with my little artists.
Once they have been washed and in the dryer you are ready to reveal your creations. I usually wash my tie dye shirts together for at least one or two more washings before I integrate with my other colors. It’s just in case that I like to follow.
That’s it! Easy breezy lemon squeezy.
