Making fun art projects with kids and teens is a creative outlet for many people! For me, some of my projects have turned into great gifts and even business sales for me! It’s such a fun way to destress and gives me a small profit from my sales as well as greatest gifts for friends.
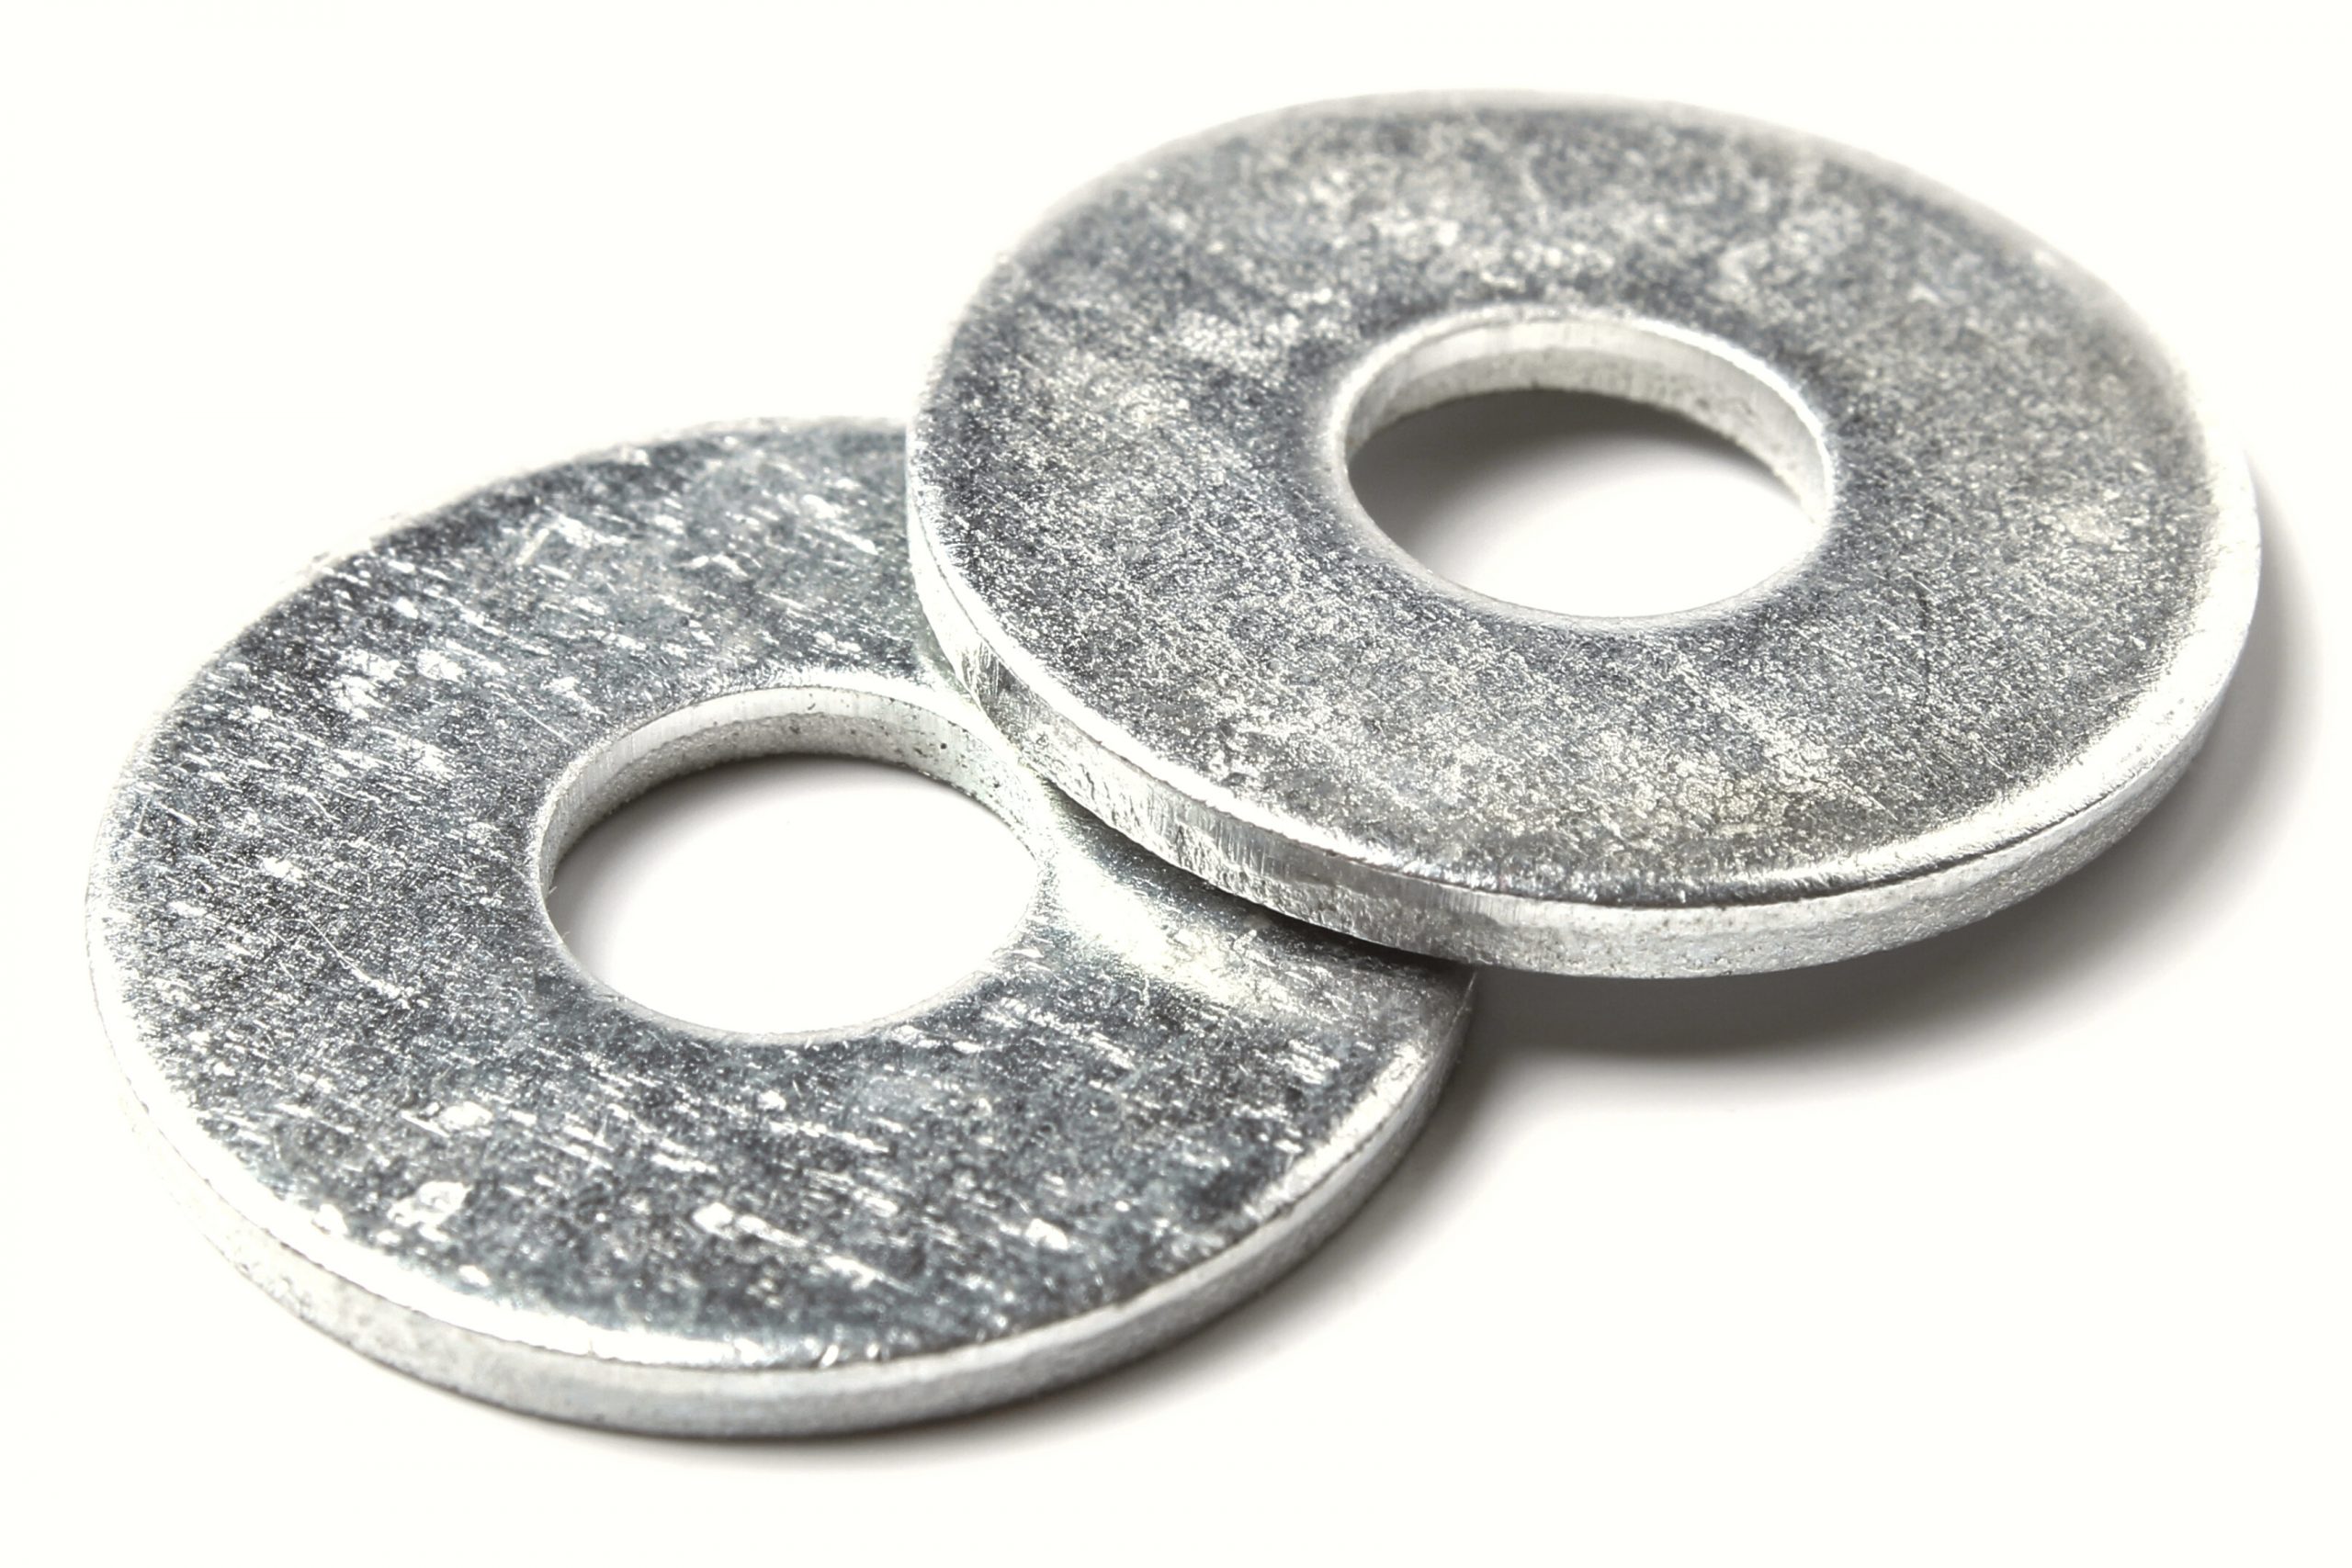
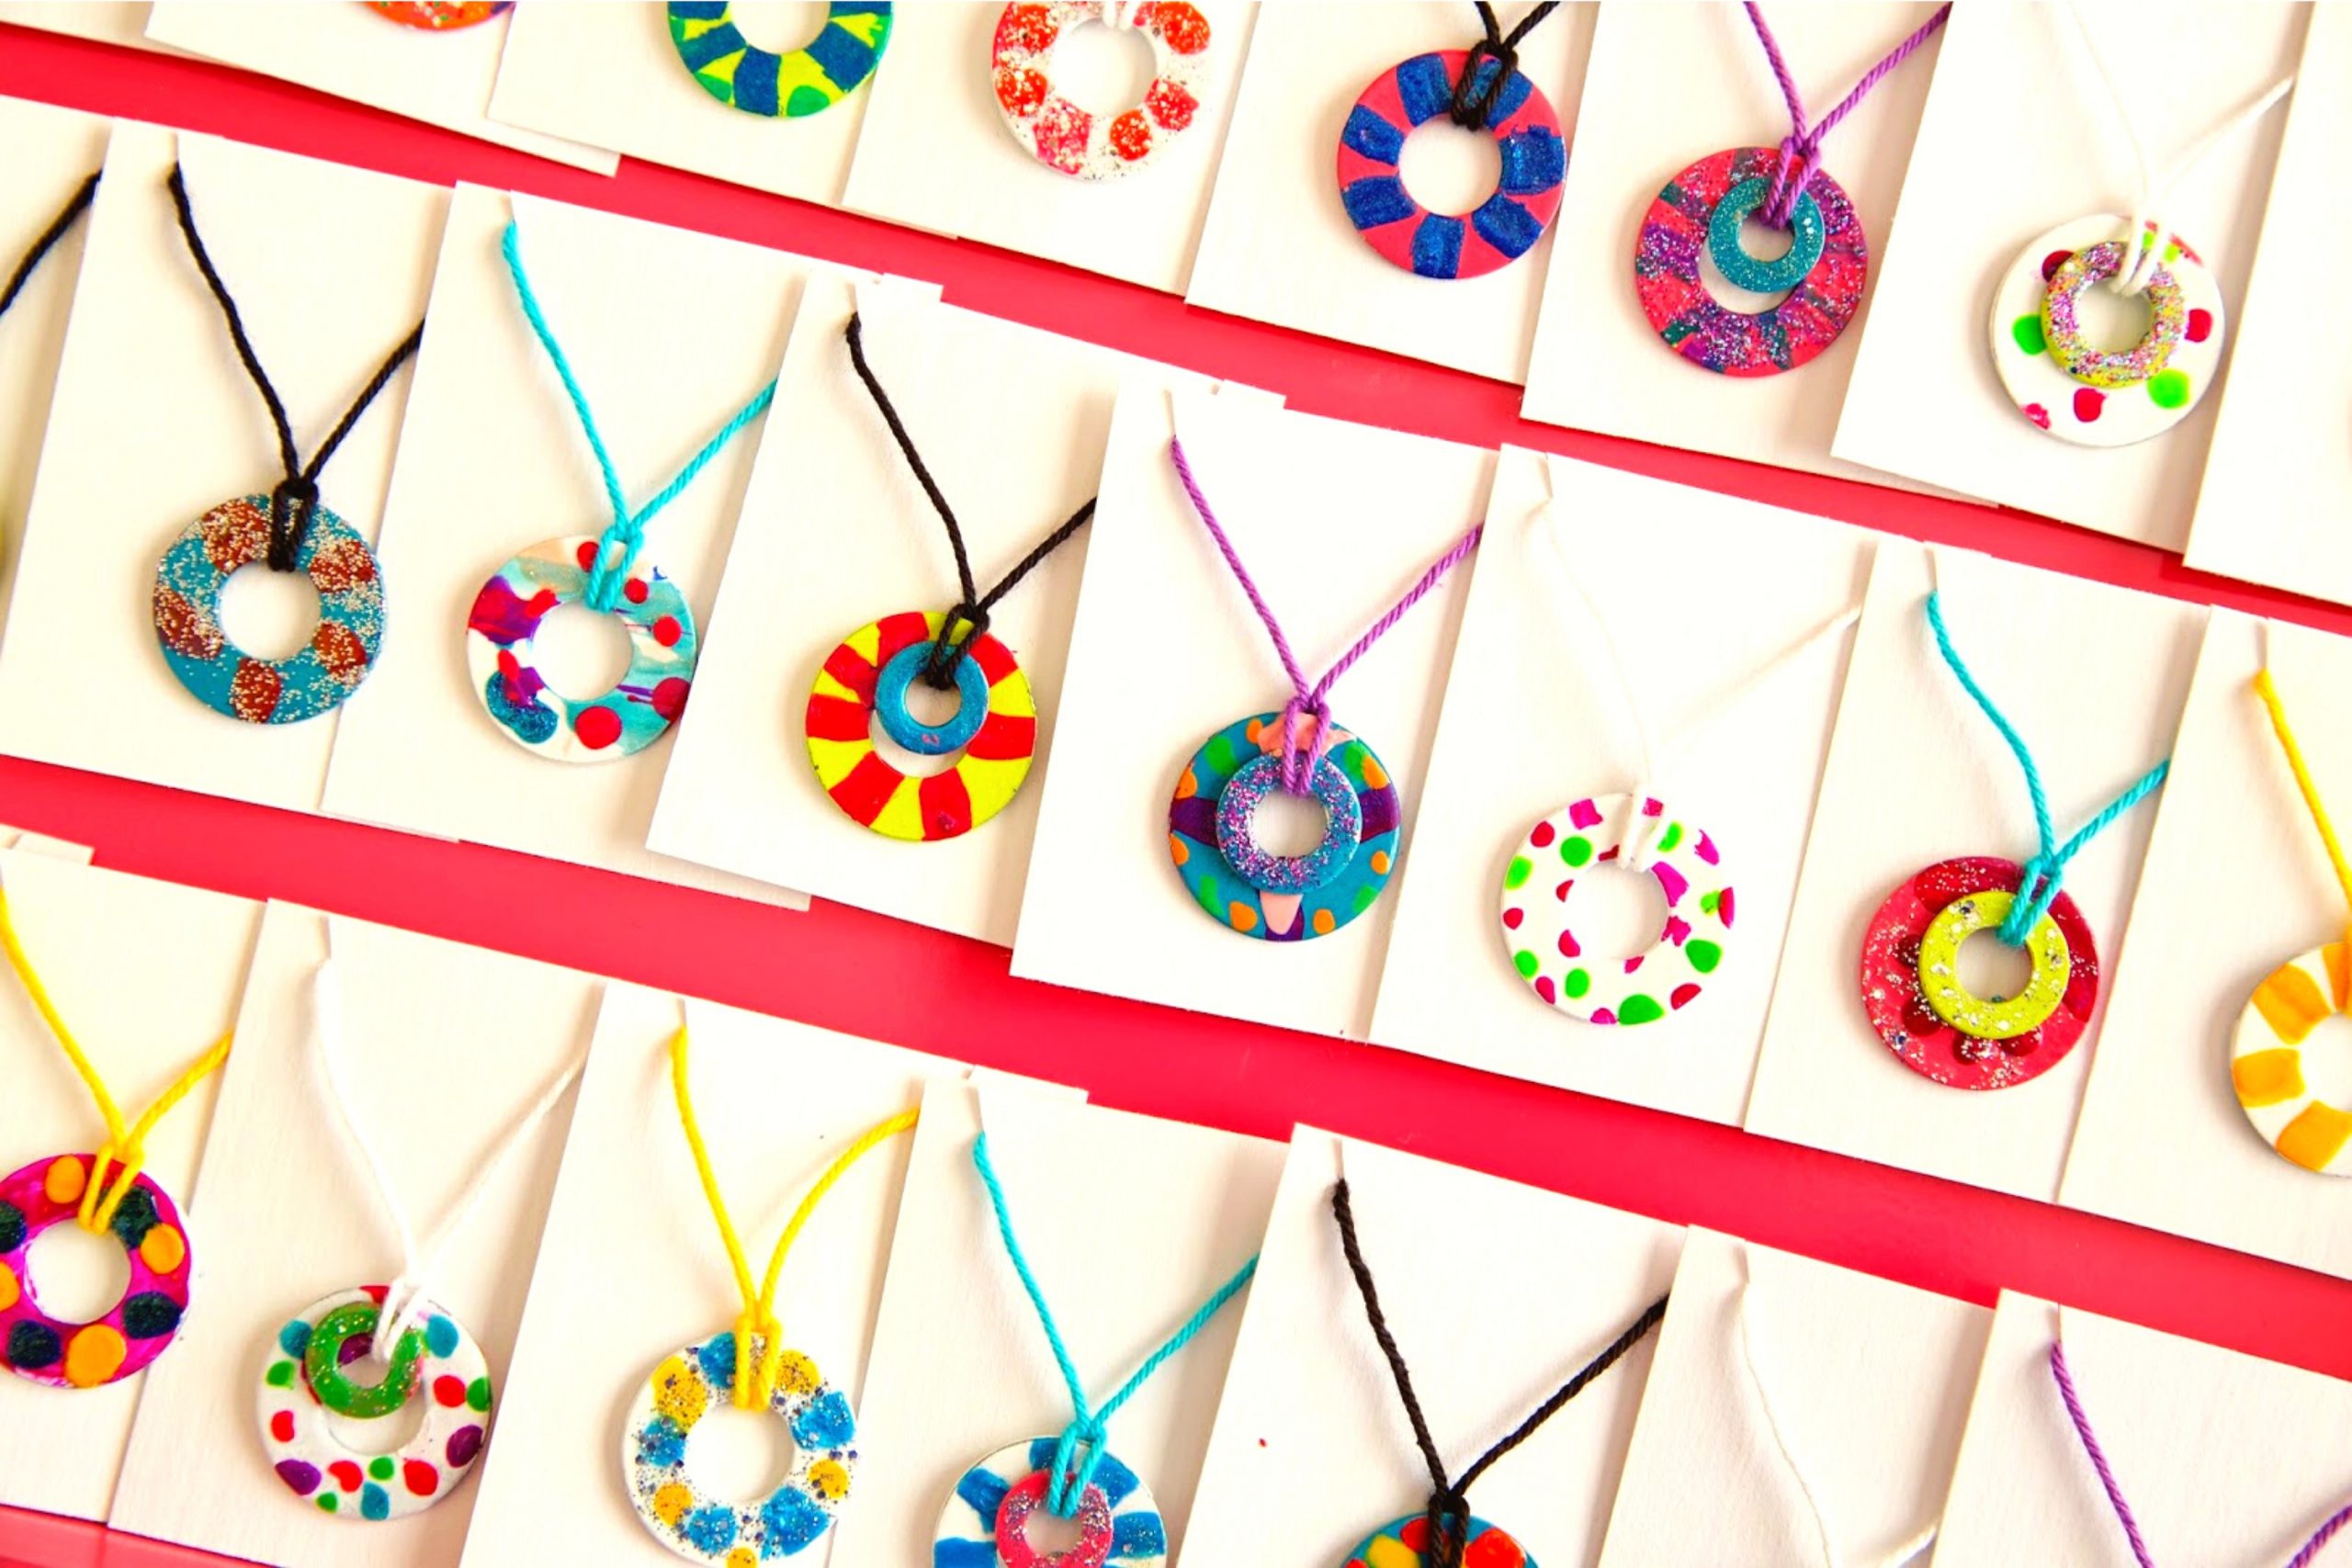
So, let’s talk about homemade jewelry and small gifts. My personal favorite is decorating washers and turning them into necklaces. The best way to save some $ money on this is to hit up your local hardware store and buy your washers there. Or get them online in bulk. If you buy them from a craft store you will see higher prices and sometimes the materials used to make them are lesser quality.
Washers & Paint – Let’s Get Creative
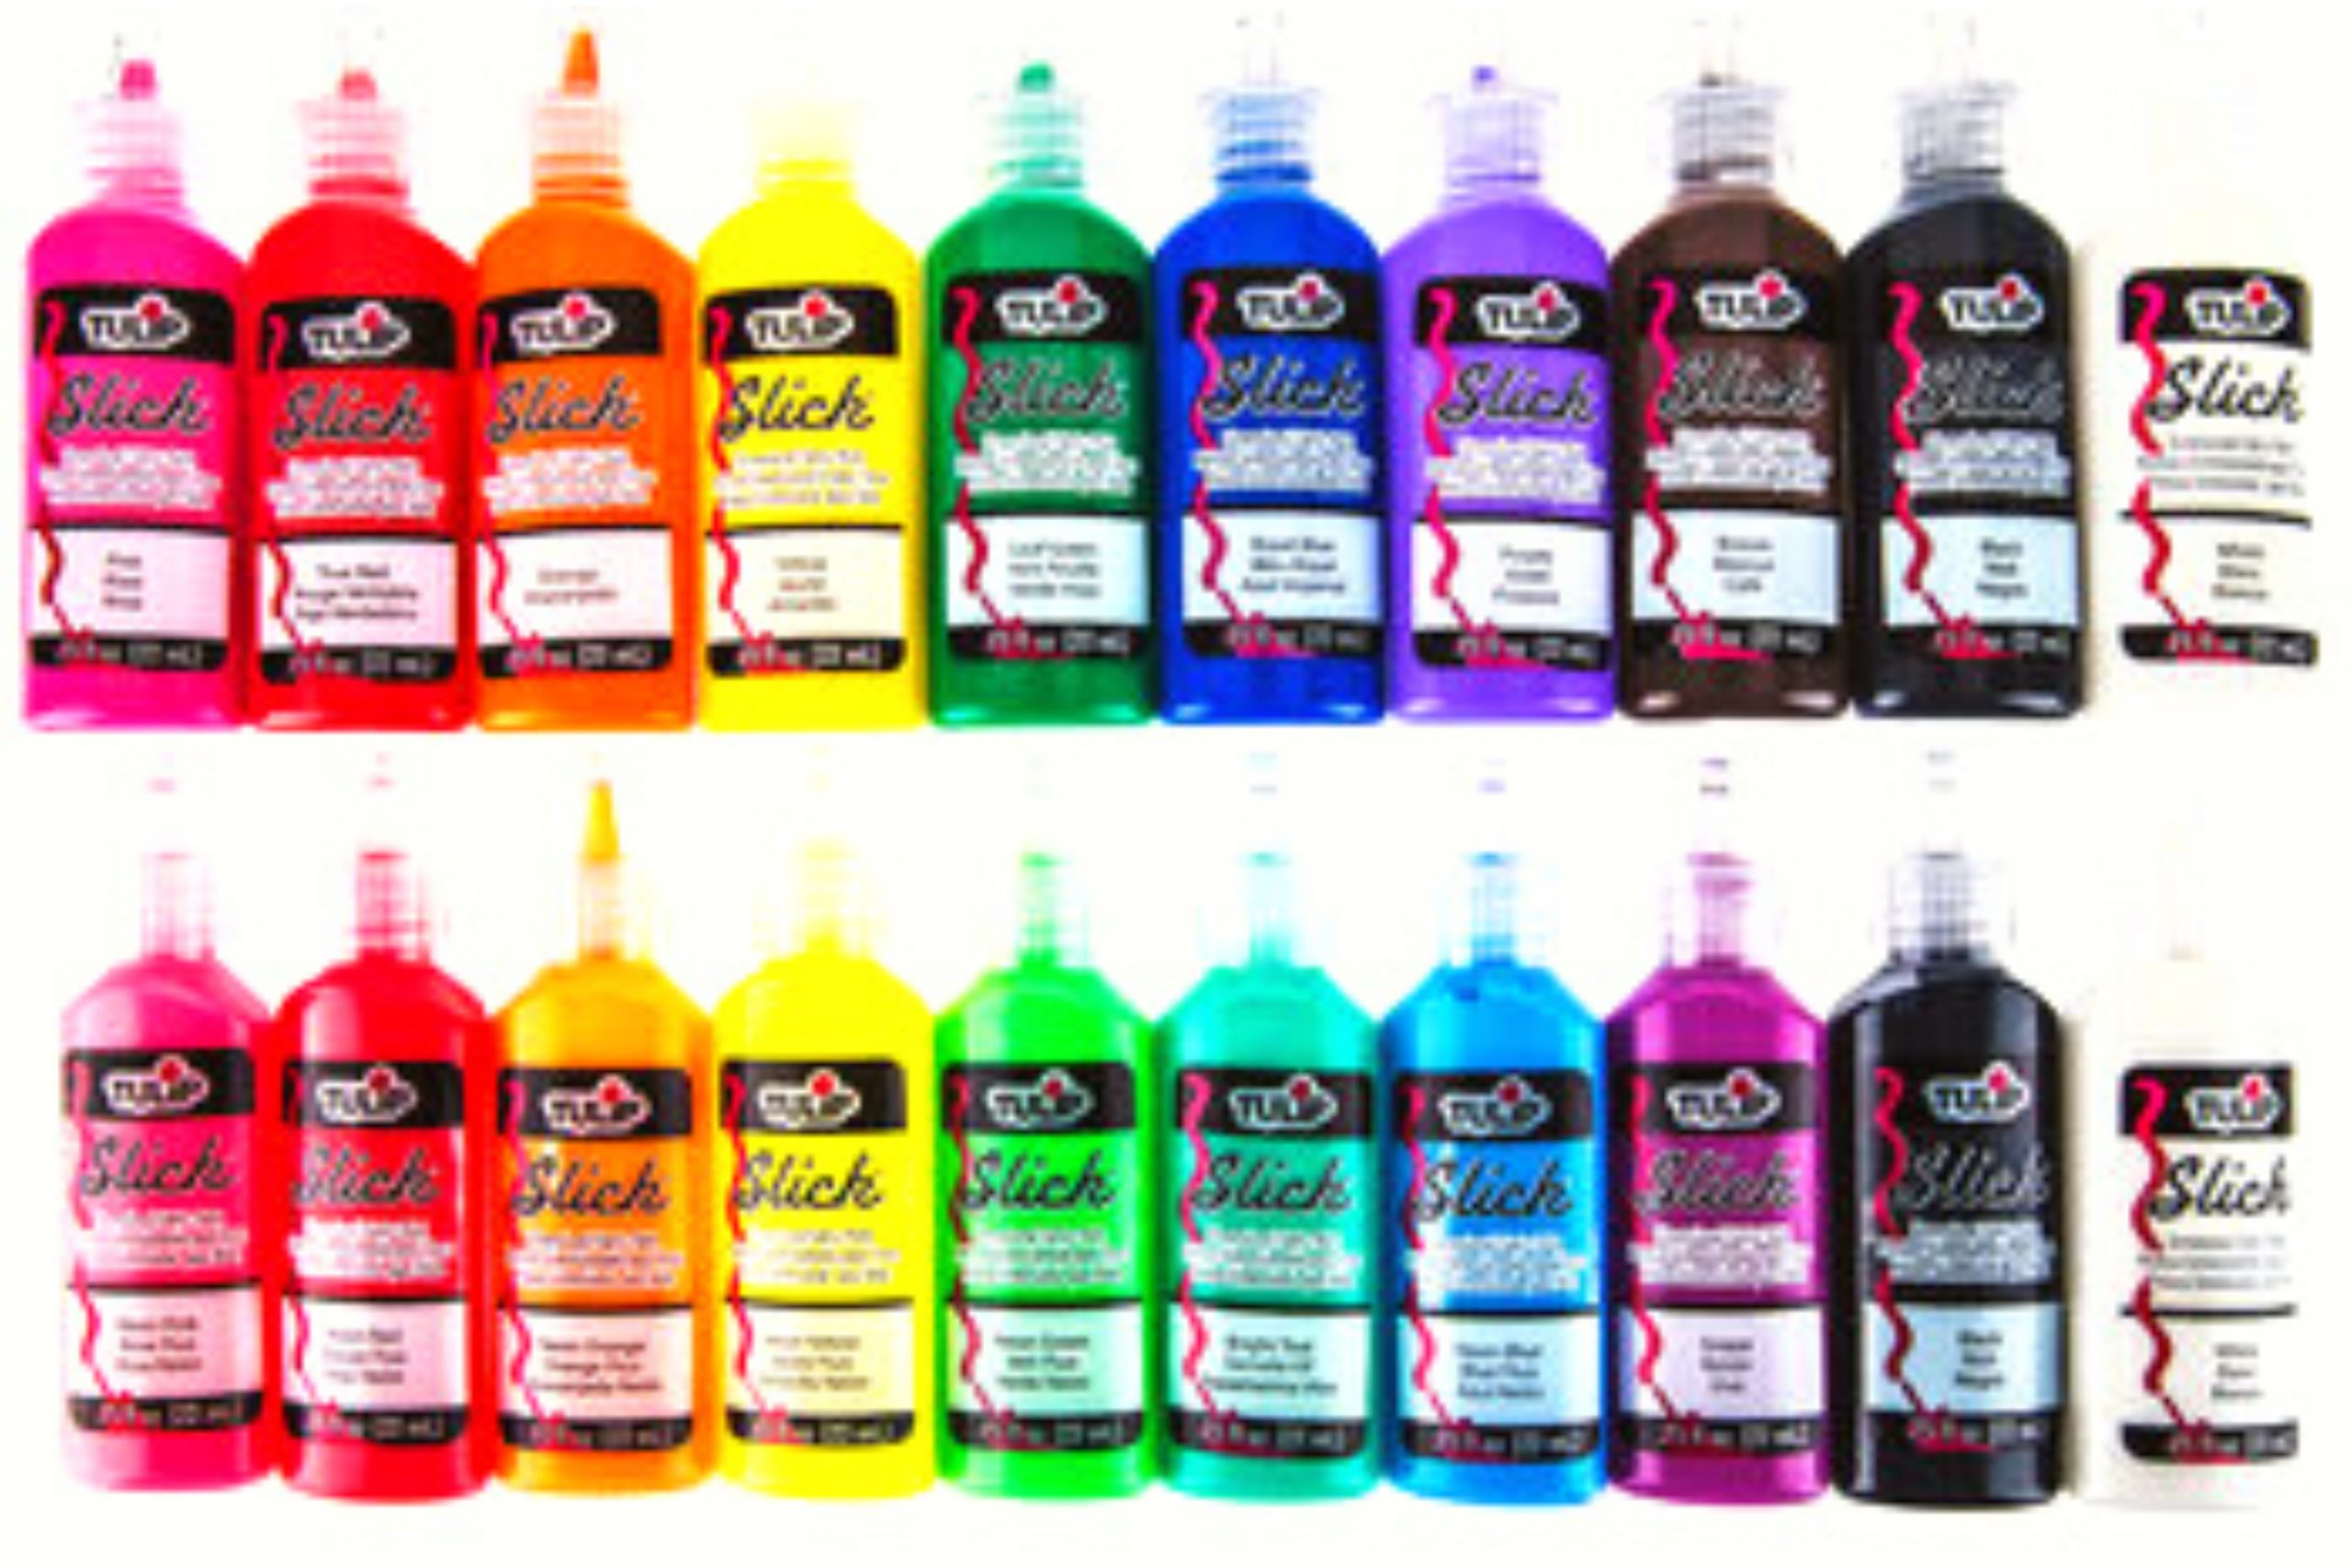
Grab some puff paints and create some beautiful designs. Mandala patterns are popular for this type of necklace. You can do some pretty intricate design work or you can stay simple. I recommend tracing the washers on paper and then practicing on them. Try out different patterns and THEN you can do it on the washer itself. Good news is if you make a mistake you can wipe it off pretty easily and start over!
This website has some cute ideas for covering your washers with puff paints.
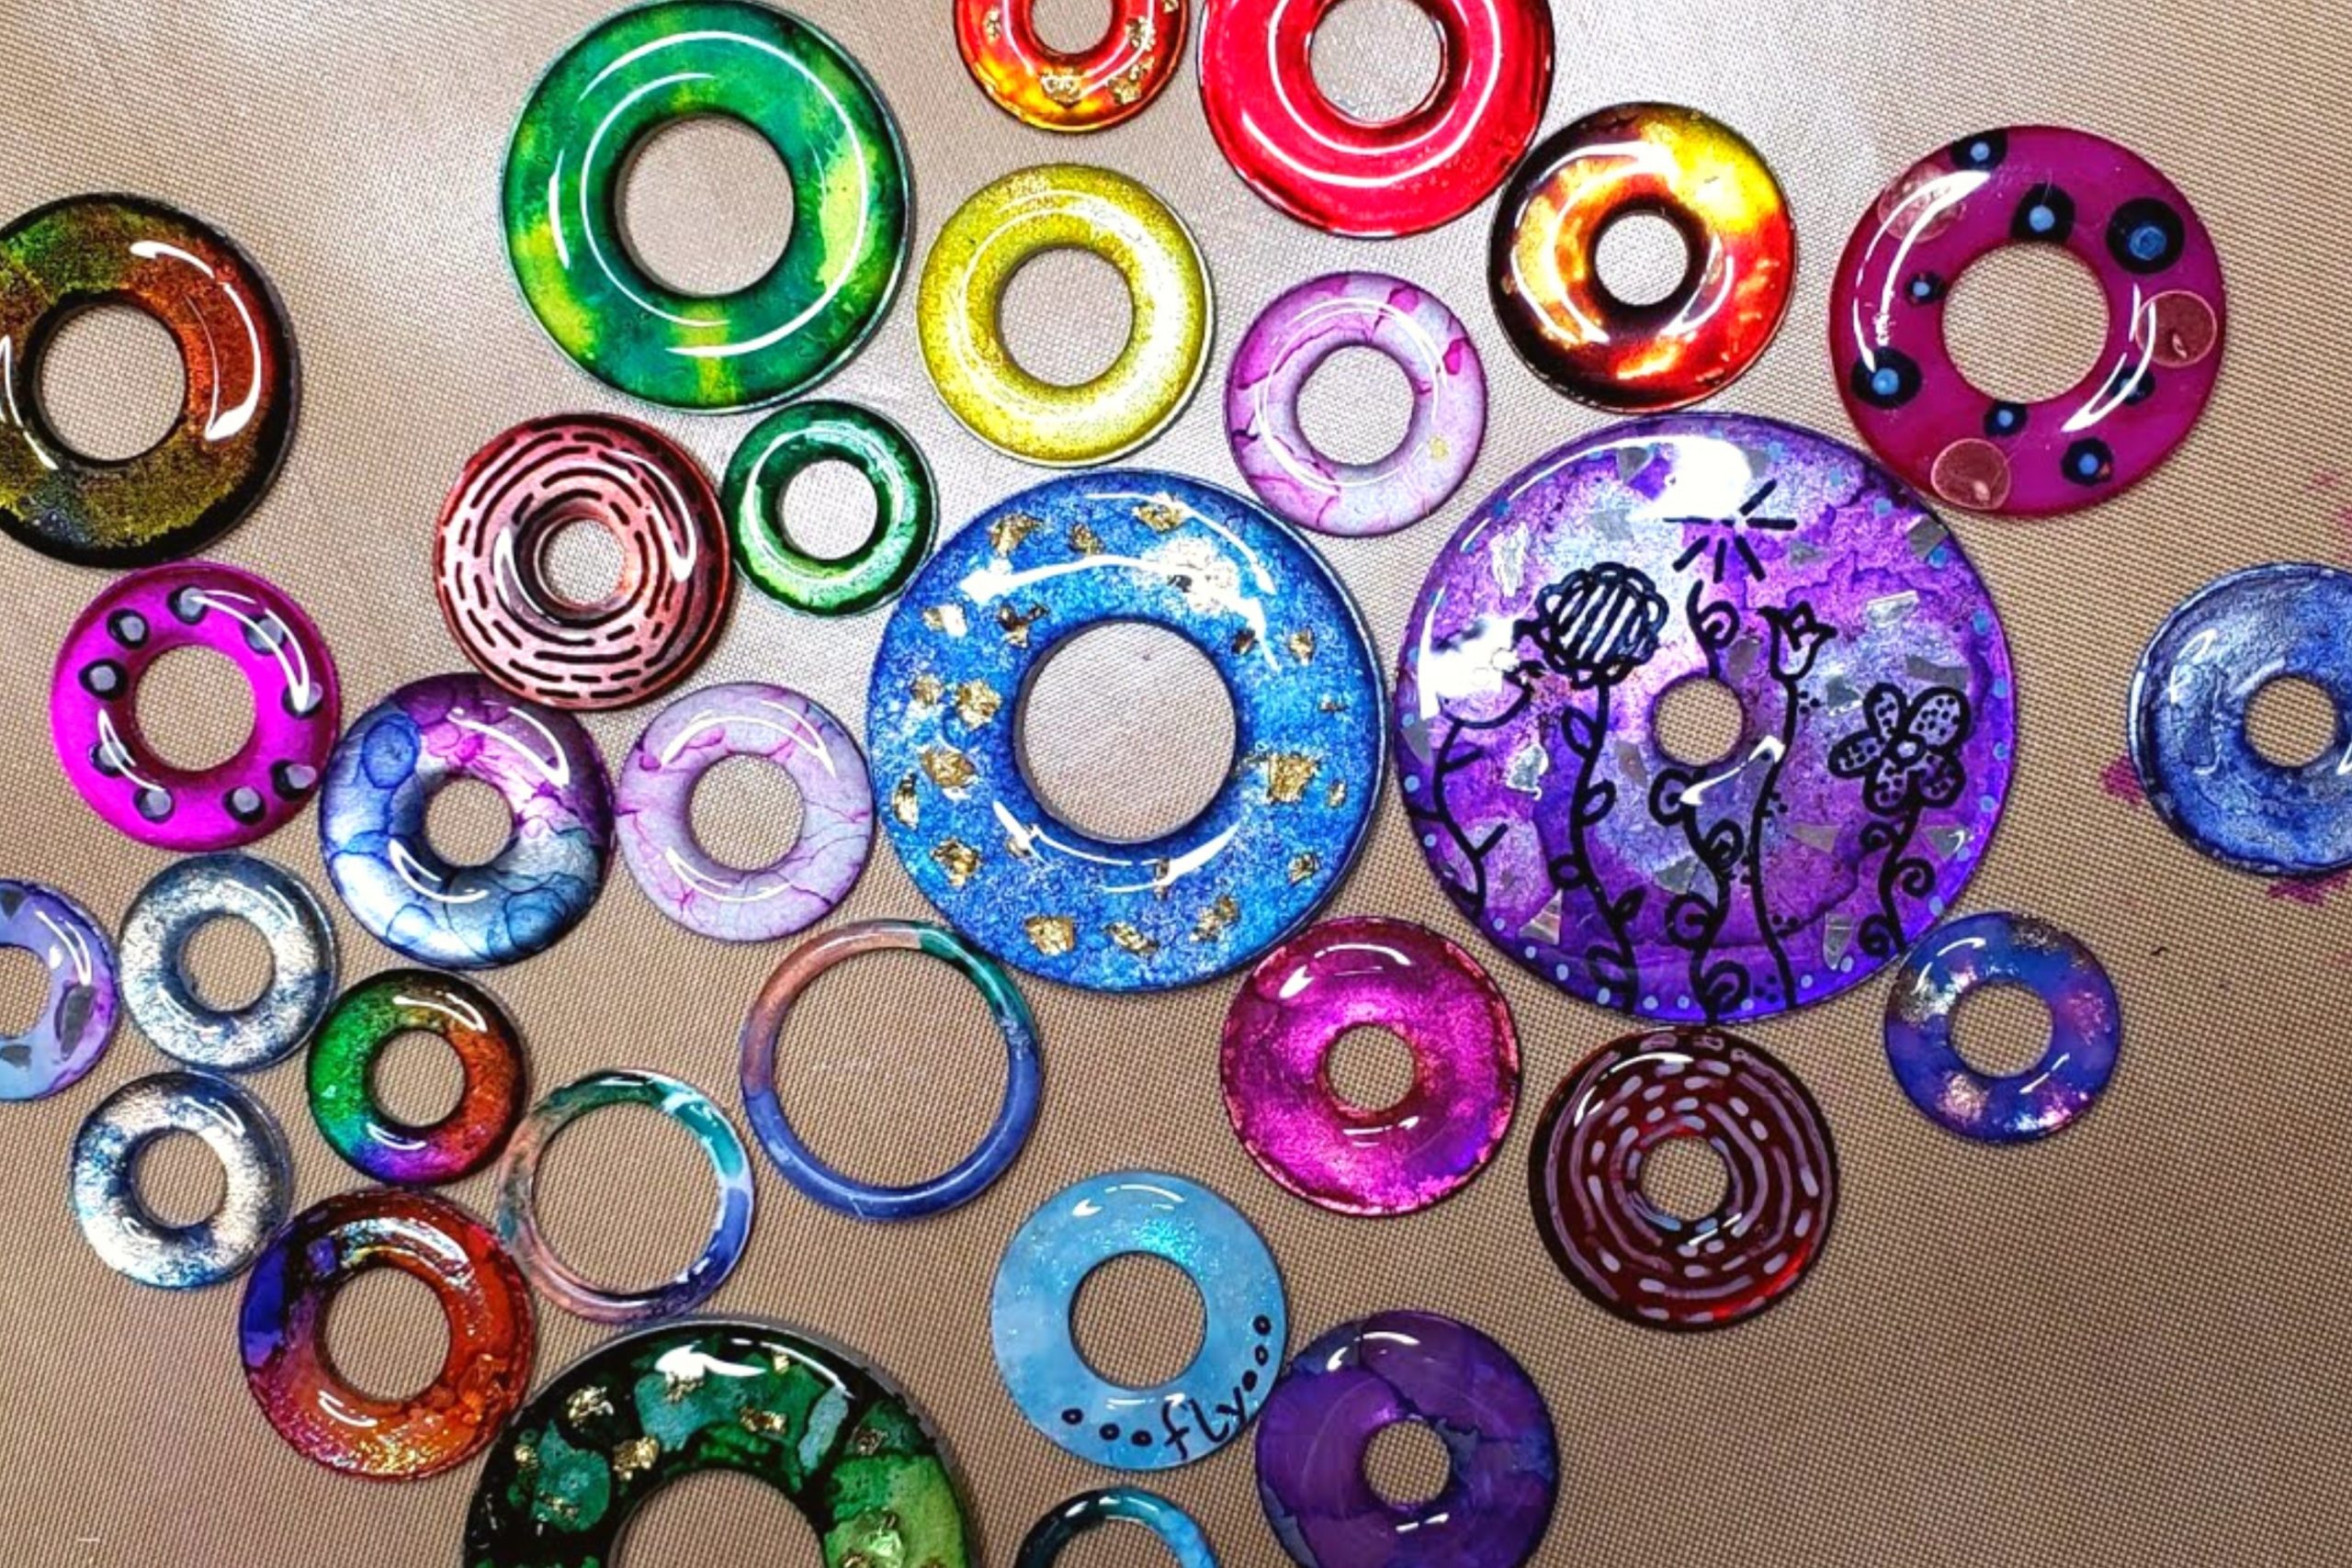
But you don’t have to stop there. You can use these really cool “paints” called alcohol inks. They like to swirl and merge around on material you’re painting and they come out so spectacular. These inks are alcohol based and really swirl and meld together in such beautiful ways.
You can buy small bottles of alcohol ink and only need a drop or two of the different colors. I like to seal them with clear nail polish or resin/epoxy to keep them looking shiny and new!
I’m not too picky about brands when it comes to alcohol ink. I usually just look for which store has it on special. Buying it in bulk or in a set with multiple colors will also be cheaper for you as well.
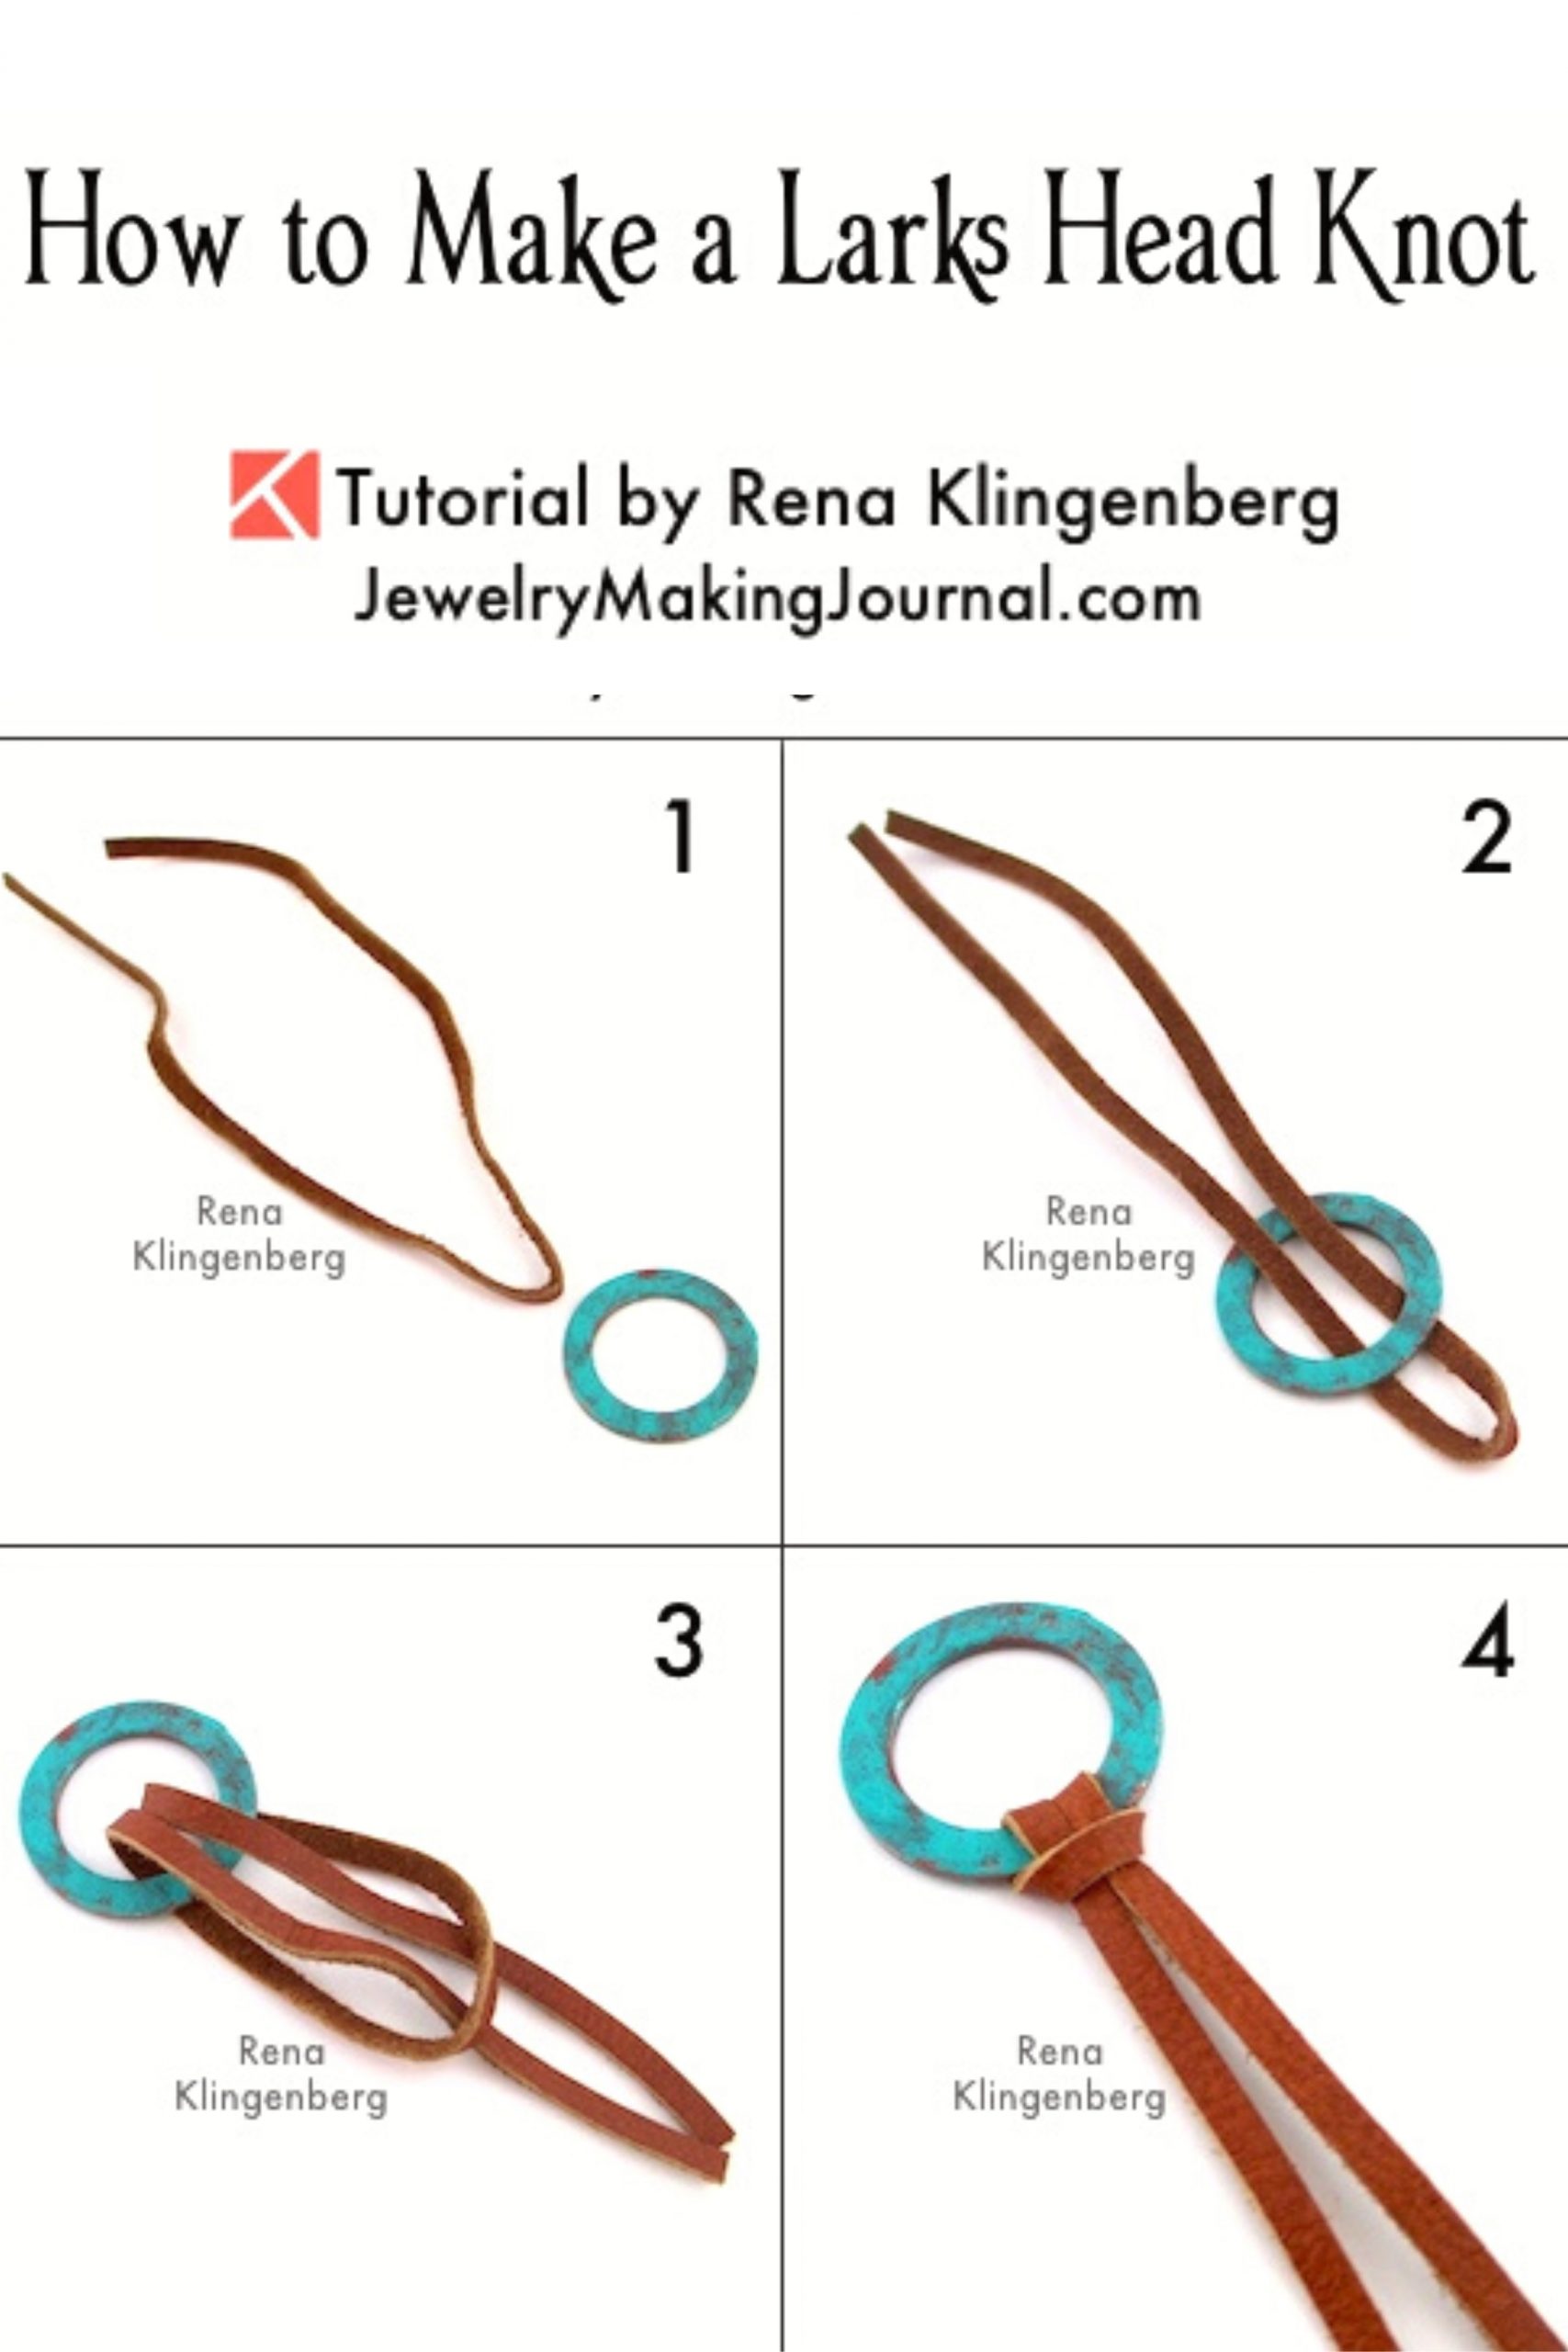
Cords to use for your fun art project is easy too. You can buy a roll of leather cord, elastic cord or even hemp cords. Making the knot is super simple as well! It’s called a Larks Head Knot and jewelrymakingjournal.com has a super easy image to follow.
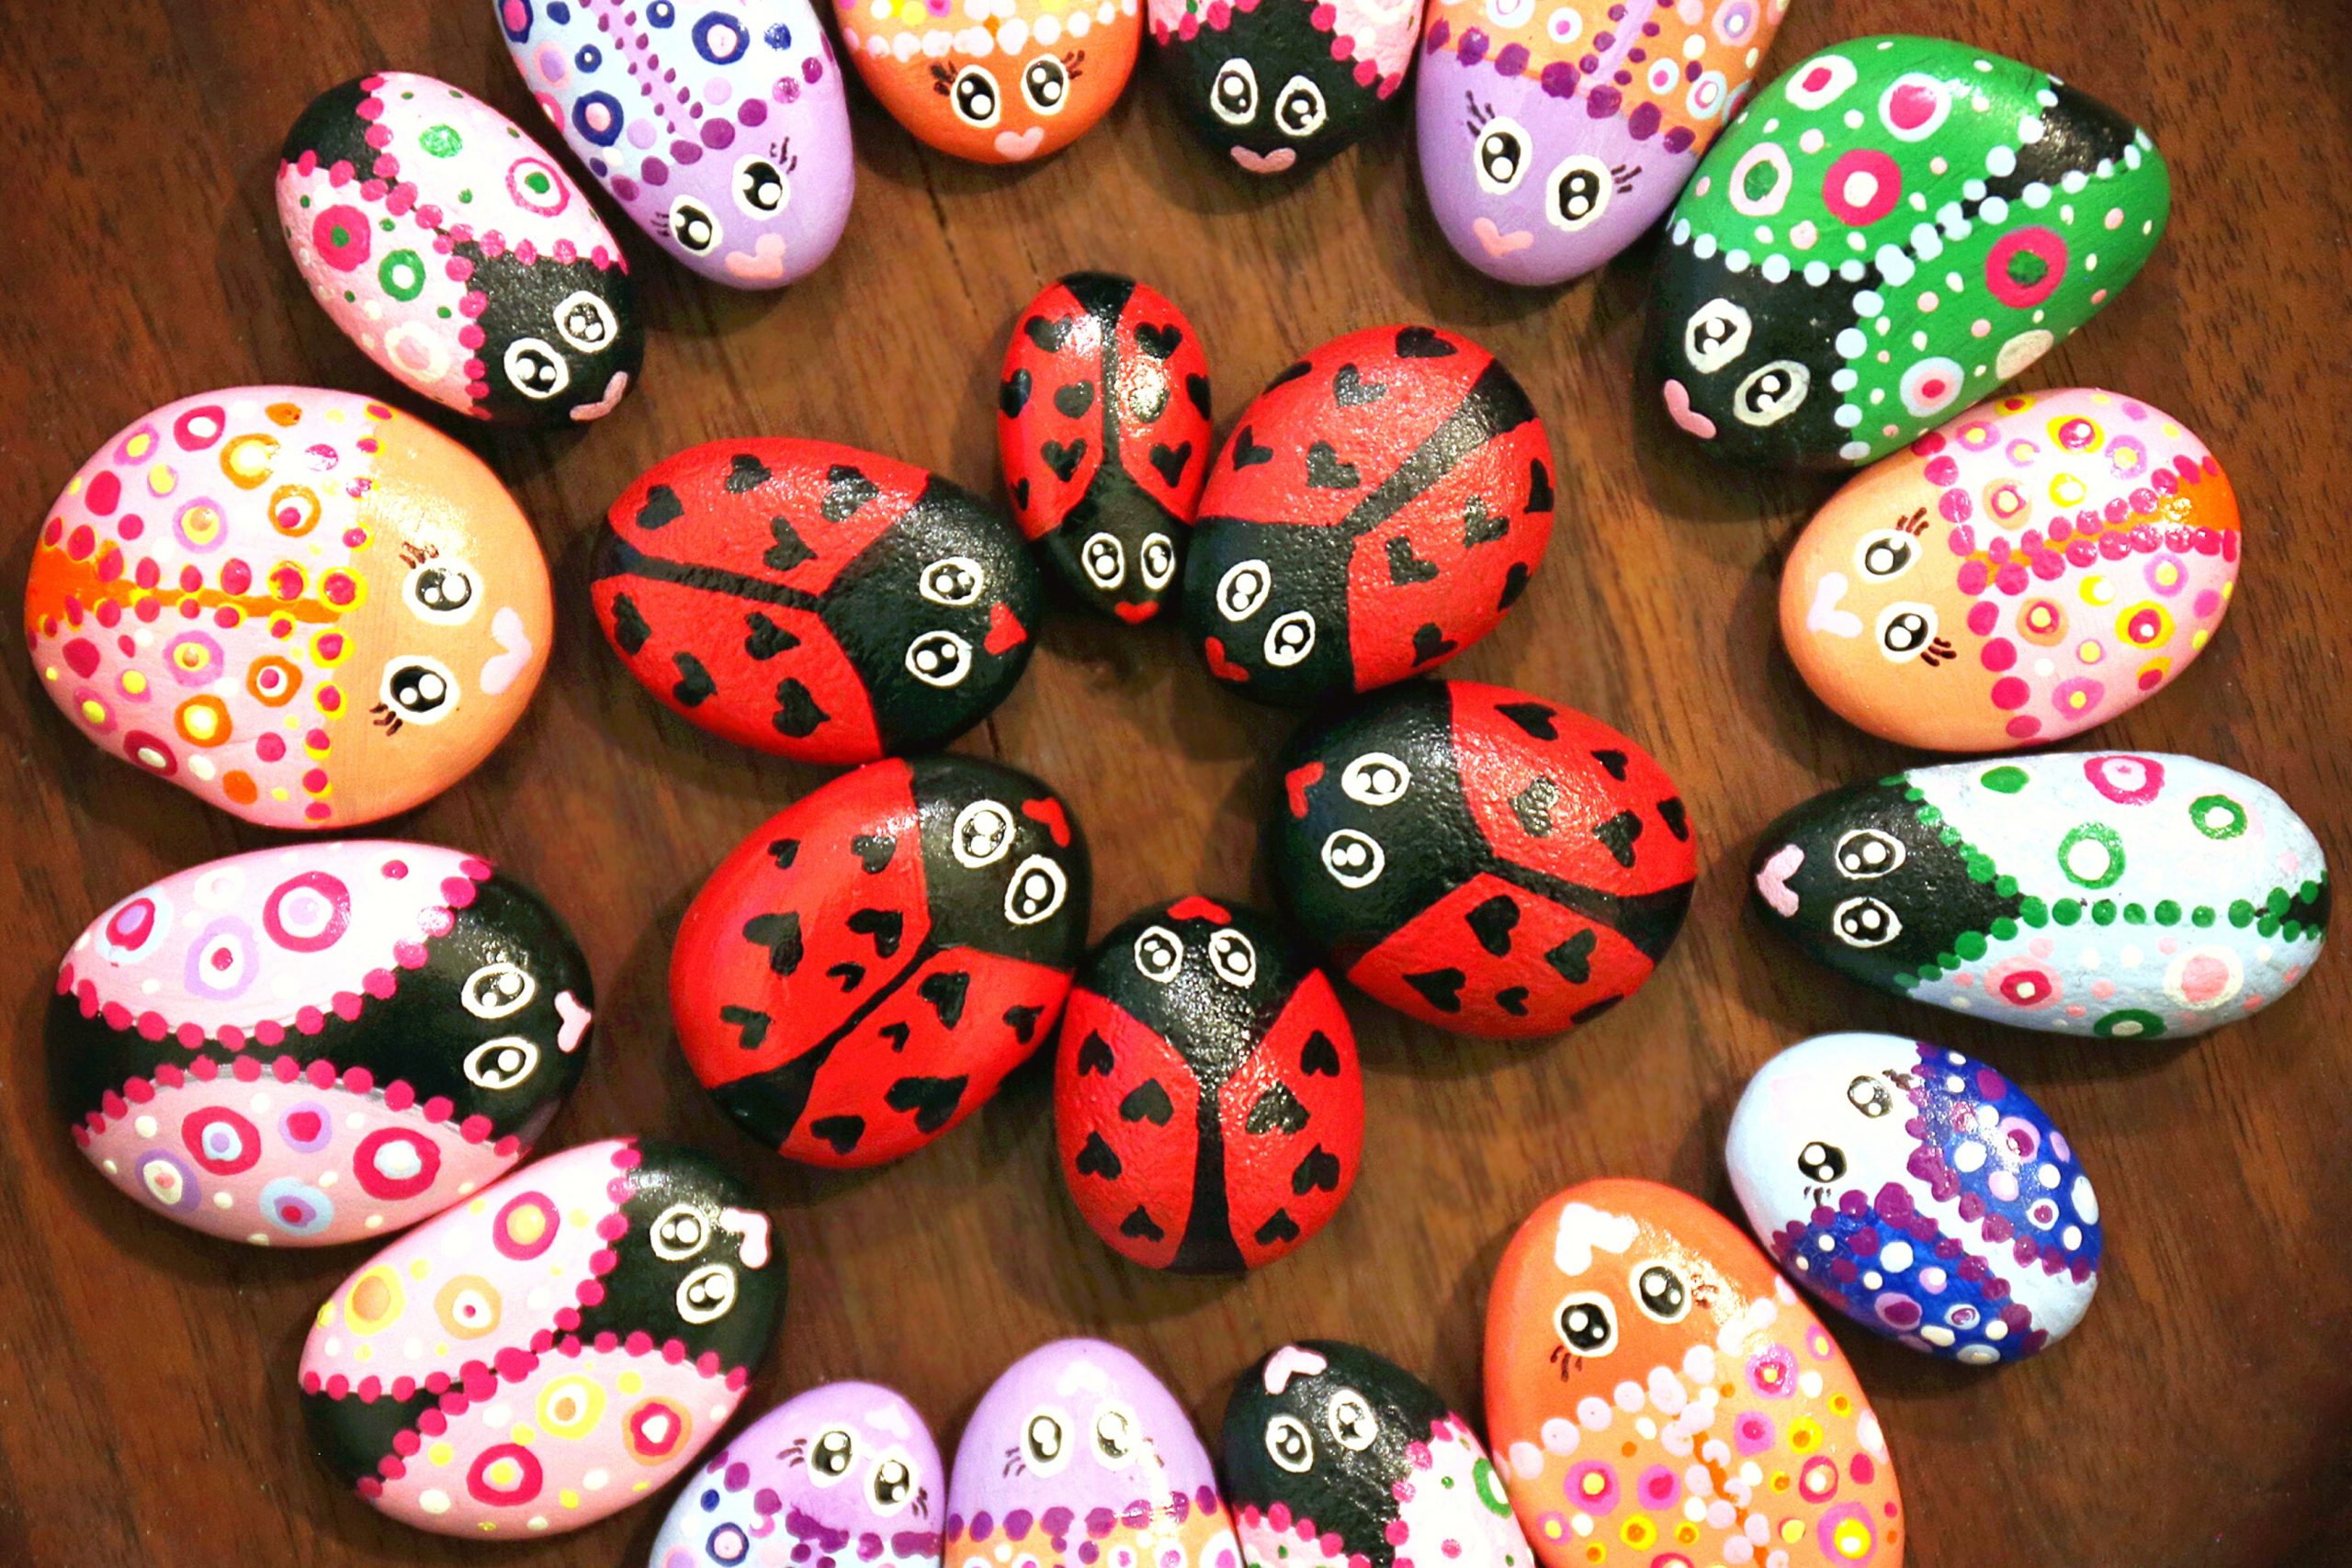
Go for Zen Art Projects With Painted Rocks!
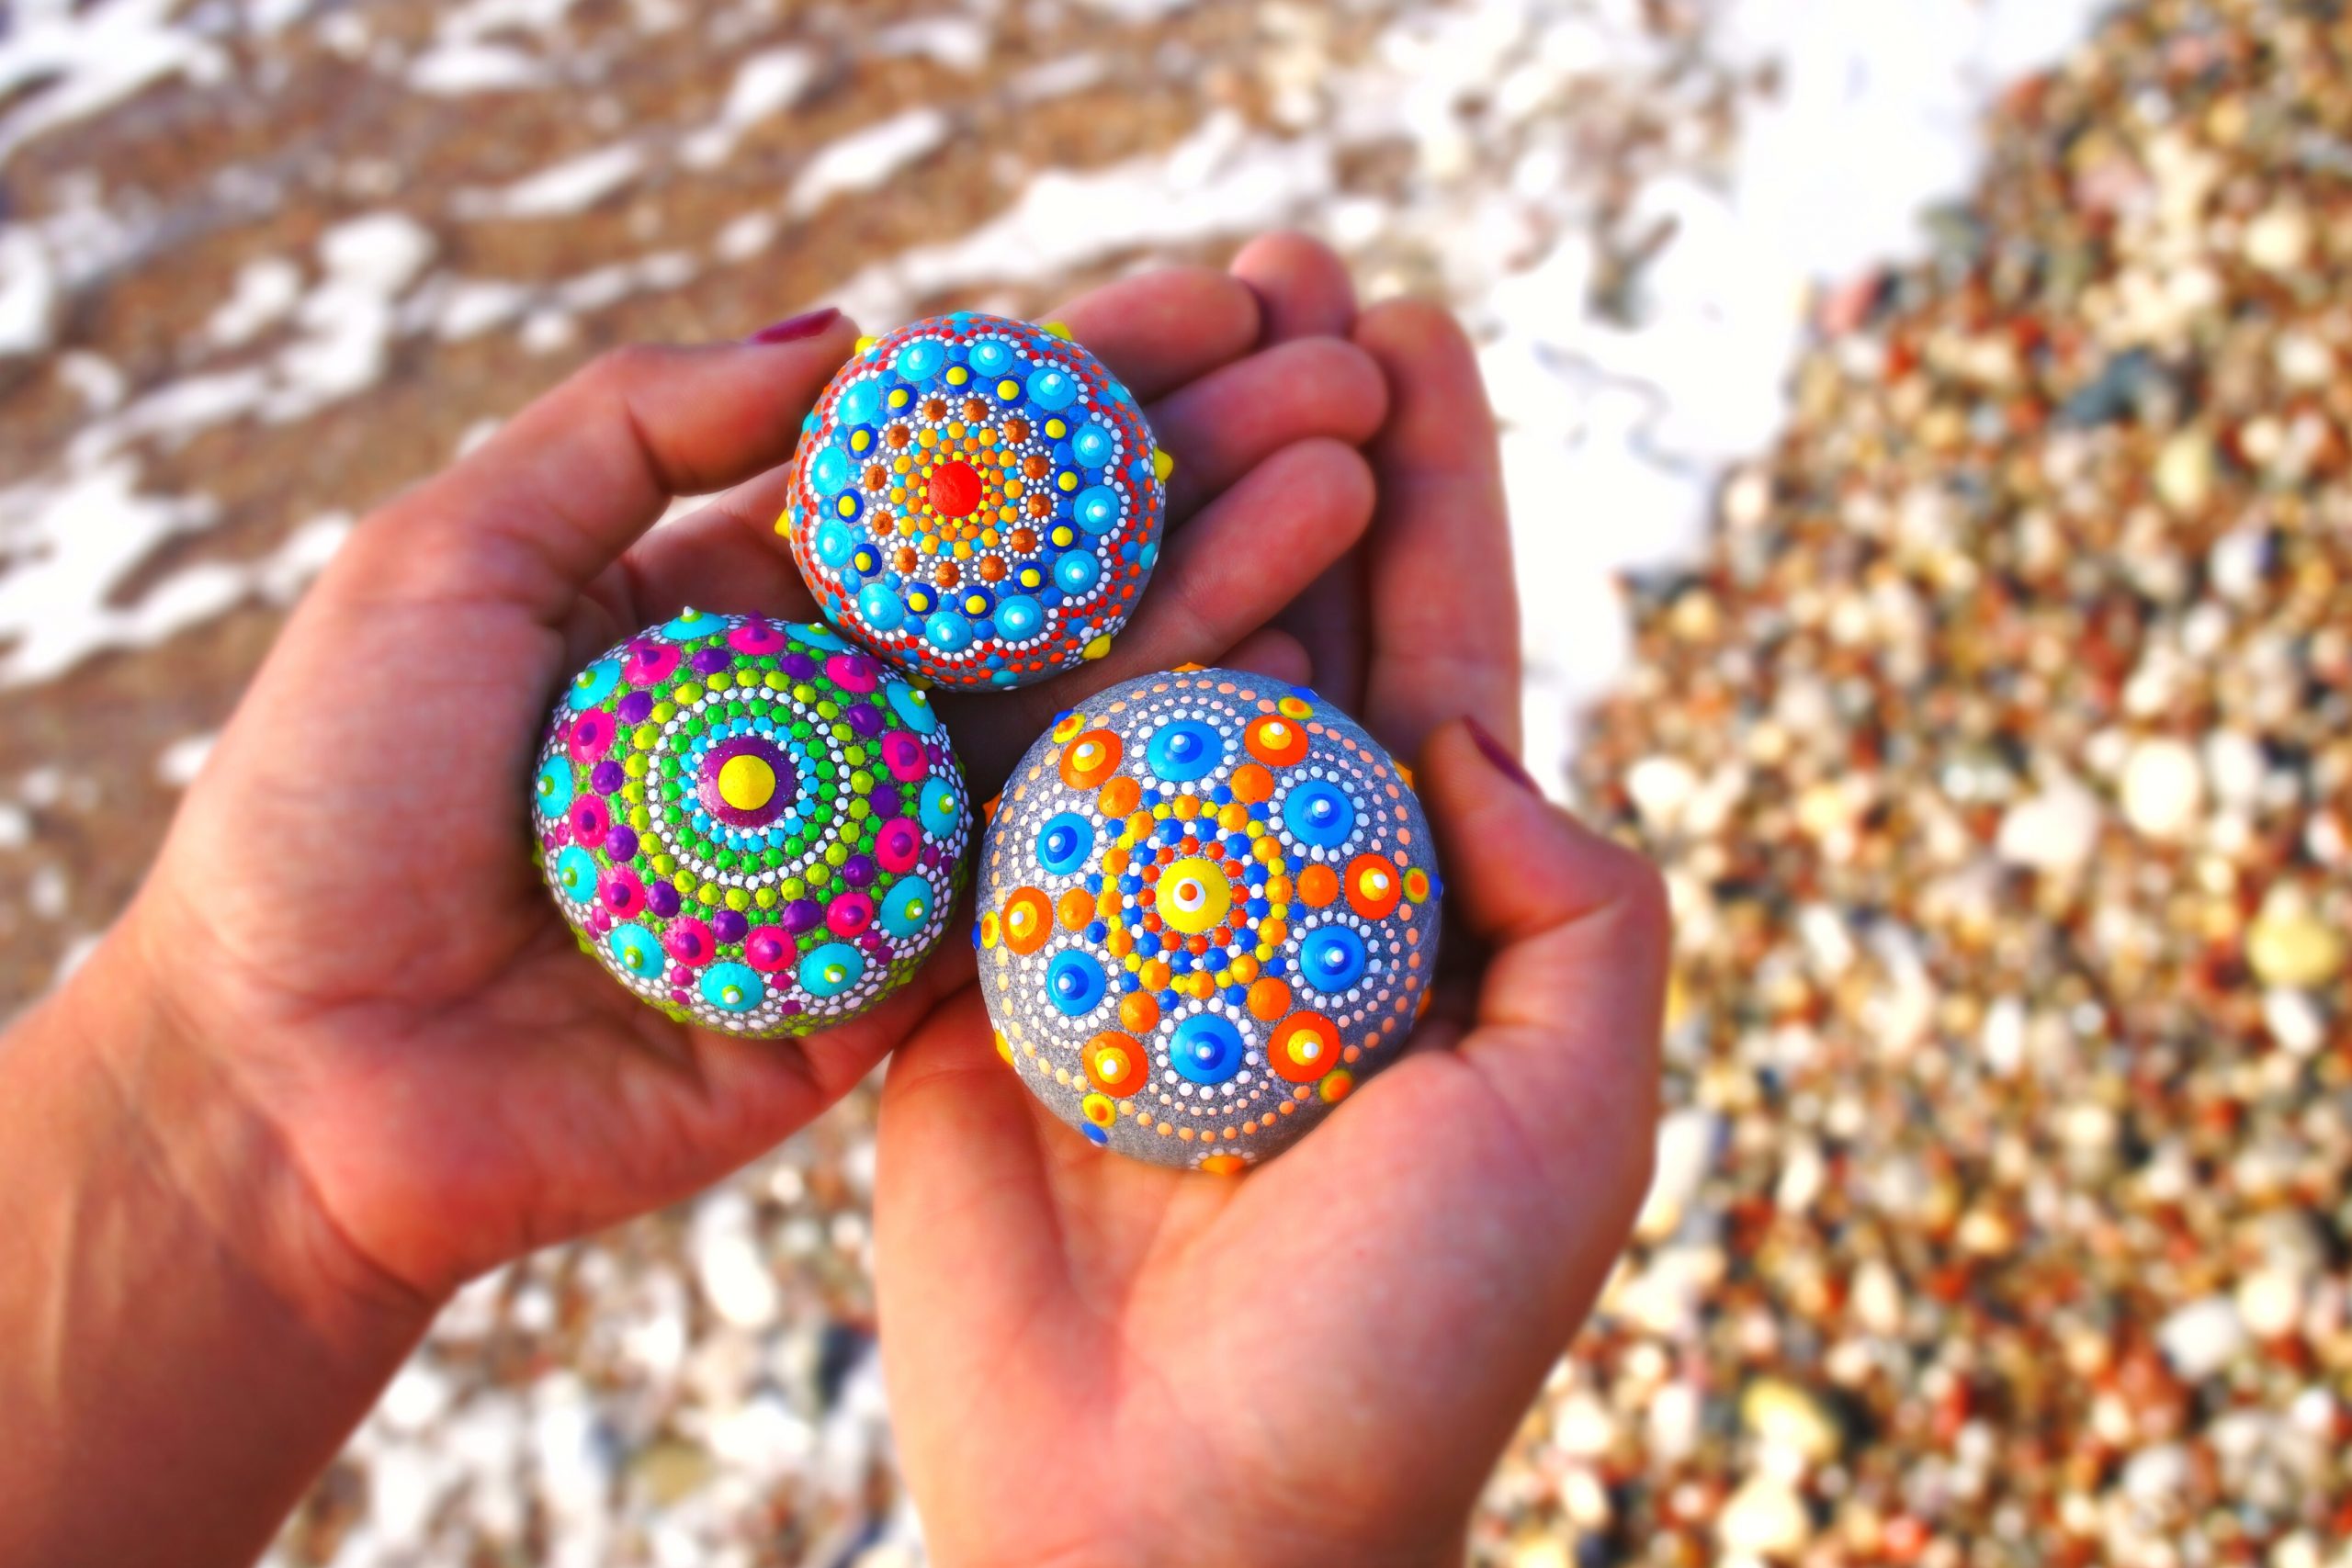
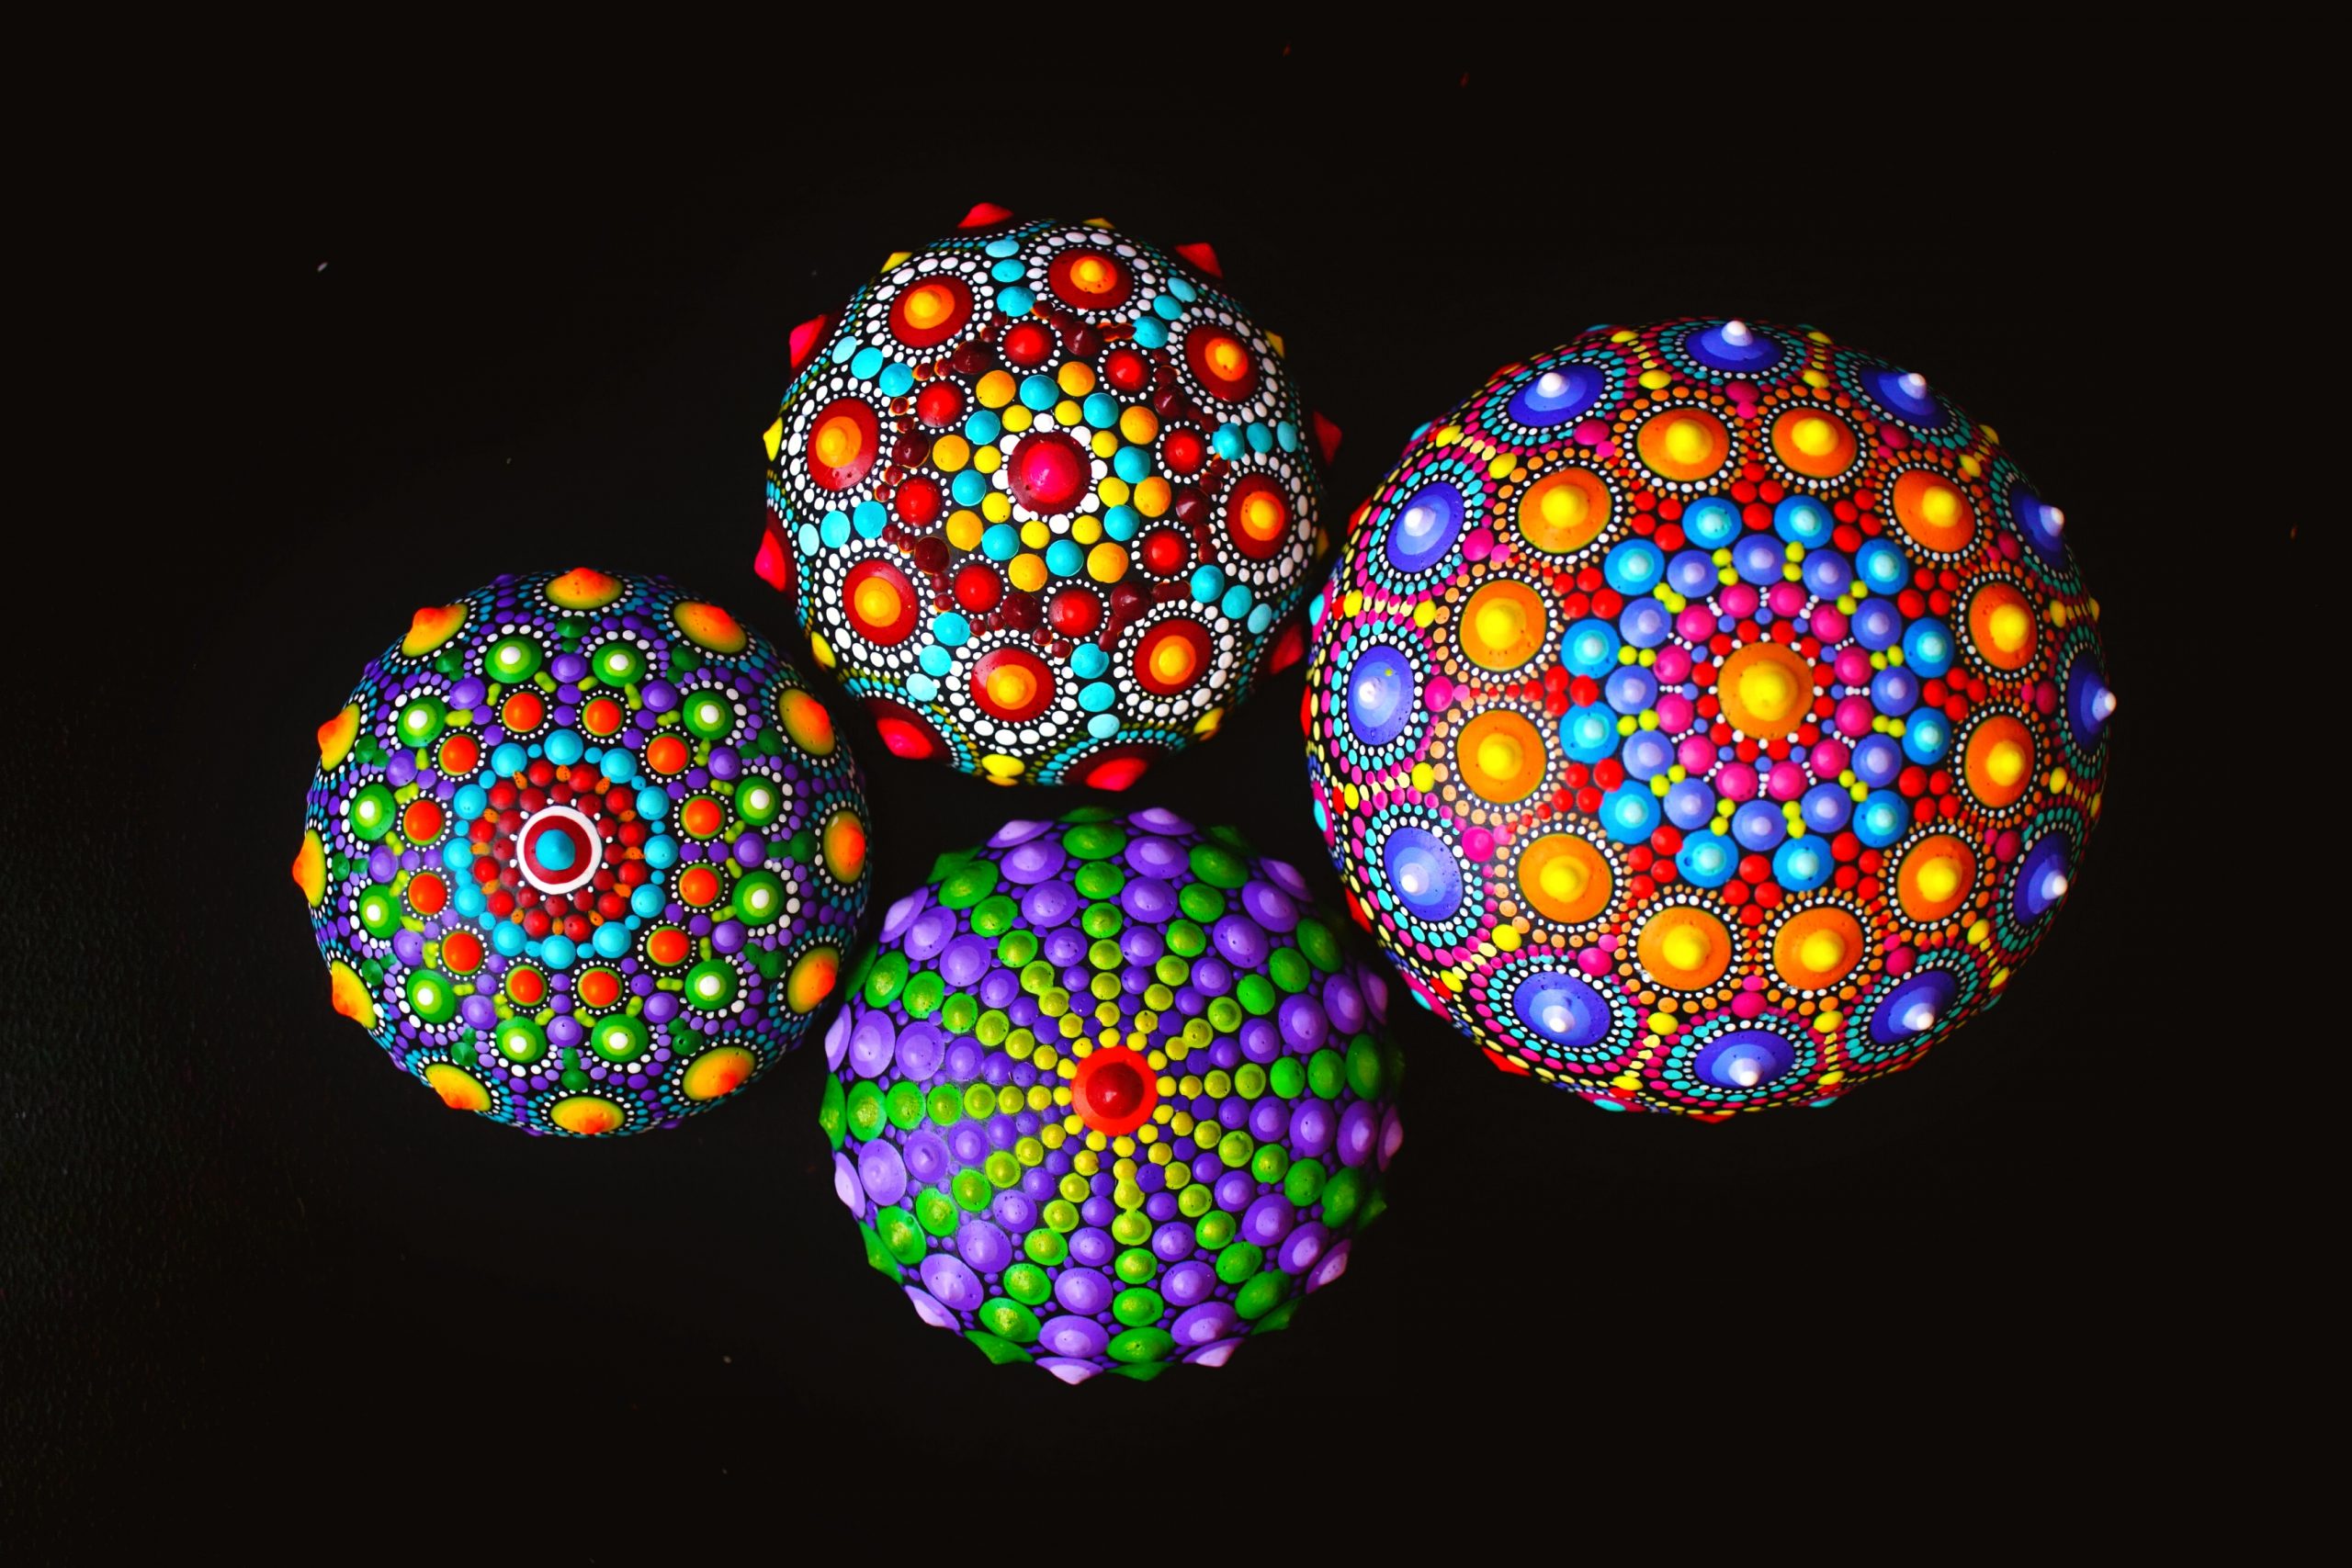
Another fan favorite is painting mandala patterns or other images on rocks. This is fun and easy and pretty cost effective as well. I also find the act of repeatedly painting the same pattern in a specific order very therapeutic.
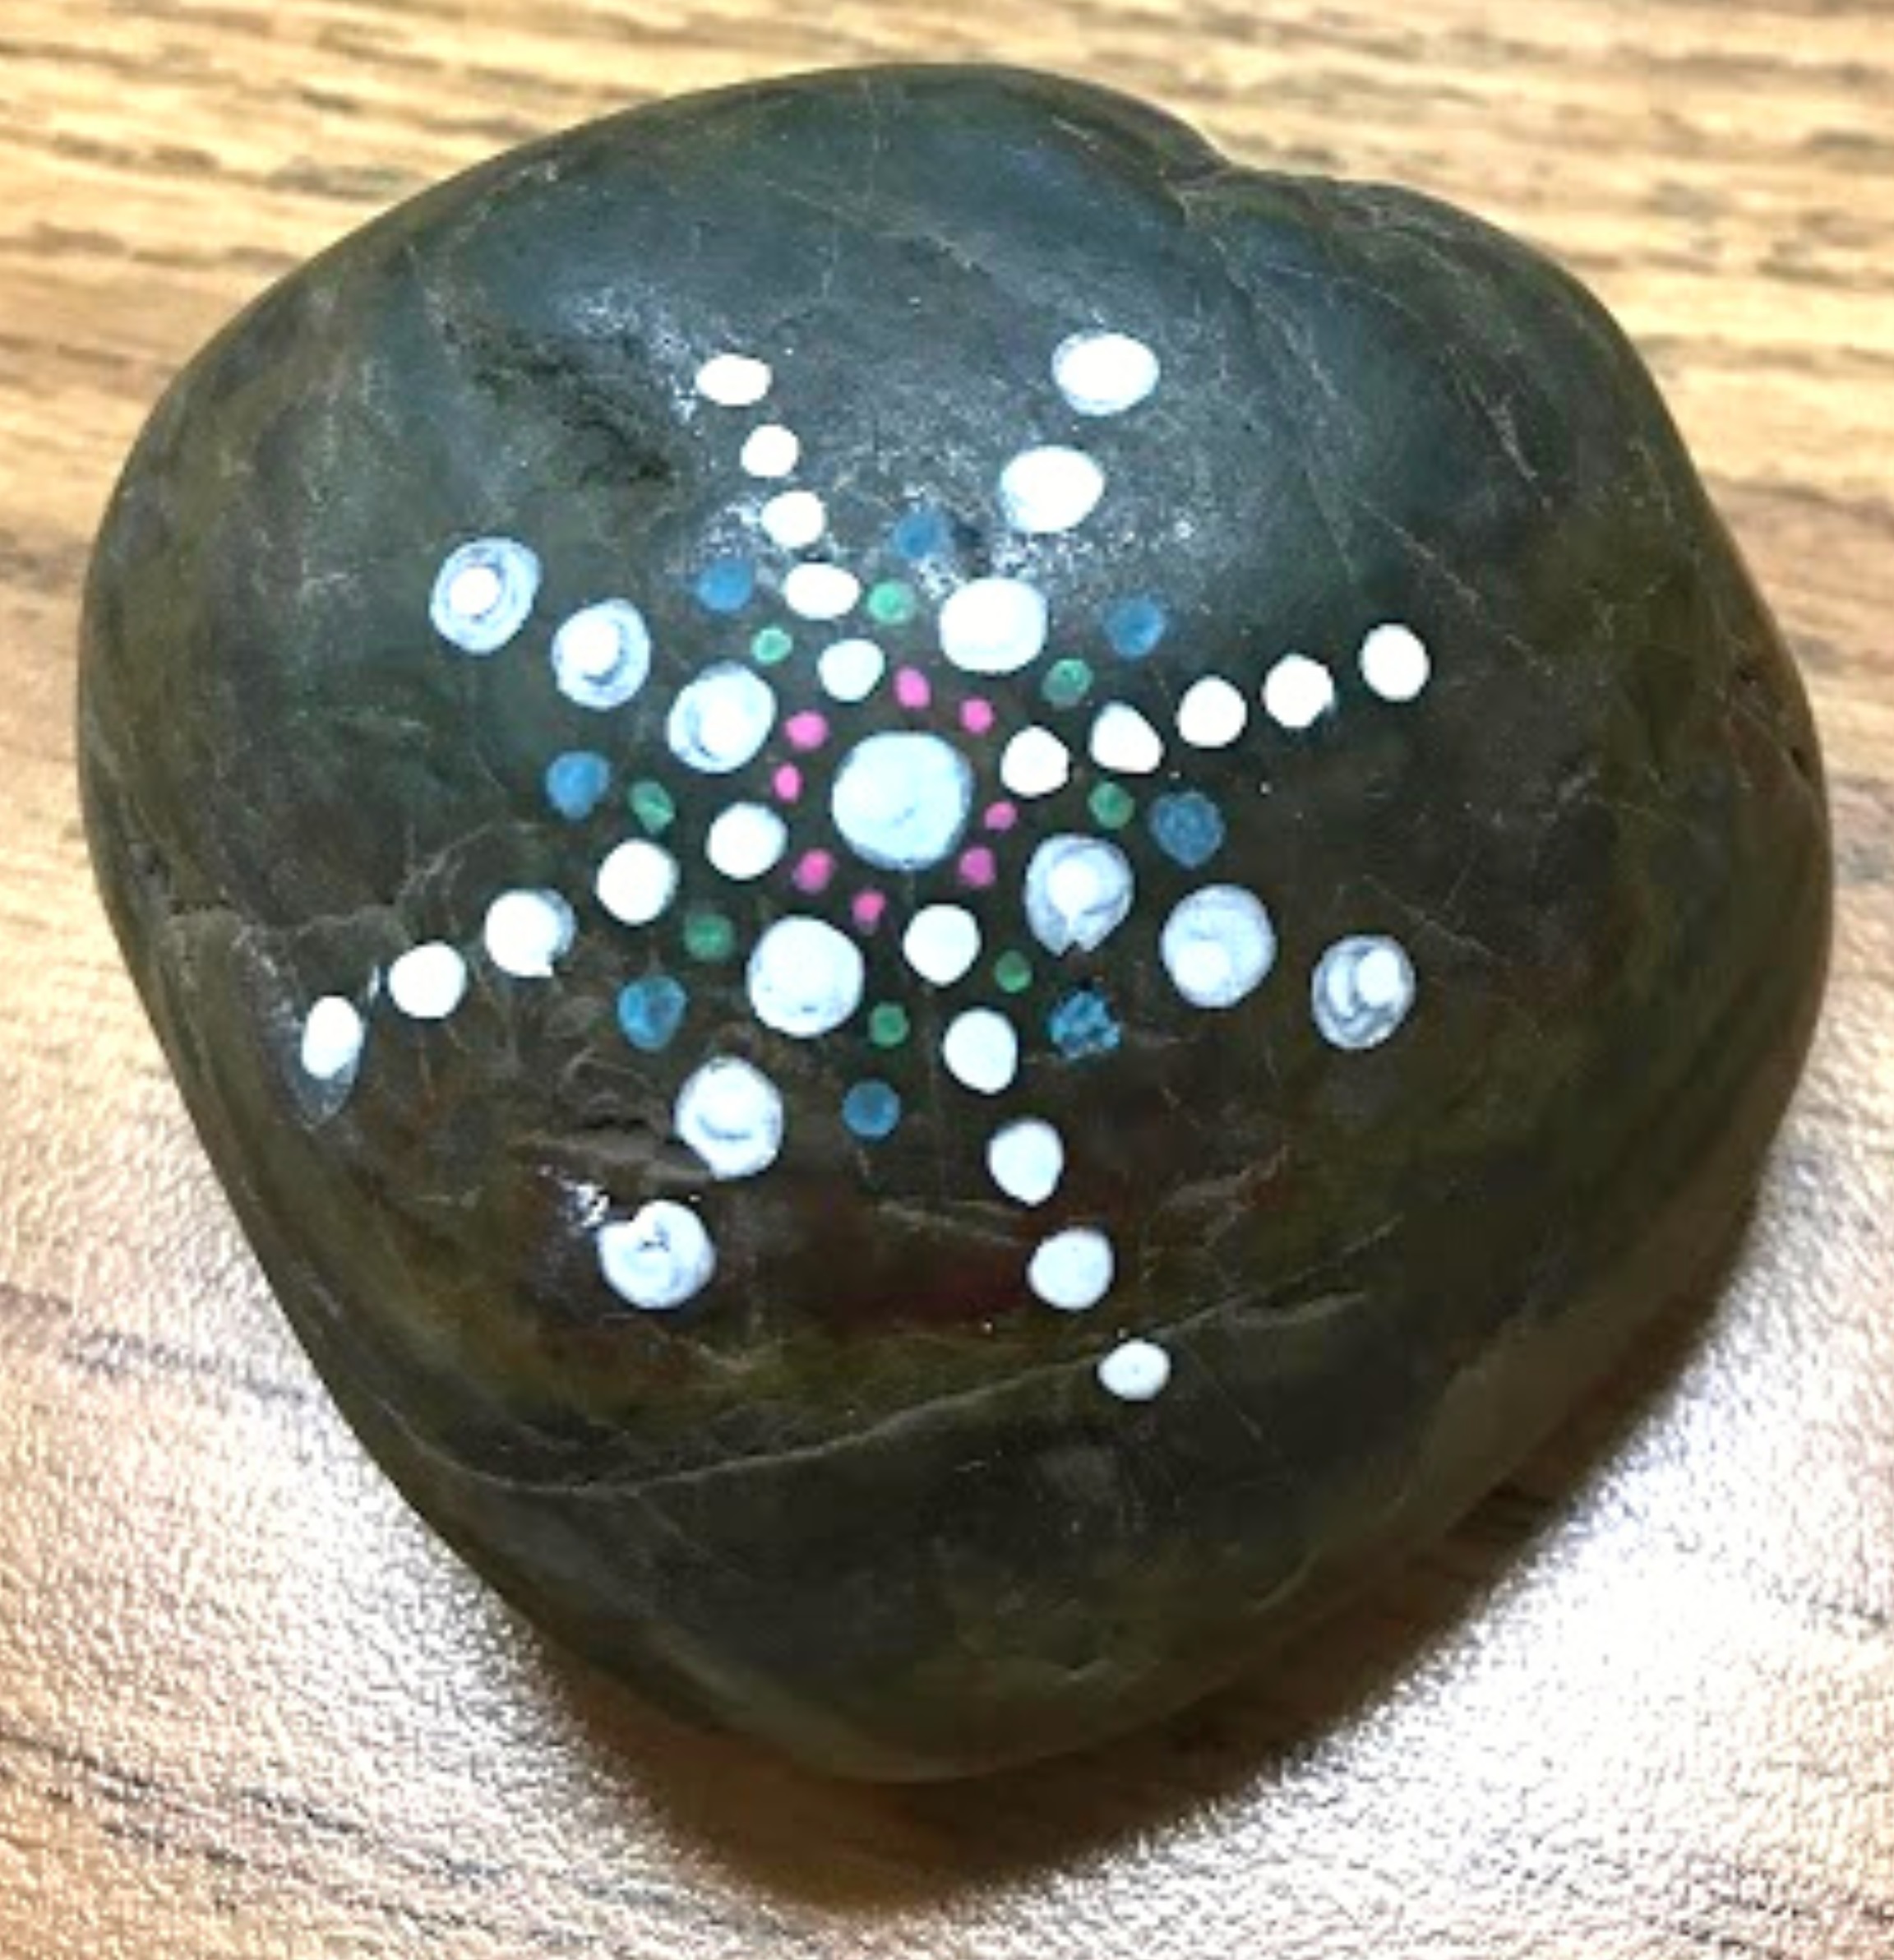
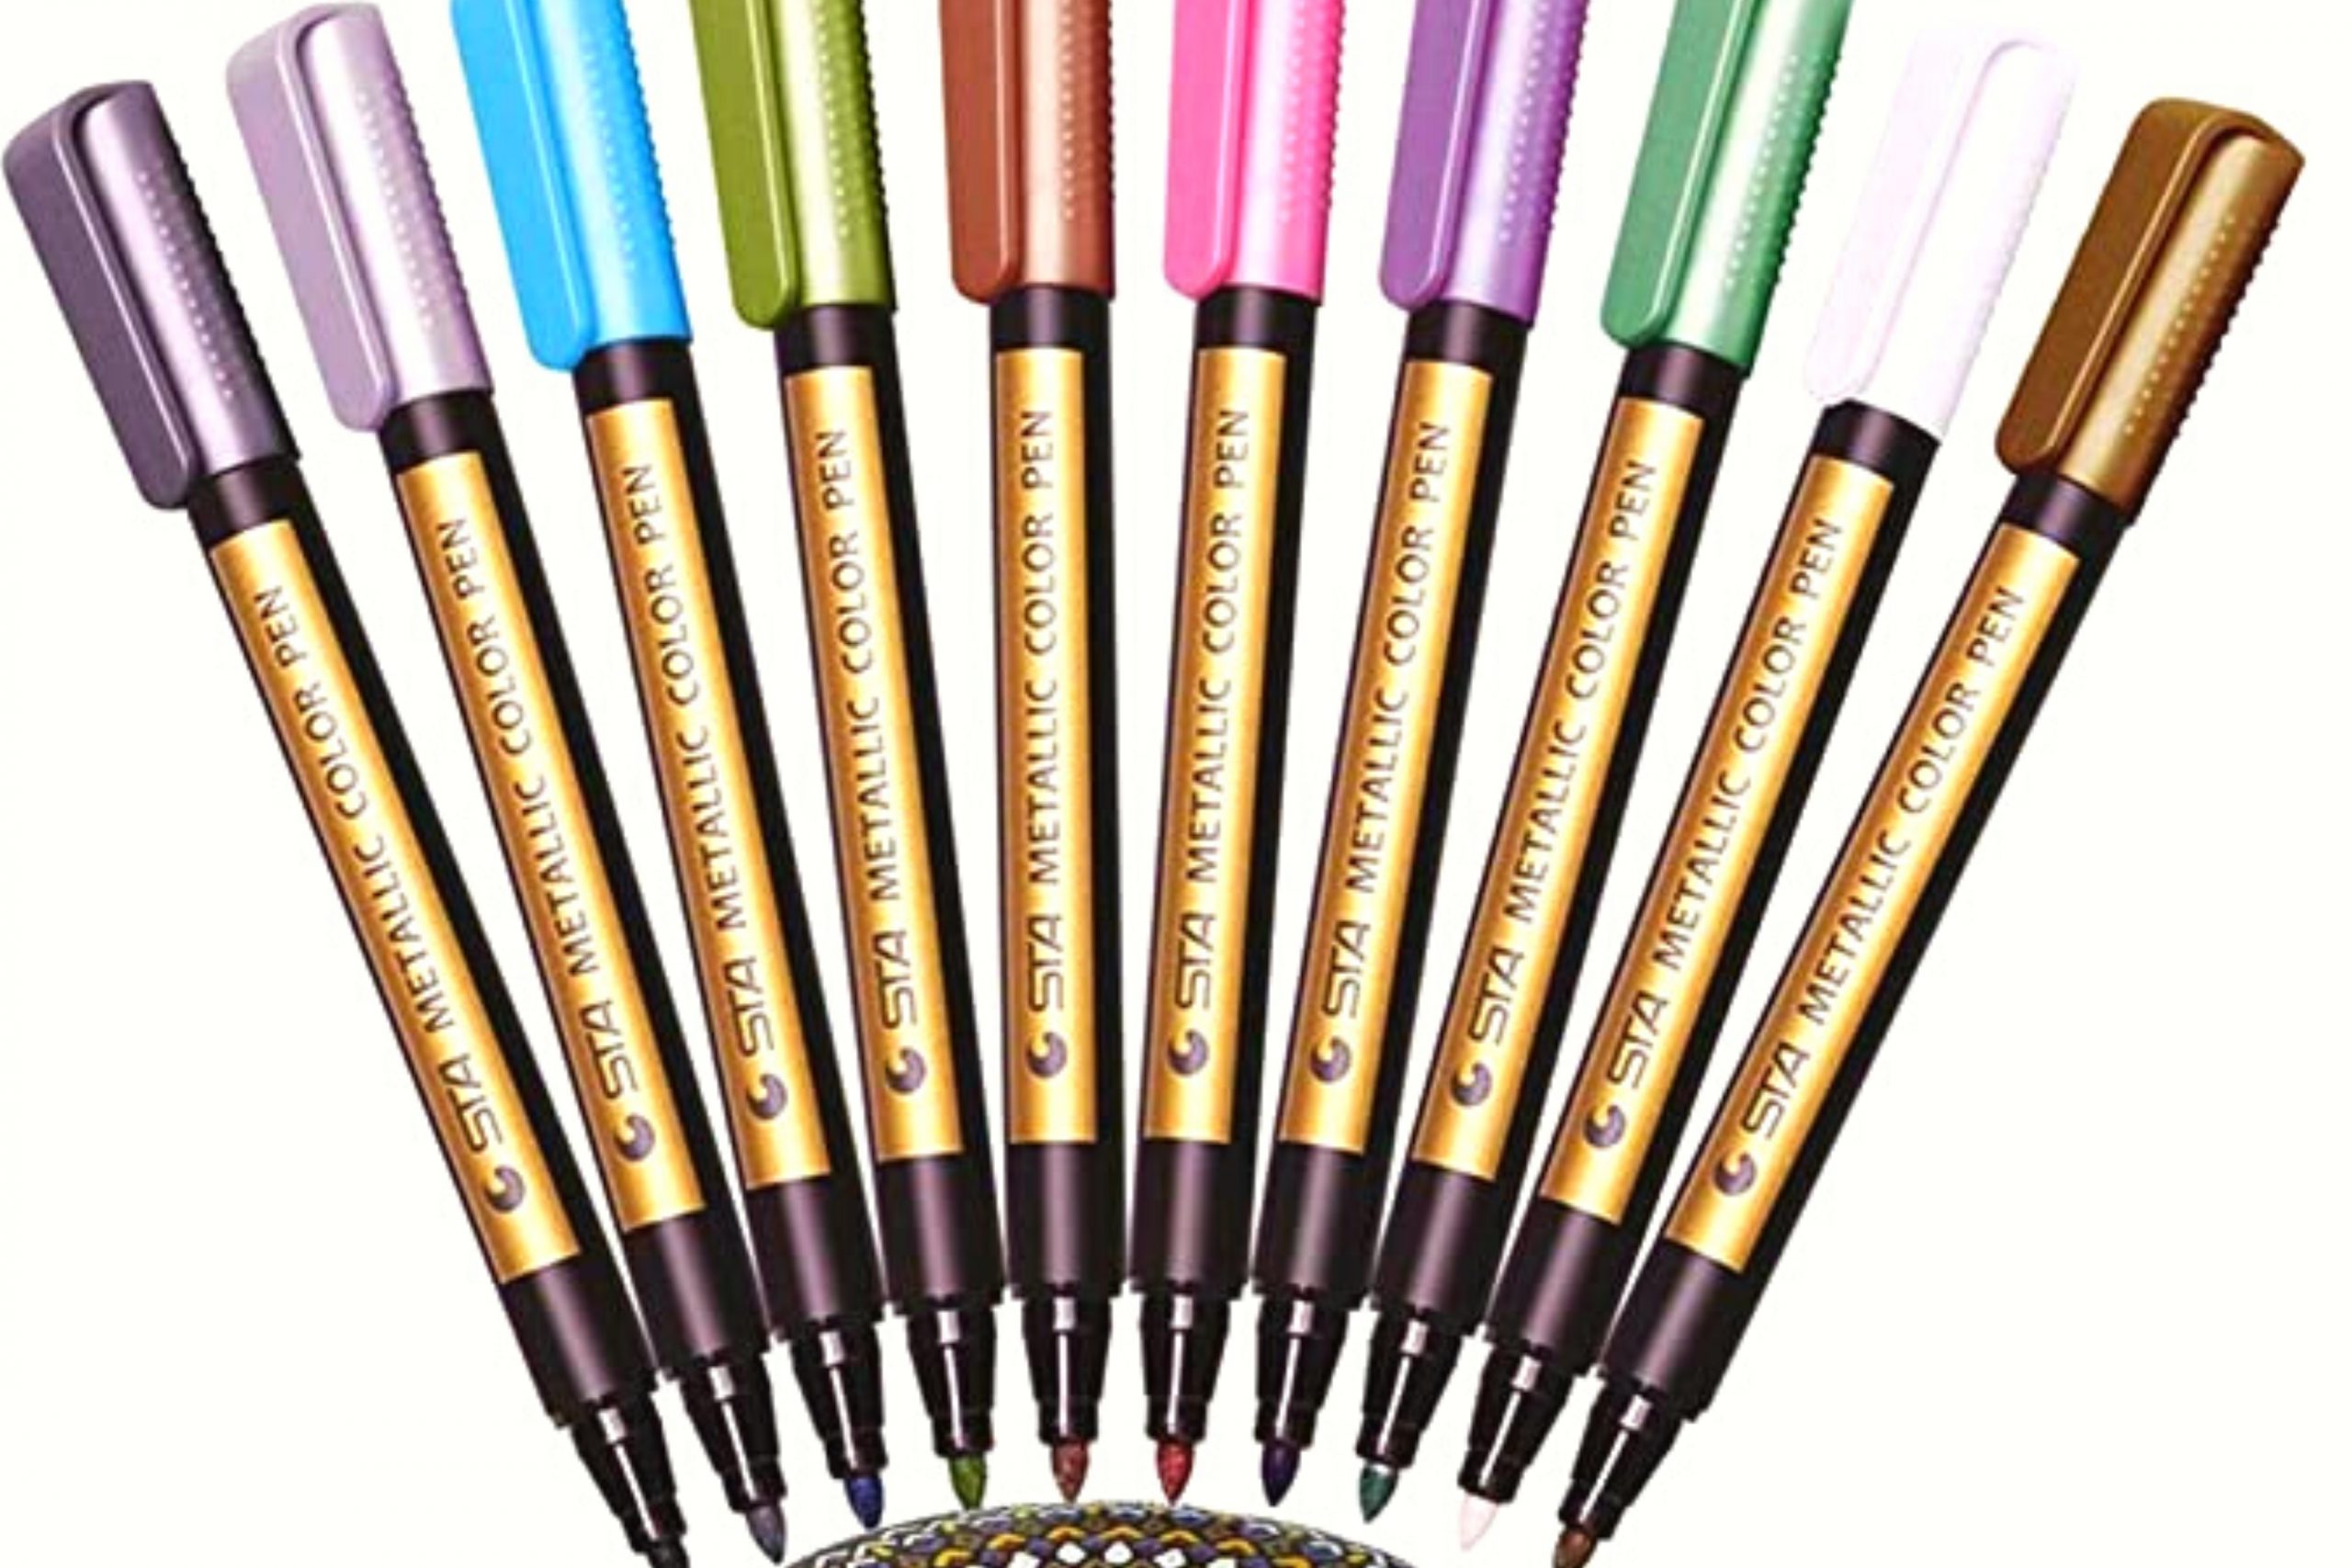
Believe it or not for these rocks. I actually skip the puff paint and go straight to acrylic paint pens.
They give you a lot more control when it comes to the use of your paint as well as the tip naturally makes a circular pattern for you.
They come in two to three different sizes of tips and lots of fun colors!
They also drive a lot faster and don’t have quite as thick a texture as the puff paint tends to have. So depending on what look you’re going for the puff paints offer a more three-dimensional tactile experience on the materials you’re working with and the paint pens tend to be flatter on the surface of your work.
I painted this rock with a paint pen.
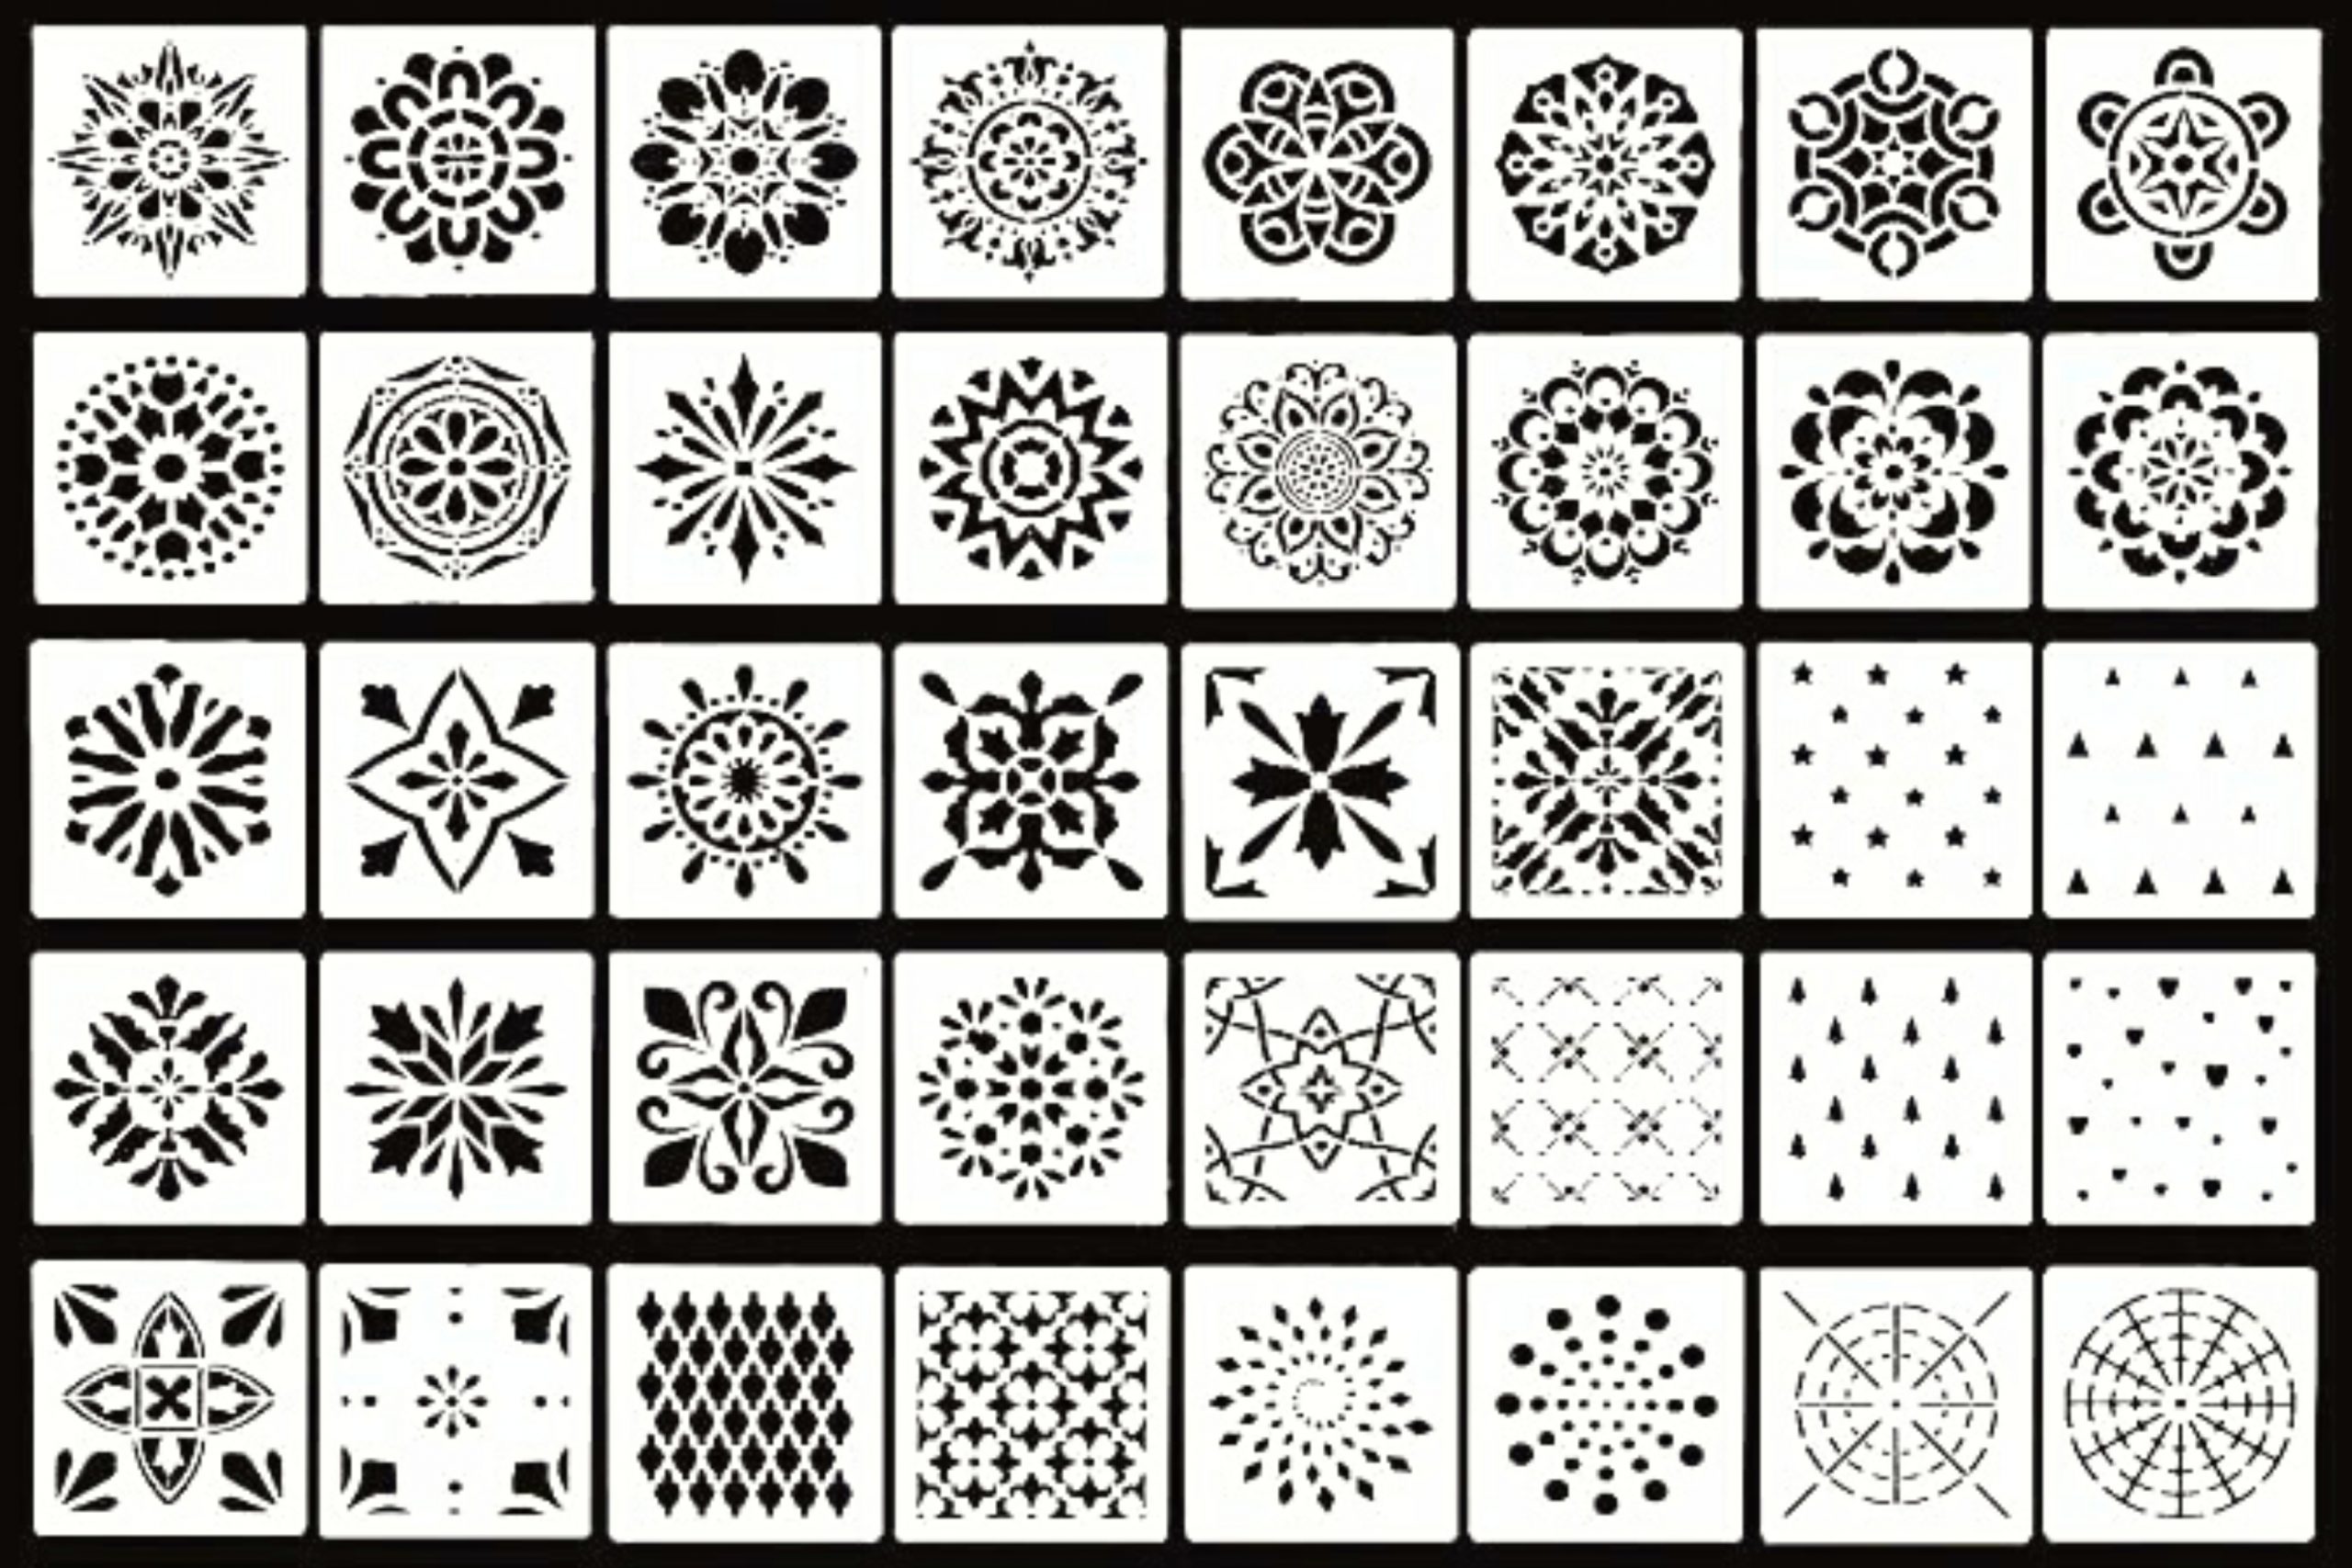
You can sketch your lines with chalk first if you feel you need to. (They even sell stencils you can use to get started) I have a few that I bought from Amazon that are called “mandala stencils” Here is a link to the set I bought.
Here are a few beautiful mandala images I have found to give you some inspiration.
Fun Projects Include Shrinky Dinks, Of Course. . .
Another fun material to work with is Shrinky Dink. It’s a friendly plastic that you can draw on and then you melt it in the oven and it shrinks and hardens to a thick plastic! You can use them to make a charm bracelet, keychains, backpack pulls and more!
The steps…
Buy some Shrinky dink sheets. You can get them on amazon or any of the usual craft stores you like to hit up. It comes in clear or white. I prefer clear!
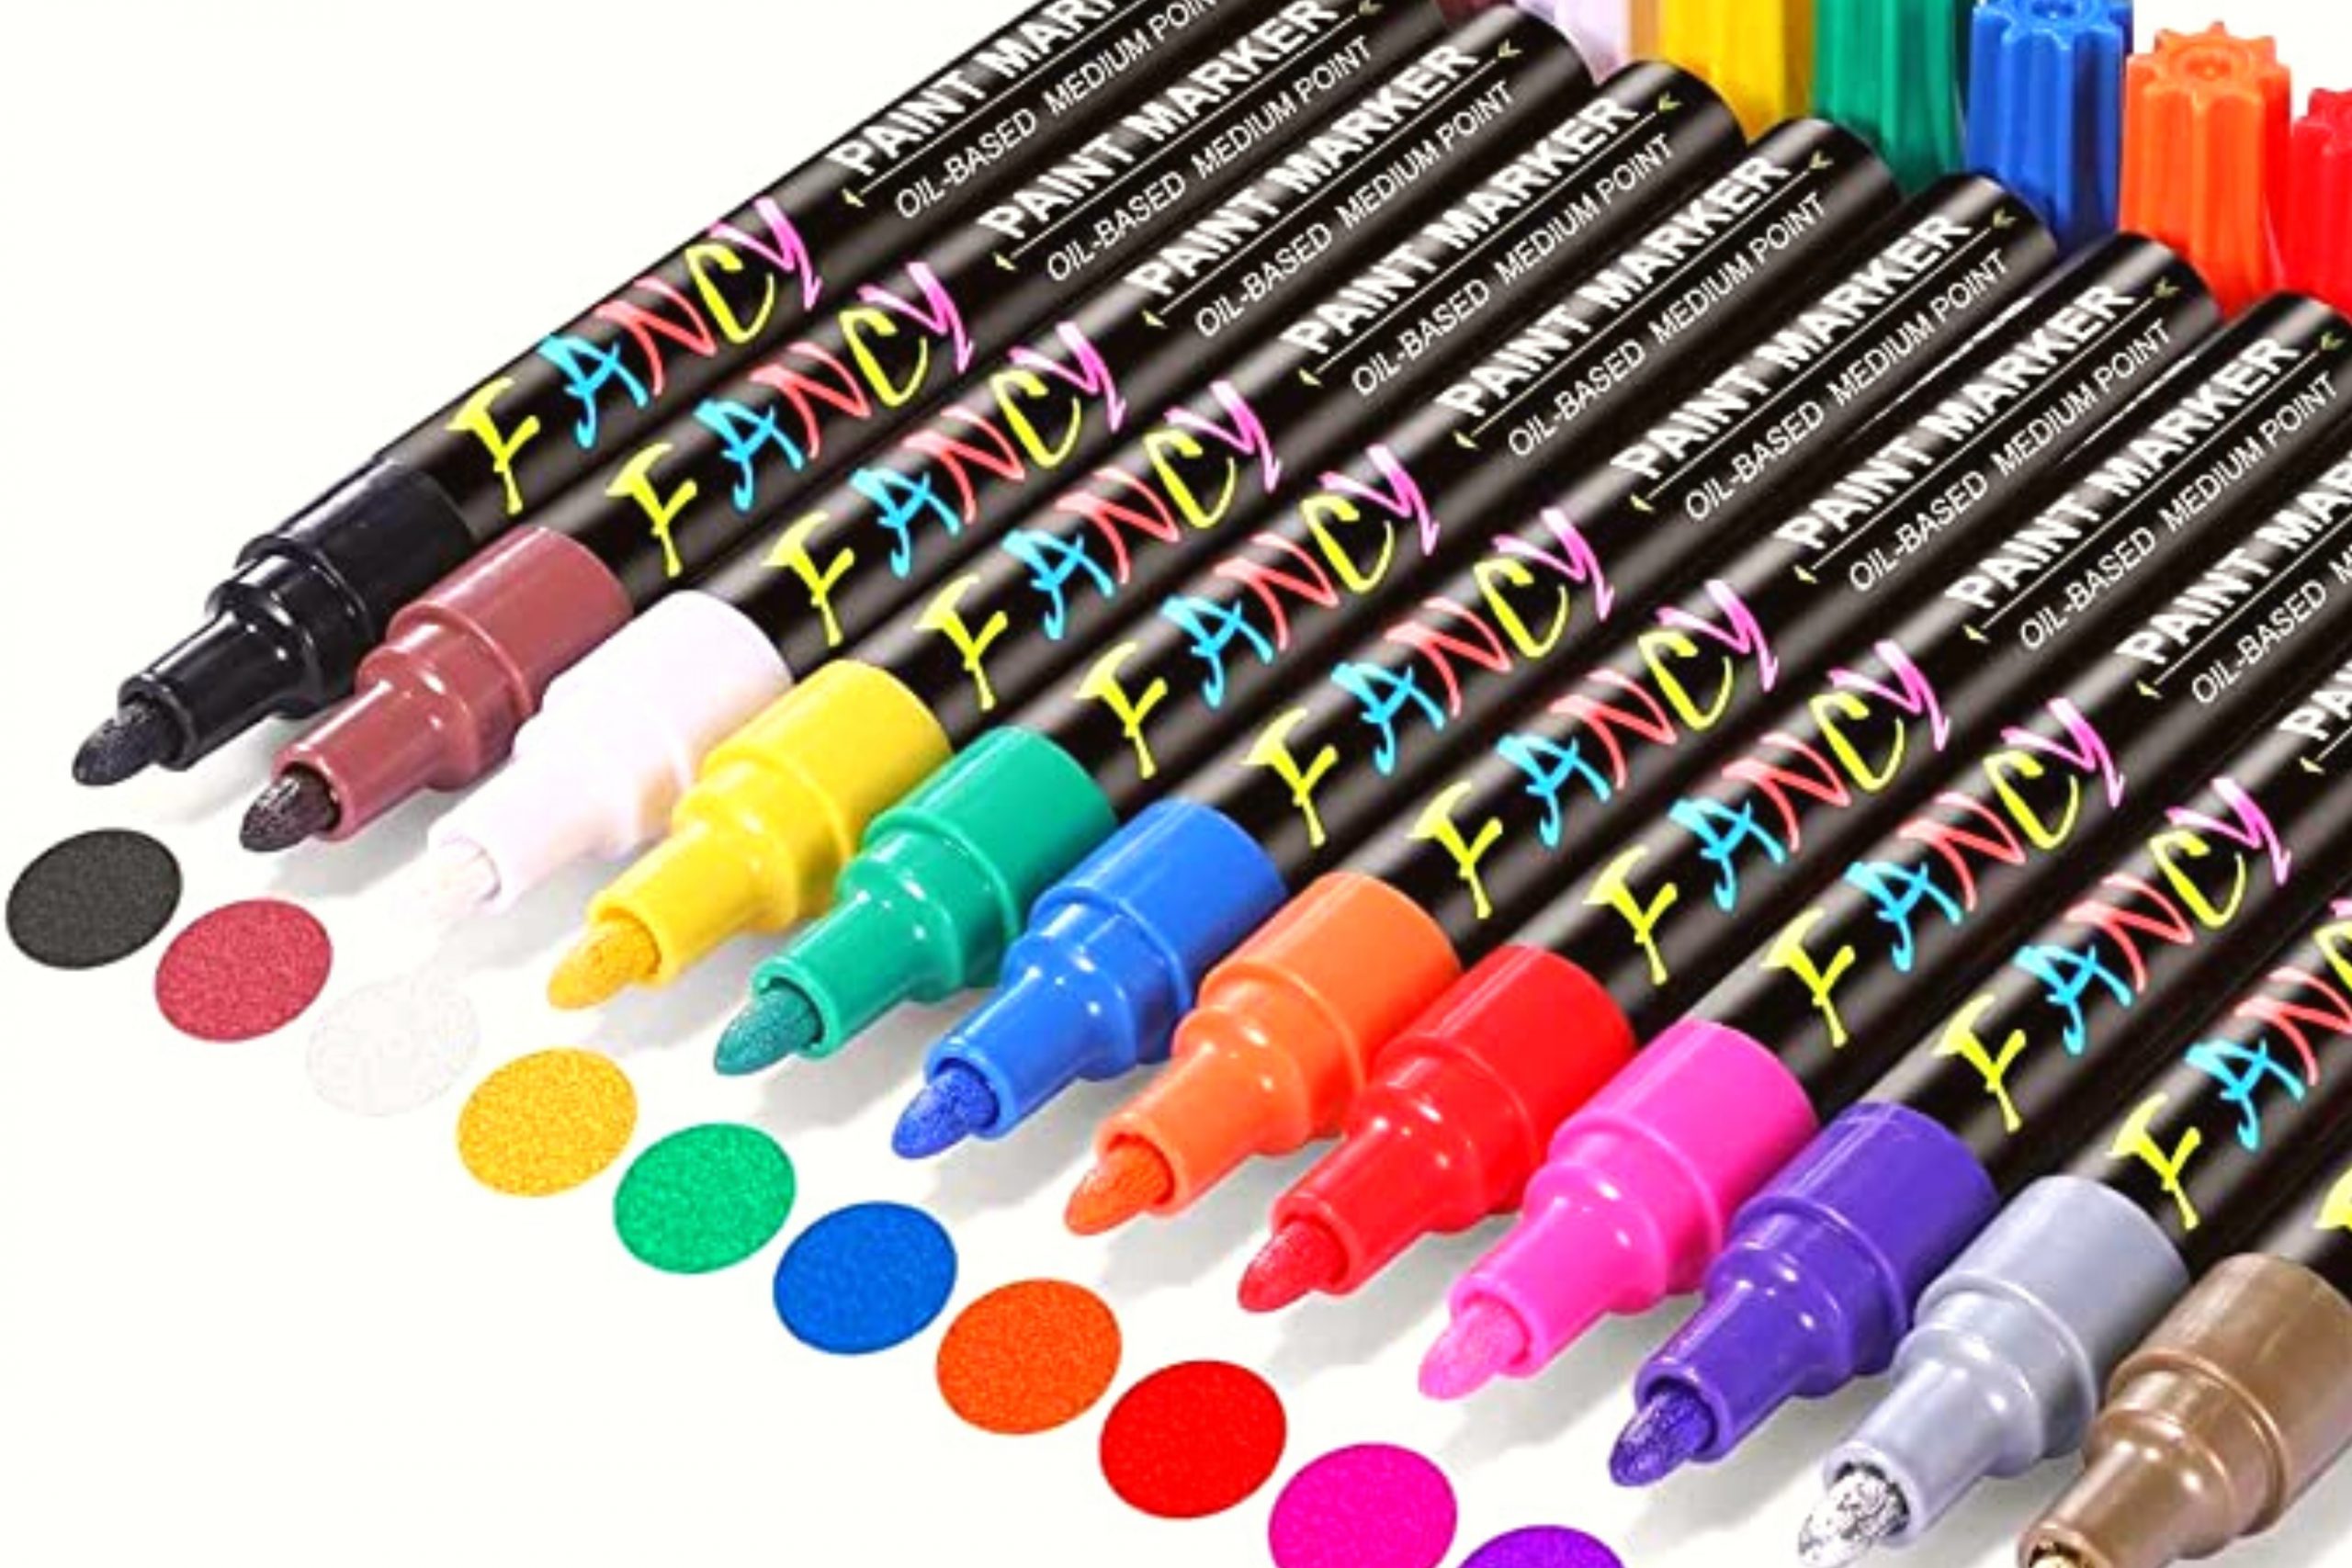
Next you need paint markers. Sharpies work too but they tend to wear off quicker than paint markers.
I like the following brands:
I LOVE these three brands sooooo much (wish they had paid me for this endorsement) maybe someday…
So once you have some good paint pens and your Shrinky Dink paper you are ready to do it.
I cut the paper into 3” squares. Don’t go much smaller than that because you have to make allowances for the fact that it will shrink up after being in the oven for a few minutes.
You can use stencils to draw certain images or you can free draw. I sometimes print out images and trace them from underneath the paper too!
Once you have decorated the paper you can cut around the images and if you want to make a keychain hole punch the paper before you put it in the oven.
Follow the directions on the Shrinky Dink package for heating up your sheets. I put them on a sheet of cardboard in the oven. It tends to not stick to the cardboard. It only takes 3-4 minutes to shrink your stuff!
Have fun with these fun art projects. I hope you find some new fun things to try!
