Now that every other person on the continent has a cutting machine like Cricut or silhouette. Everybody’s getting in the game of old school crafting. Something that I remember doing when I was probably 7 or 8 years old is glass etching. It’s a technique where you use an acid-based cream that permanently patches an image onto clear glass or a mirror.
Growing up on the west coast, in California. I was introduced to what I call” Old School crafts” I learned things like macrame, friendship bracelet weaving, stained glass (yes as an eight-year-old I was allowed to use a soldering iron), Spin art on a machine bigger than me that allowed you to stick a full size t-shirt into it and spin it will adding Blobs of paint through a hole that made the coolest patterns ever! I’ll write more about that in another blog I’m sure. Lol
Anyways I was supposed to be in the seven and eight-year-old camp program where we went around doing different activities each day but you could basically find me in the craft room between breakfast and lunch and lunch and dinner and anything in between if they had time open for me.
One of the things I learned was glass etching. Back then there wasn’t a machine that could cut out any particular kind of image that you wanted so I either drew the image free hand onto white contact paper or traced stencils onto the contact paper directly.
These days people are glass etching on everything. I’ve seen casserole dishes etched with people’s monograms, I’ve seen some really cute wine glasses with funny phrases on them, and I’ve seen a lot of people decorating mason jars and other clear containers for their pantry as well.
Here’s how the original 70’s version of glass etching works.
Step #1: You start with a clean surface of glass or a mirror.For this example I did a label on a mason jar for a friend of mine who was making moonshine as gifts for the holidays.
Step #2: Apply stickers or vinyl images that you’ve cut out yourself around the glass. Here are two ways to etch your mason jar. If you want the wording to be the opaque parts then you will place the entire piece of vinyl down on the glass and only remove the letters/images that you want to be etched.
Step #3: If you want the entire piece of glass to be etched and only the letters/images to be clear then you’re just going to place the letters/images down on the glass and leave the rest empty. I like to use a transfer tape like clear contact paper or the transfer tape that Cricut or other companies sell. I designed this image on my cricut and then cut it out on the machine and “weeded” out all the pieces I didn’t want showing up on my glass before using the transfer tape to get the piece onto my glass.
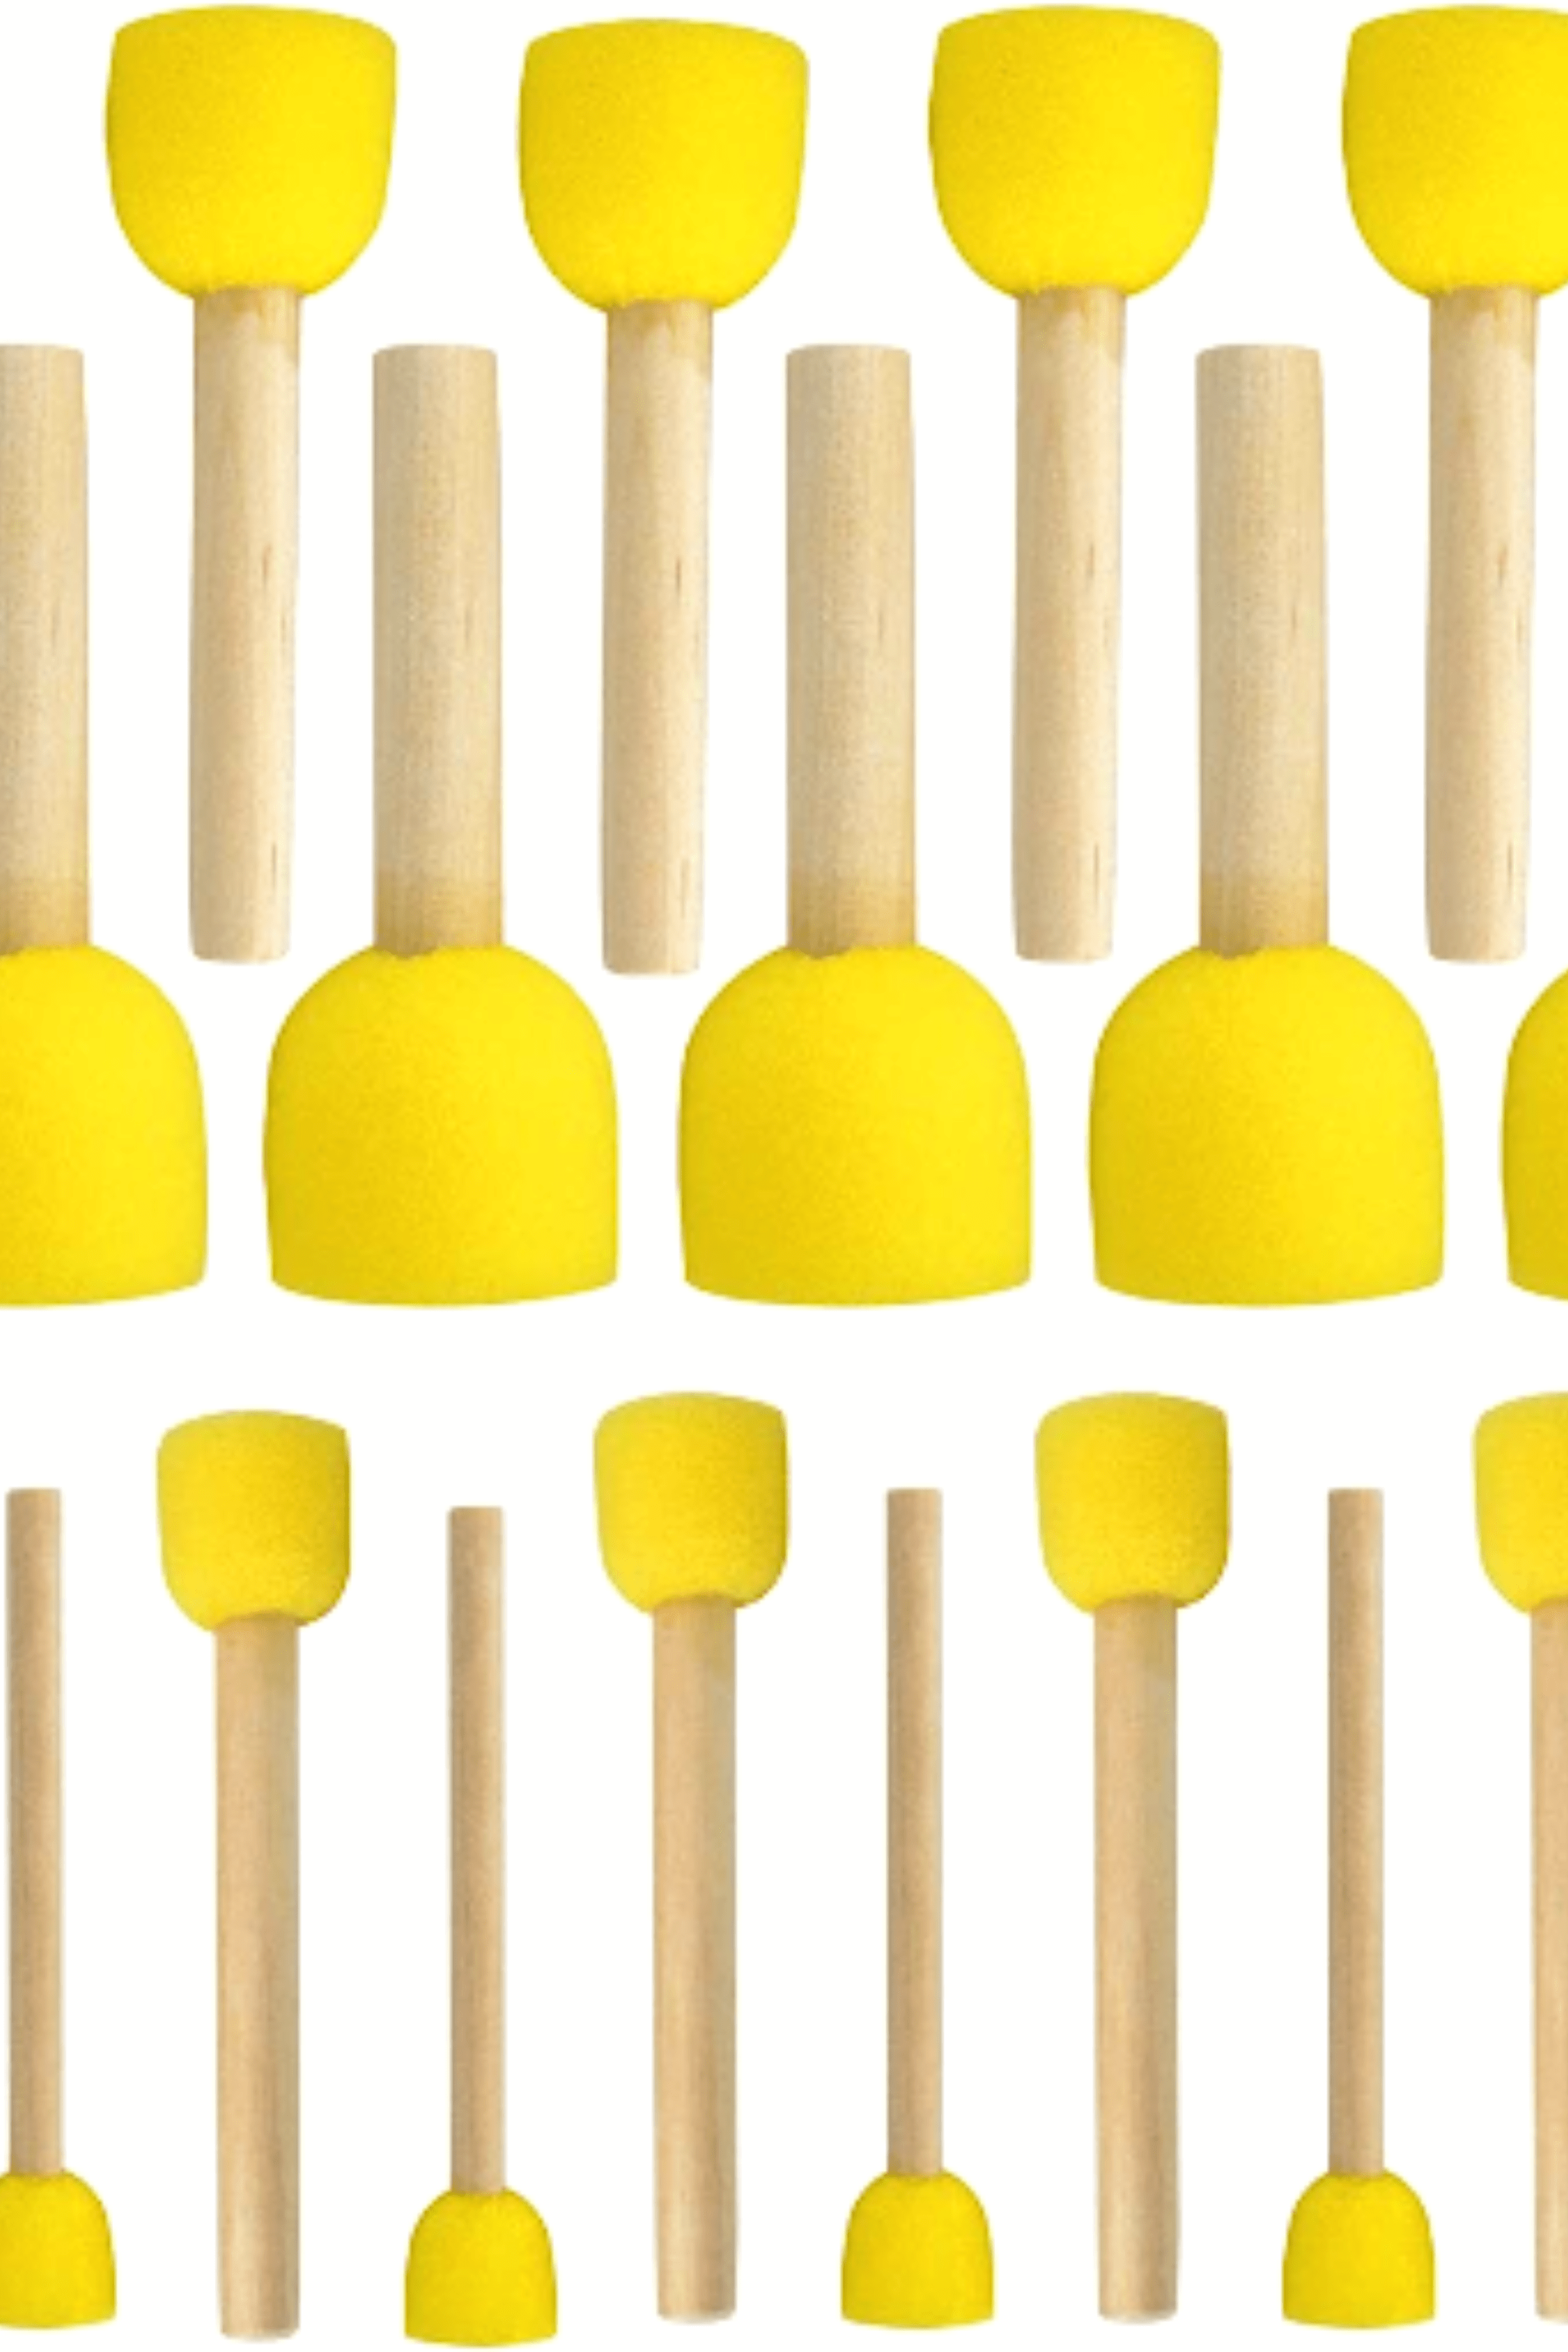
Step #4: Make sure that there are no air bubbles or bumps in your vinyl or sticker before you get started. When applying the etching cream (see image below) I like to use round foam brushes. I traditionally hate foam brushes but for this particular project this is what I go to.
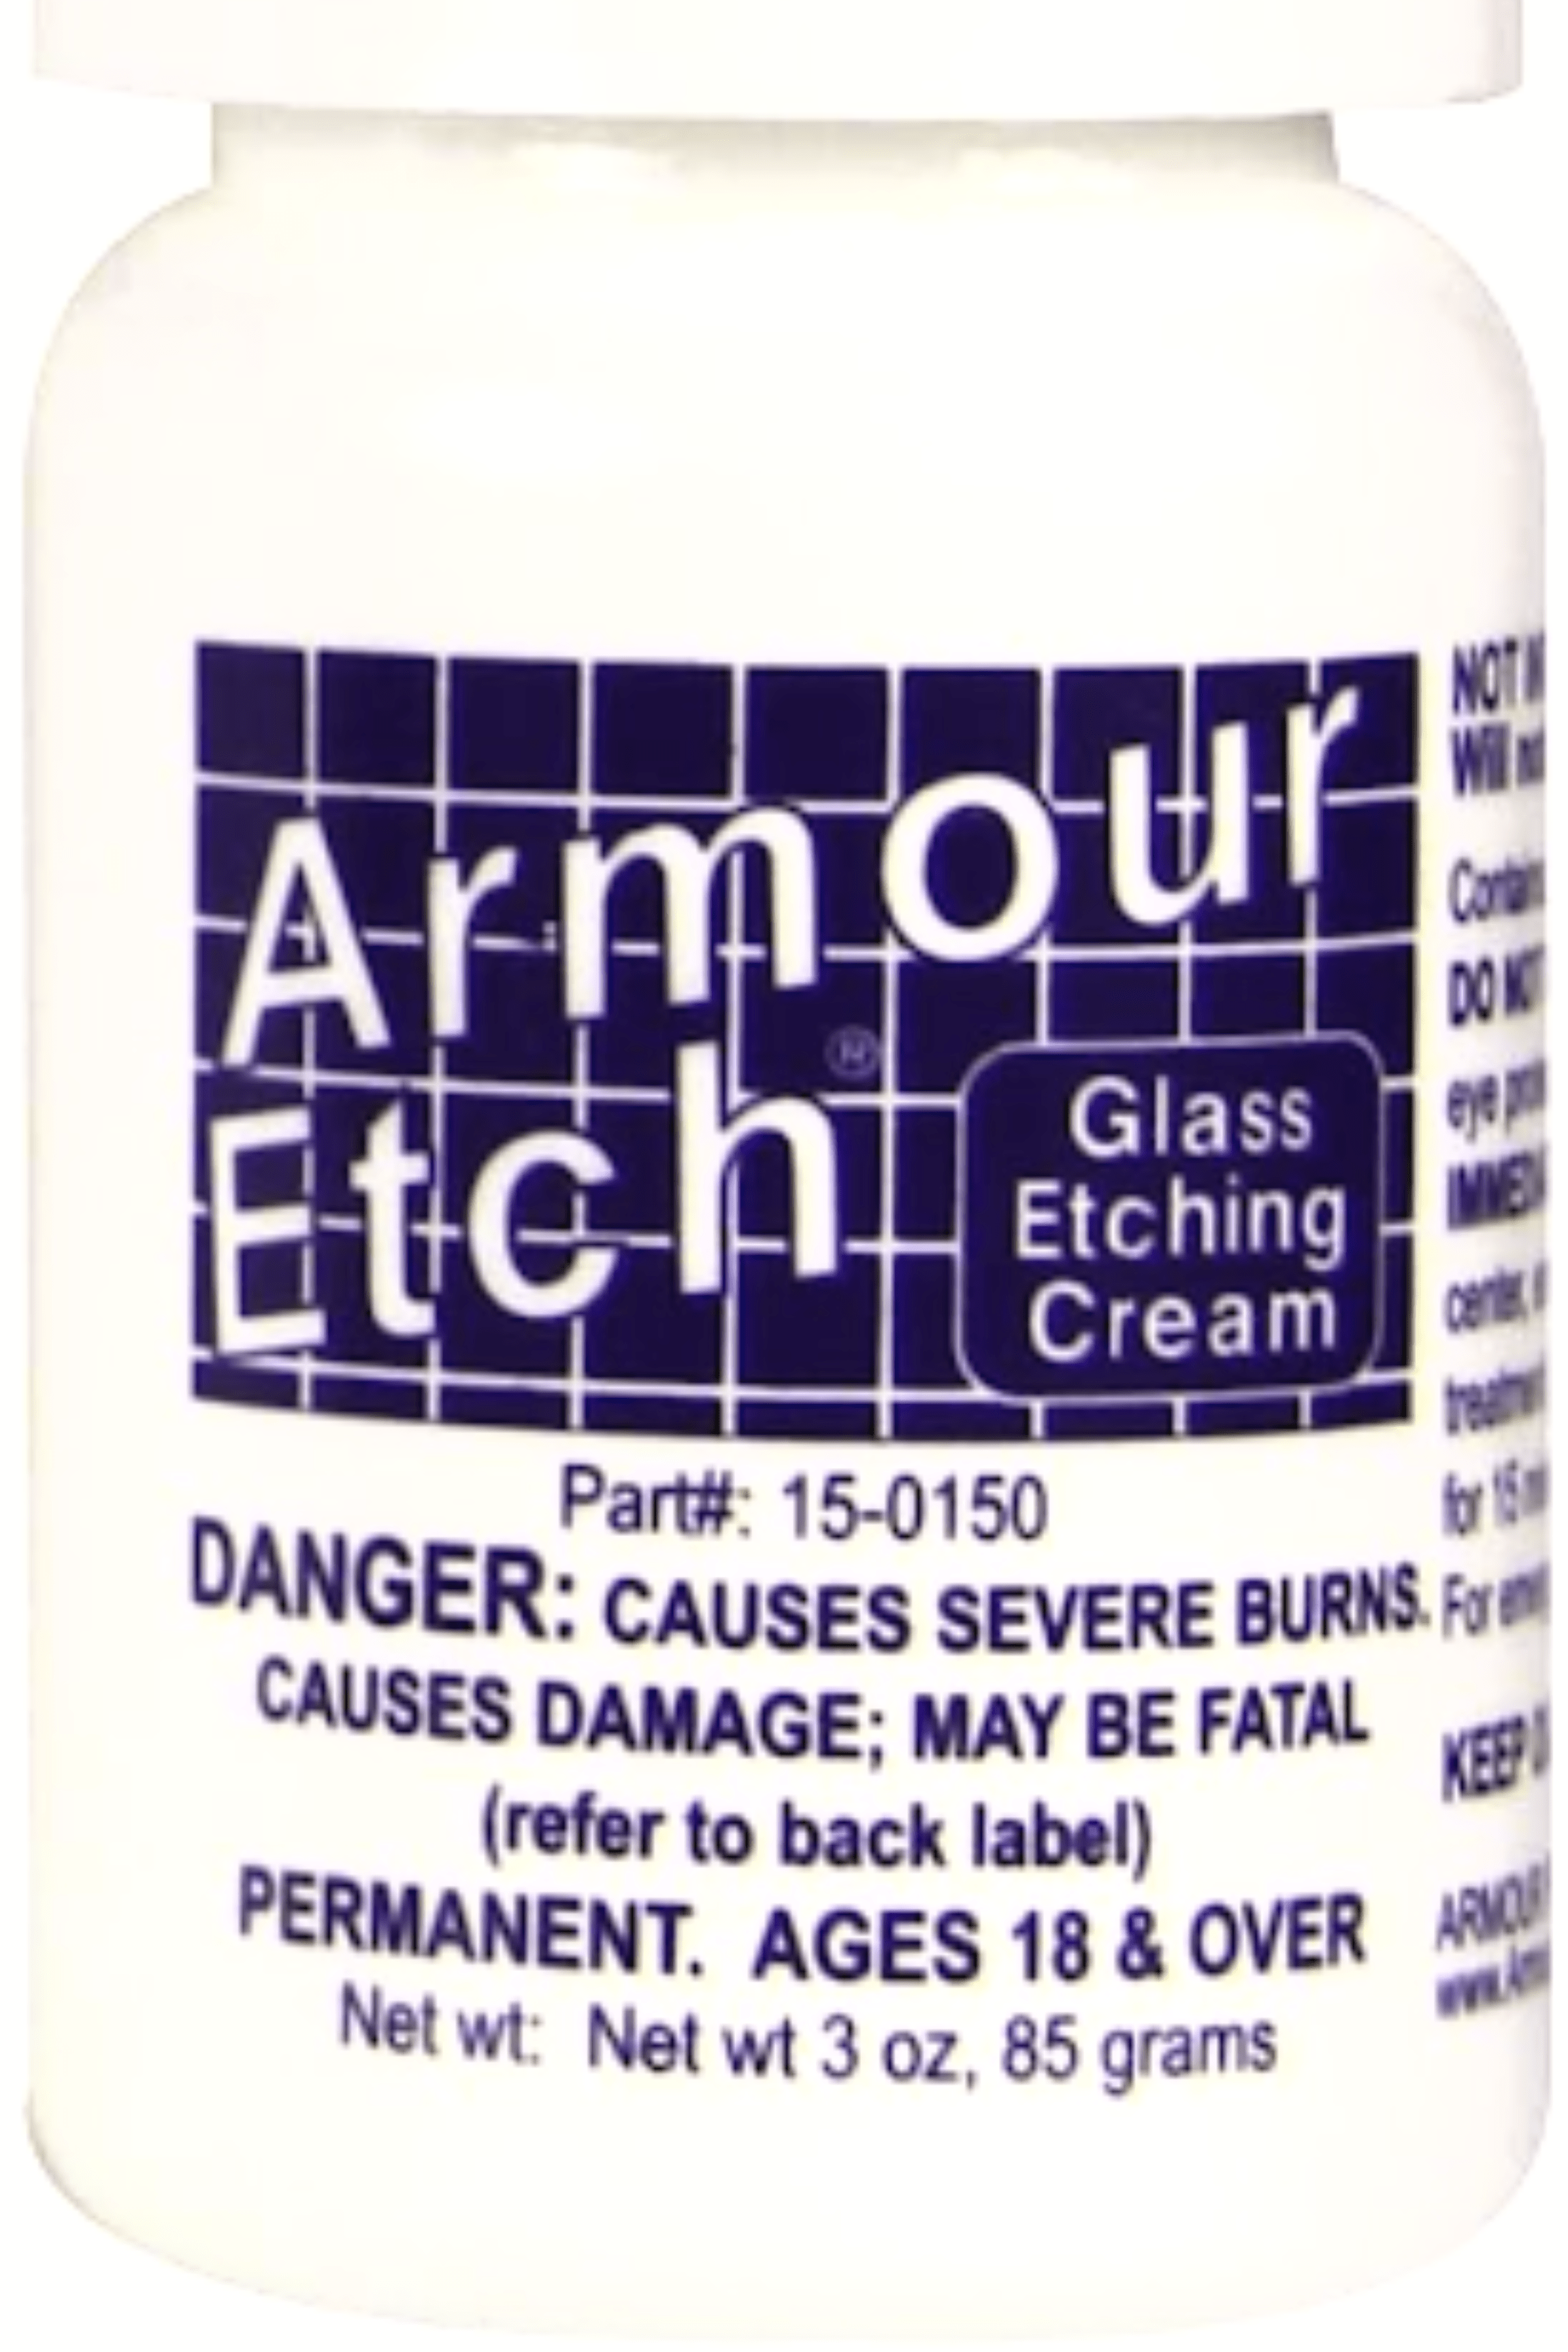
Step # 5: The etch cream I use is called Armour Etch. It stinks and will burn your skin if you have any cuts or burns already. (which I usually have – just ask anyone who knows me) I would
advise you to use rubber gloves, although I never do. (again, I’m an accident waiting to happen lol). Here is the etching cream. I get mine on amazon but you can easily find it at more craft stores.
Step #6: Once you have your brush and etching cream, you will pick up some cream and apply by just pressing UP AND DOWN with the brush until the area you want etched is covered in a good coating of the cream. You should not be able to see the glass under the cream at all.
Step #7: Let the cream sit for about 10 minutes.
Step #8: Take your piece of glass over to the sink and run it under warm water. I like warm water just because it’s better than cold water on my fingers. Gently rub in a small circular motion to get all of the cream away. The glass will actually look clear and you’ll think that you’ve done something wrong. Don’t freak out, I promise it will be fine. Make sure that you leave the stickers


or vinyl on the glass during this process. Just in case any areas didn’t fetch properly you don’t want to have to try to put your stencil back onto the glass to do a second coat.
Step #9: Now take a paper towel and pat dry. Go ahead and leave the stickers and stencils on while you do this as well.
Step #10: Now check out your image. You should see it everywhere that the edge cream touched is a soft white looking shade. You should not be able to see through the glass wherever you have etched the cream.
If you have blotches on your glass you didn’t use enough etching cream go ahead and apply a second coat and follow the directions as I have written them above.
If the cream spread past the stencil then you either brushed underneath the stencil or your stencil wasn’t attached to the glass as smoothly as it should have been. Unfortunately there is nothing you can do about that because the glass etching process is permanent. You could try to clean up the edged with a paint brush and some cream
If you have a hard time taking off the stencil you may have left a cream on for too long and it has damaged your stencil.
Step #11: If the image looks the way you want it to then you are ready to take off the stencil and check out your work! Go ahead and wash it thoroughly with soap and water when you’re done. And you’re ready to go!
Here is the final image of the piece I made. She was kind enough to give me one too for all my hard work!
Glass etching is completely safe for eating off of. You can put glass etched items in the microwave and use it in the dishwasher with no problems.
You can also color your glass etching. I have used color pencils before to color over the etched part. And it looks really pretty!
I have actually seen some articles recently where you can etch with your dremel. They call it glass engraving. Check out this you tube video for that. It looks cool but I haven’t tried it yet. Let me know if you try this method!
Happy arting!


