Recently as I was scrolling through Pinterest I found this really cute, very quick little fun activity with dots of acrylic paint and whatever kind of paper or canvas you’d like to use and a scraping tool. It was so simple and yet so creative that I grabbed my materials and got started on this cute little project, known as Dot Art, with my art camp students.
I like to buy those small 2 ounce bottles of acrylic paint. I get whatever is available at the craft store or the dollar store, whatever is cheapest. It really doesn’t matter too much, especially for what we’re doing here today. There are several brands that you can use, I don’t have a special one I prefer.

For our first dot art painting attempt we used 16 by 24 multi-purpose art paper.
Because I had never done it before I wanted to get a Vibe for how the paint moved and how it puddled and what kind of scraping tools we could use that would make different effects.
I decided we needed something firm to drag the paint across the paper so I grabbed some used Starbucks gift cards and some larger sized luggage tags that I had laying around.
Sorry Audrey Hepburn you are my favorite luggage tag but you did a good job in this paint activity. LOL
After ripping off all those annoying little plastic covers that go over the 2 oz paints we were ready to get started.
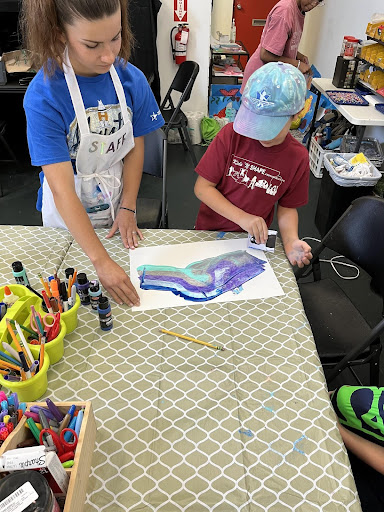
To complete their painted dot dragging scraping art I Instructed the students to use 4 or 5 bottles of paint and add some drops at the top of their paper leaving a 1” margin. I had them make a blob a little bit bigger than the size of a green pea. And they all had to live very close to each other.
Then I handed them a scraping tool and before I let them start I went ahead and demonstrated the technique. I chose to drag the paints across my paper in a waving motion and didn’t go back for a second pass. Some of my campers chose to make several swipes across the page and it also gave a cool style to it.
It was so much fun watching them pick out their colors, decide on where they wanted to place their paints and get started!
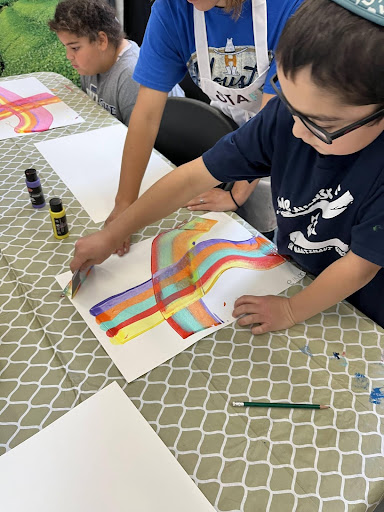
We had a blast with dot dragging painting. You were so excited about what they were doing and
")
how they wanted their images to turn out. Each student seemed to have their own unique and creative way of attacking this project and every single one of them turned out just a little bit different.
When you start this project you can have a conversation about the color wheel.

The color wheel is designed to teach you about colors that complement each other. It shows the relationship between the colors and their “friendships” There are three primary colors; red, yellow and blue. Then the Secondary colors: orange, green and violet. And finally the six tertiary colors: red-orange, yellow-orange, yellow-green, blue-green, blue-violet, and red-violet. Those are created by mixing the primary with secondary colors.
Many don’t know that Sir Issac Newton was the originator of the color wheel in the late 17th century. He mapped the colors in a circle. On the website invisionapp.com it explained it like this,
“Today, the color wheel can help artists and designers find harmonious color combinations based on the geometric relationships represented on the color wheel. As an example, a triadic color scheme involves three evenly-spaced colors on the color wheel and that will yield a bold combination. Meanwhile, a tetradic color scheme involves four colors evenly spaced out on the color wheel, and can work if you want to use a dominant color with supporting accent colors.”
When I work with my students I help them study the color wheel. We learn about the colors and how they relate to each other. We discussed a monochromatic color scheme that takes one color and uses different tints and shades of that one color.
There is also the analogous color scheme which involves neighboring colors on the wheel, like red, orange and yellow. When working with students let them try out these different styles on some scrap paper. Or have them do the same assignment exploring the different color wheel styles.
Pick one image and then have the students use the primary colors, then the secondary colors, then the tertiary colors, then try the monochromatic and and finally the analogous colors. They will have 5 very different pictures in the end. Check out this cool color wheel made up of words that express what the colors signify. I think it is inspiring and gives you a different take on the color wheel.


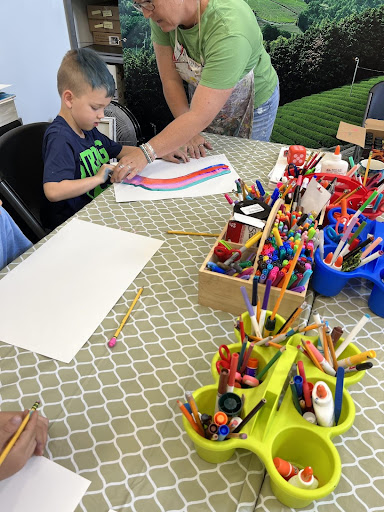
Here are a few pics of the dot dragging paintings that my artists did with it last week at camp. While we talked a little about the color wheel and more about just having fun.
They couldn’t wait to just get that card and start dragging the paint across the paper. I only regret that I didn’t give them larger sheets of paper to explore this process with! It’s super simple to get those little 2oz jars in a bulk package. I got mine from amazon and it came with so many colors to pick from.
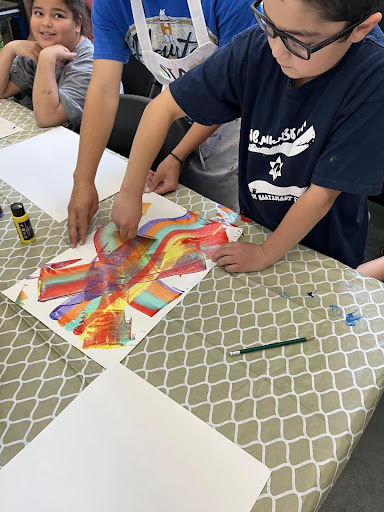
I do have to say that you MUST have gold, silver, bronze, glitter paint, holographic paint and anything that shimmers etc… the kids are DOWN for that. I have had to buy the gold, silver and bronze in half gallon bottles just because they go thru it so quickly!
As you can see dot dragging painting is so much fun and can be used in so many ways. It’s a fun way to introduce the color wheel and let them explore all the variations one can use with those color options. Grab your used gift cards and those 2oz bottles and get started!