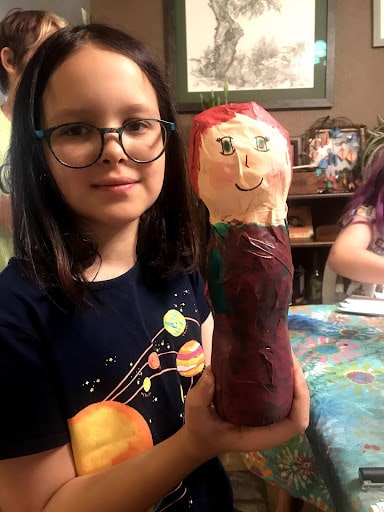
Paper mache has been around for decades. The process is basically the same but the materials have shifted a bit with each generation. When I was a kid we used flour and water and newspapers to cover our creations. What a non baking mess that was! My hands were goopy and gross and the texture and smell bothered me. As I became an adult I learned from another art teacher to use Liquid starch. Easy to get at the dollar store and cheap too! The chemical smell wasn’t as ideal; I thought I was in a laundromat every time I used it. I’ve had worse smells. (acrylic paint that has rotted is DISGUSTING! It’s SO pungent.)
This is not your mother’s paper mache!
These days Elmer’s Art Paste is the secret tool! It’s clear and goopy and oddly satisfying to just draw your fingers back and forth through it. Meditative if you will. You will see kids at my summer art camp absentmindedly dragging their fingers through the goop and just playing with it. My first summer doing my art camp, I have NO idea why I thought it was a good idea to cover their creations in this messy goo ON MY LIVING ROOM FLOOR, but I did!
After day 1 I realized my mistake as I mopped and scrubbed the tile floors of the clear half dried goo. On paper mache day 2 I wised up and took the project outside. Not sure how my lawn felt about it but I was much happier at the end of the day. Anyways the Art paste comes in a rectangular box that LOOKS like an elmer’s glue label (big surprise right) and makes a TON of clear gelatinous goopy heaven. (Don’t buy it from Amazon, they charge double what WalMart and other places charge.
You should pay about $3 for a 2oz. box. I use a dish pan or large flat type container to mix the mixture. The directions are easy to follow and I was able to cover the pan with tin foil and use it the second day. To be honest, the goo set up a bit overnight and I think worked better after setting. It was like a thin jello and was, again, fun to just play with. It rates right up there with a sand tray, playing with a bowl of uncooked rice or beads. Just ask the kids. I think there was more goo on their hands than their projects.
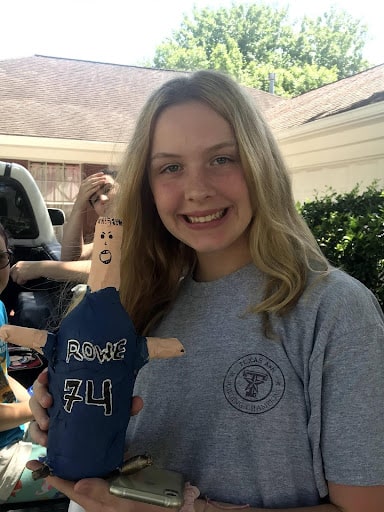
I love it because the process is both messy and meditative!
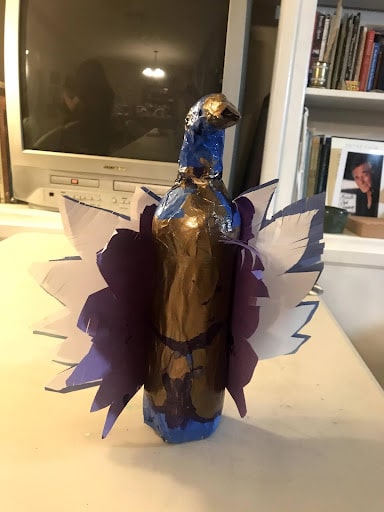
After you have mixed the paper mache goo, you want to cut the newspaper into 1” strips. Once you have a good pile of them you are ready to go. (Assuming you have your creation ready to be covered) You can use recycled bottles, glass jars, and other things from around the house to make your creation. And if you are someone who still gets a morning paper, you’ve already got almost all your supplies necessary at your disposal. Masking tape is helpful to attach things to your creation and can tolerate the Art Pastes wetness. I’ve used straws, pipe cleaners, cardboard and wire to make attachments like arms, wings, etc… When you have your basic shape ready, you can get MESSY!
Take a strip of paper and run it through the art paste. Use your hands to wipe off any extra goo and then place the paper around the creation you are covering. You want to continue to cover your entire creation with a coat of goo and newspaper. I like to put at least 2 coats on my creation before letting it dry. You don’t have to cover the bottom of your creation but you can.
Just so you know paper mache is a multi day project
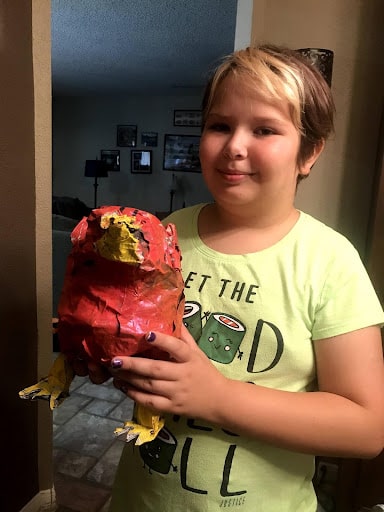
Once our paper mache creations were well covered we let them sit overnight to dry. They do “leak” a bit as they dry. Don’t rest them on something porous they might stick as they dry. I sat them straight onto the plastic folding table we were using. It’s easy to clean up with a sponge and some water. It feels kind of like the table was covered with soap and you keep trying to wipe it off over and over. I used a bucket and a scrub brush and got it all off pretty easy. Once they are dry you are ready to decorate. Paint, pipe cleaners, pom poms, the more the merrier! Random supplies offer a participant the opportunity to delve into their creative side and really make something spectacular!
After decorating your paper mache creation and letting them sit and dry really well. I like to spray seal mine. There are many sealants out there. I prefer Modge Podge in a spray can. They have a matte finish and a shiny option too. Since I’m so “extra” as my camp kids say, I prefer the shiny/ hi gloss spray. Cover the whole thing (I wear a rubber glove) and let it dry, then put on a second coat. Modge Podge also comes in liquid form but sometimes it can rewet the materials you have used and cause paint to streak or run and other things to get messed up. When it comes to 3D creations the spray can is the best in my opinion.
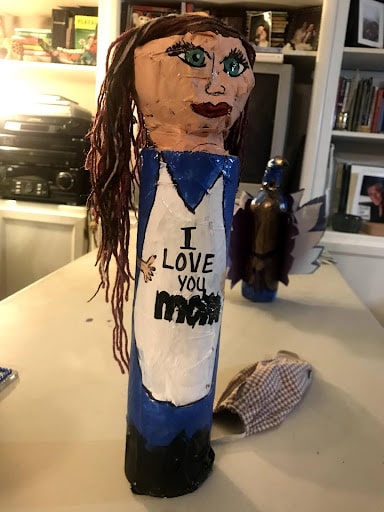
Paper mache is a great project that keeps them busy for a day or two. It’s unique and different from the usual crafts we do at home and when you are finished you will be pleasantly surprised with the outcome. For me, I still have a “paper mache bottle person” I made when I was in grad school. (circa 1998). It’s squished in between some books on a shelf but I have always been proud of what I made that day in summer day camp. So of course I would have this project in my to do list for my summer art campers for years to come.
