
There are so many cool and fun art projects for kids of all ages. One particular one is beads, also called Fuse beads or perler beads. These are fan favorites at summer camps, art rooms and craft tables across the world.
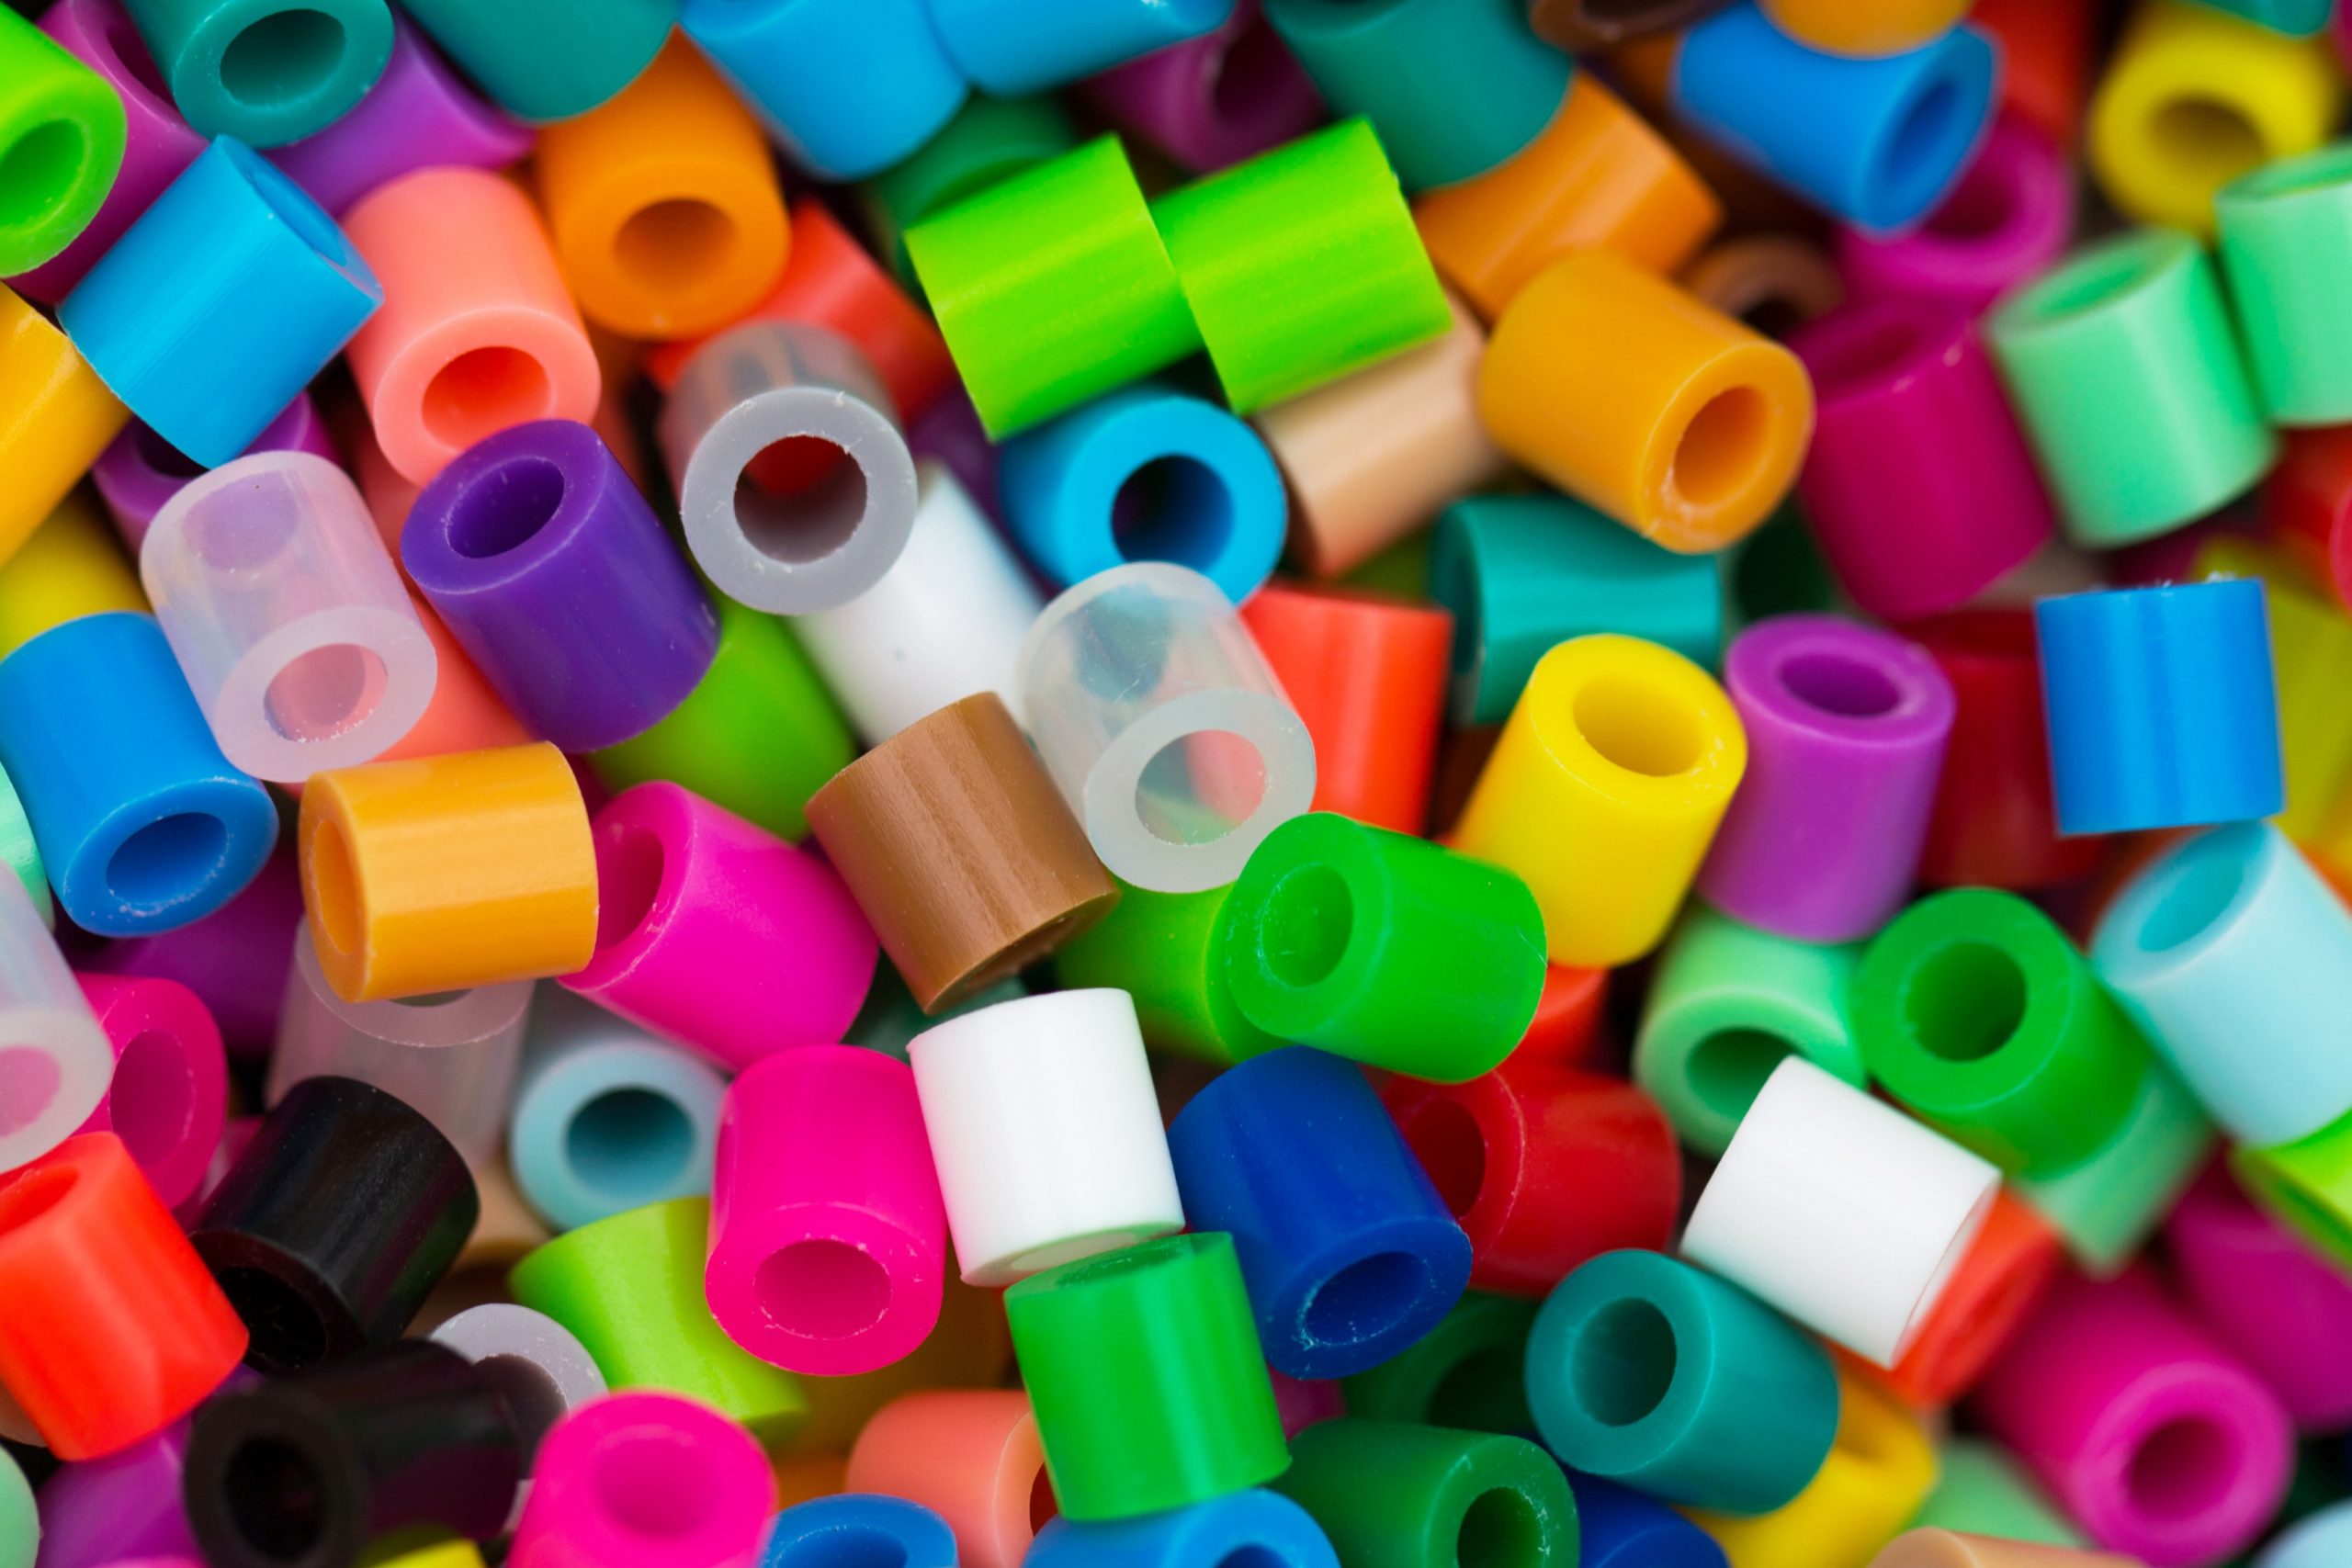
What is a perler bead you ask? They are these cute plastic small tube shaped beads with a hole running through the middle. No bigger than a green pea, these perler beads come in just about every color of the rainbow AND more!
All The Creative Details of Perler Beads
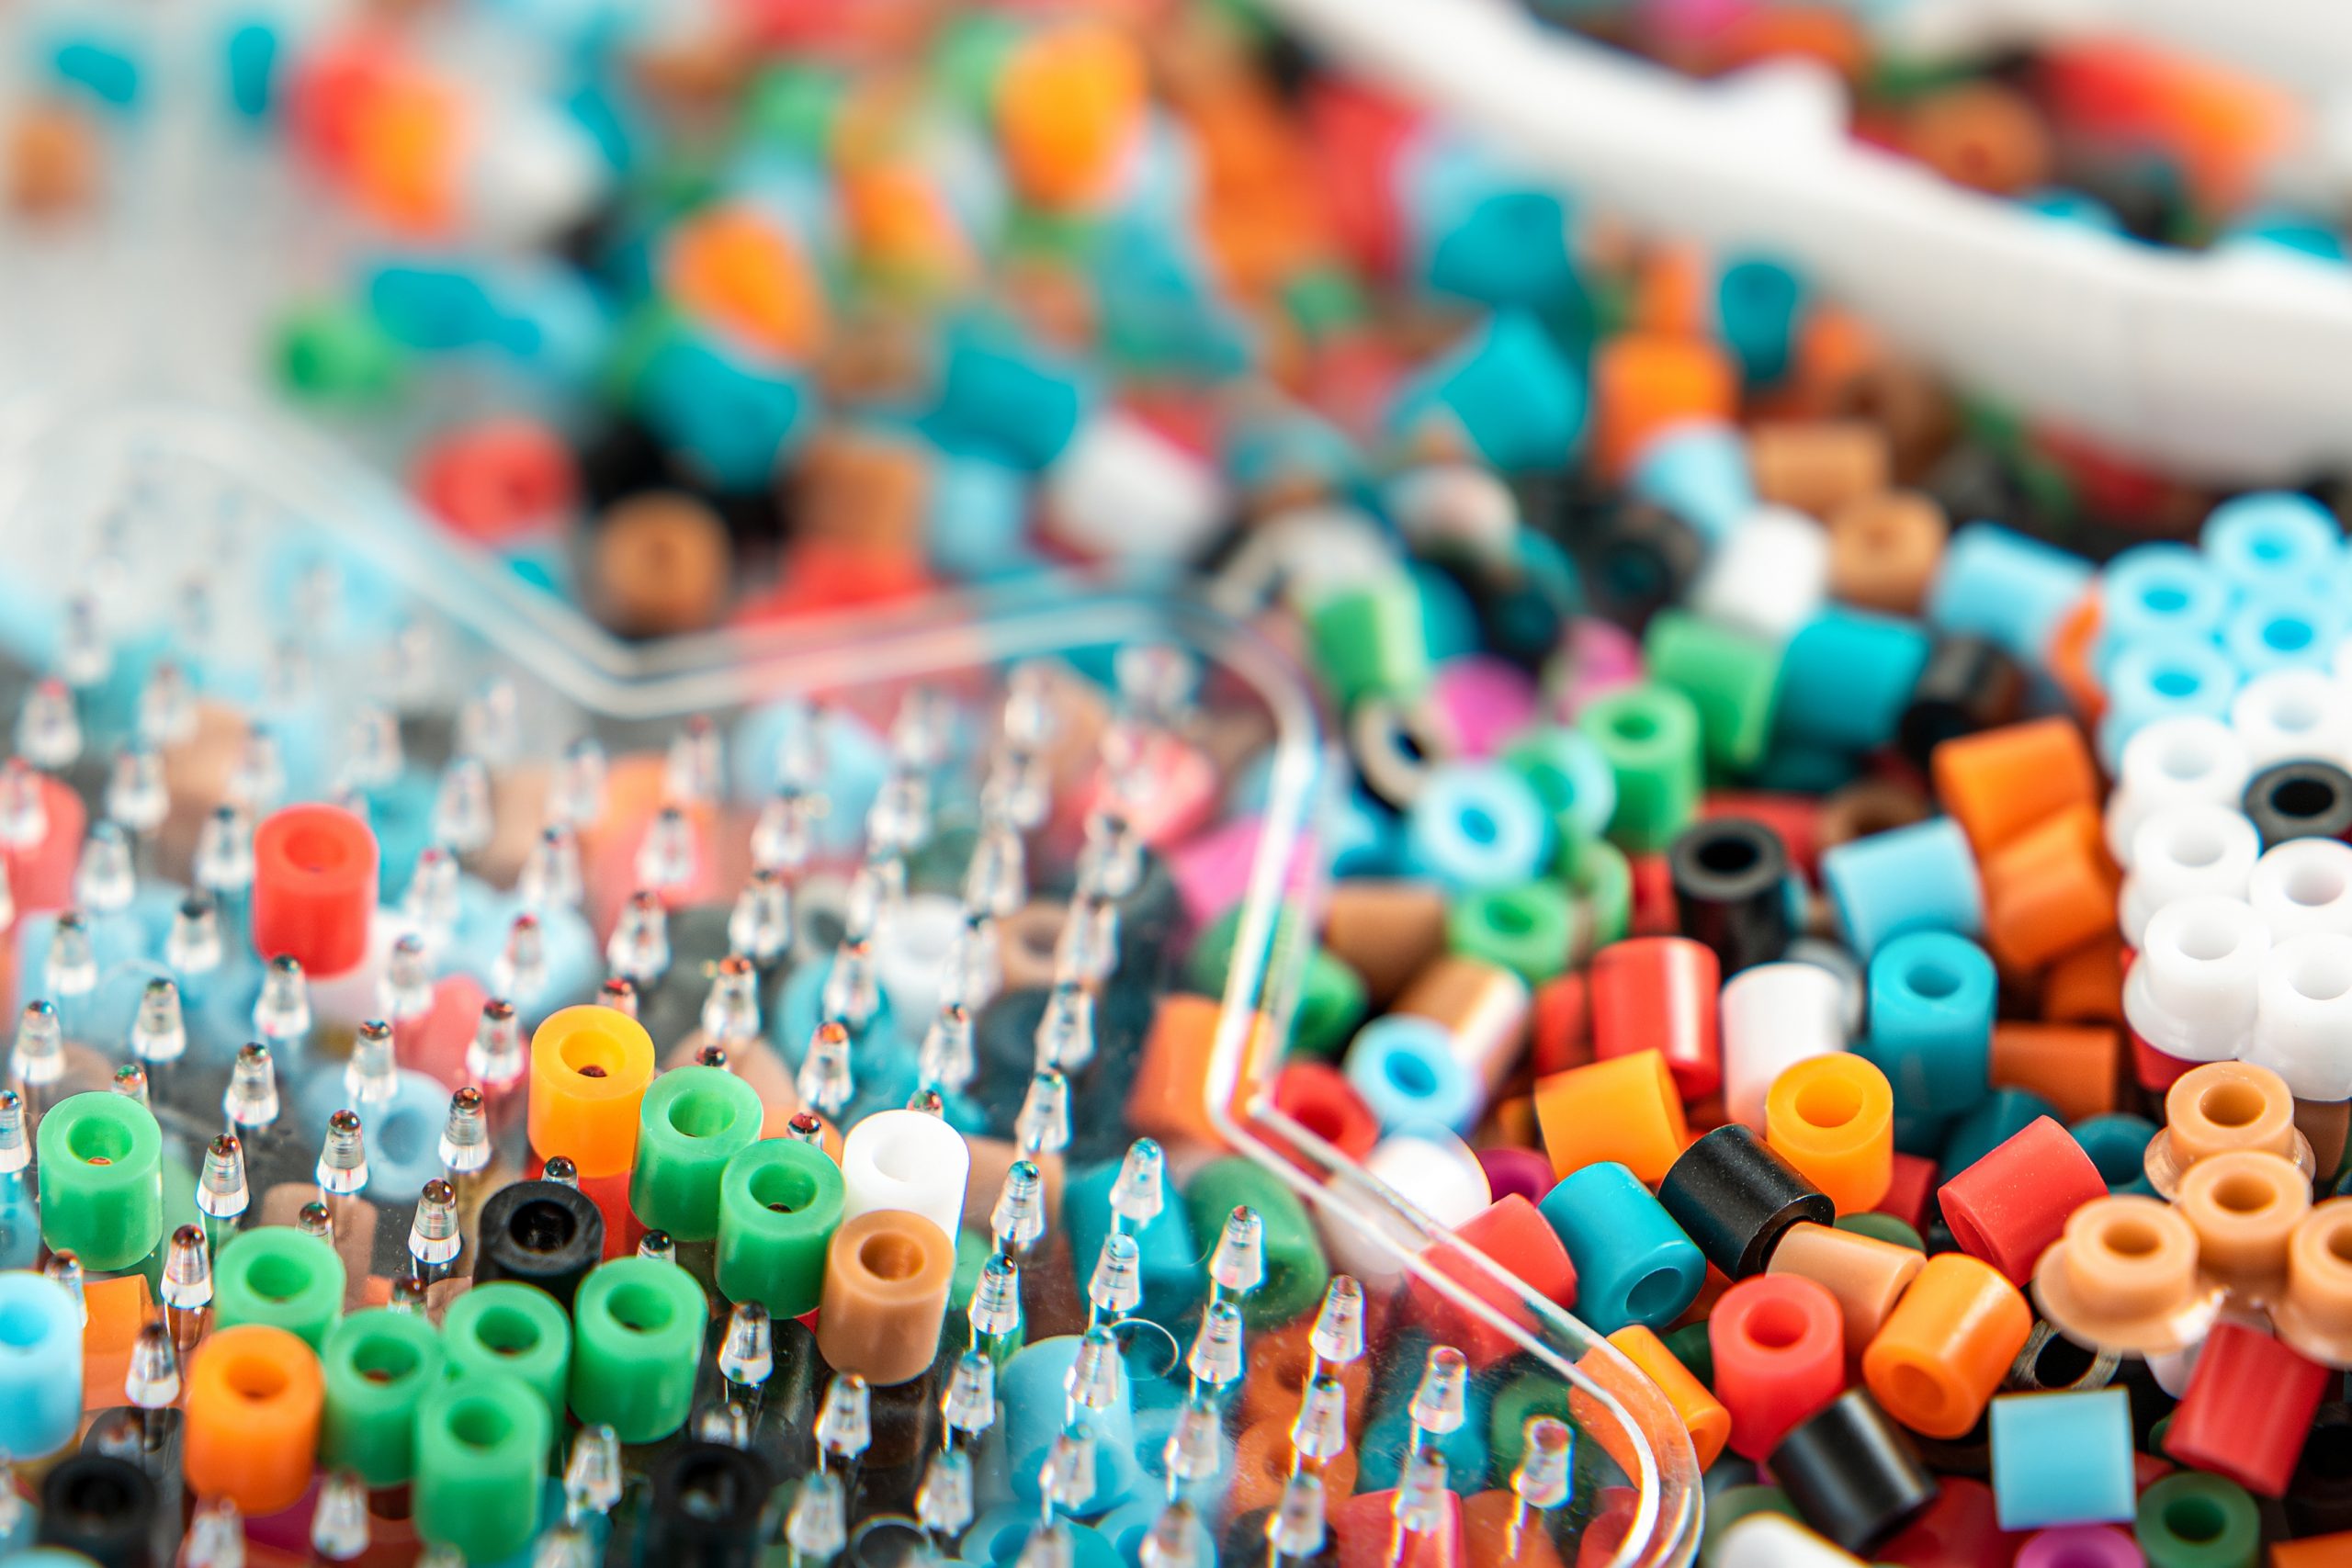
When you purchase this fun art project you can buy the Perler beads as a kit which comes with a multitude of bead colors, Peg boards to do your design work, a pair of plastic tweezers, and usually a small bit of parchment paper that you use to melt the perler beads with.
The peg boards come in all different shapes and sizes and can be used in a multitude of ways. Two summers ago one of my students used the round peg board to make 15 different Pokeballs from various patterns he found on the internet. He was committed.
It’s pretty cut-and-dry when it comes to fun art projects with Perler beads. You need the beads, the pegboards, an iron, parchment paper and your imagination. (Tweezers aren’t a bad thing to have around either and if you buy a kit they usually are included).
With your pegboard laying down in front of you, start picking up the beads either with your fingers or the tweezers and place each bead over the tiny peg that protrudes from the top of the pegboard. Some kids like to be meticulous with their colors, their style, or the image they’re trying to make. And some kids like to just throw all the colors in a muddled way and be done with it.
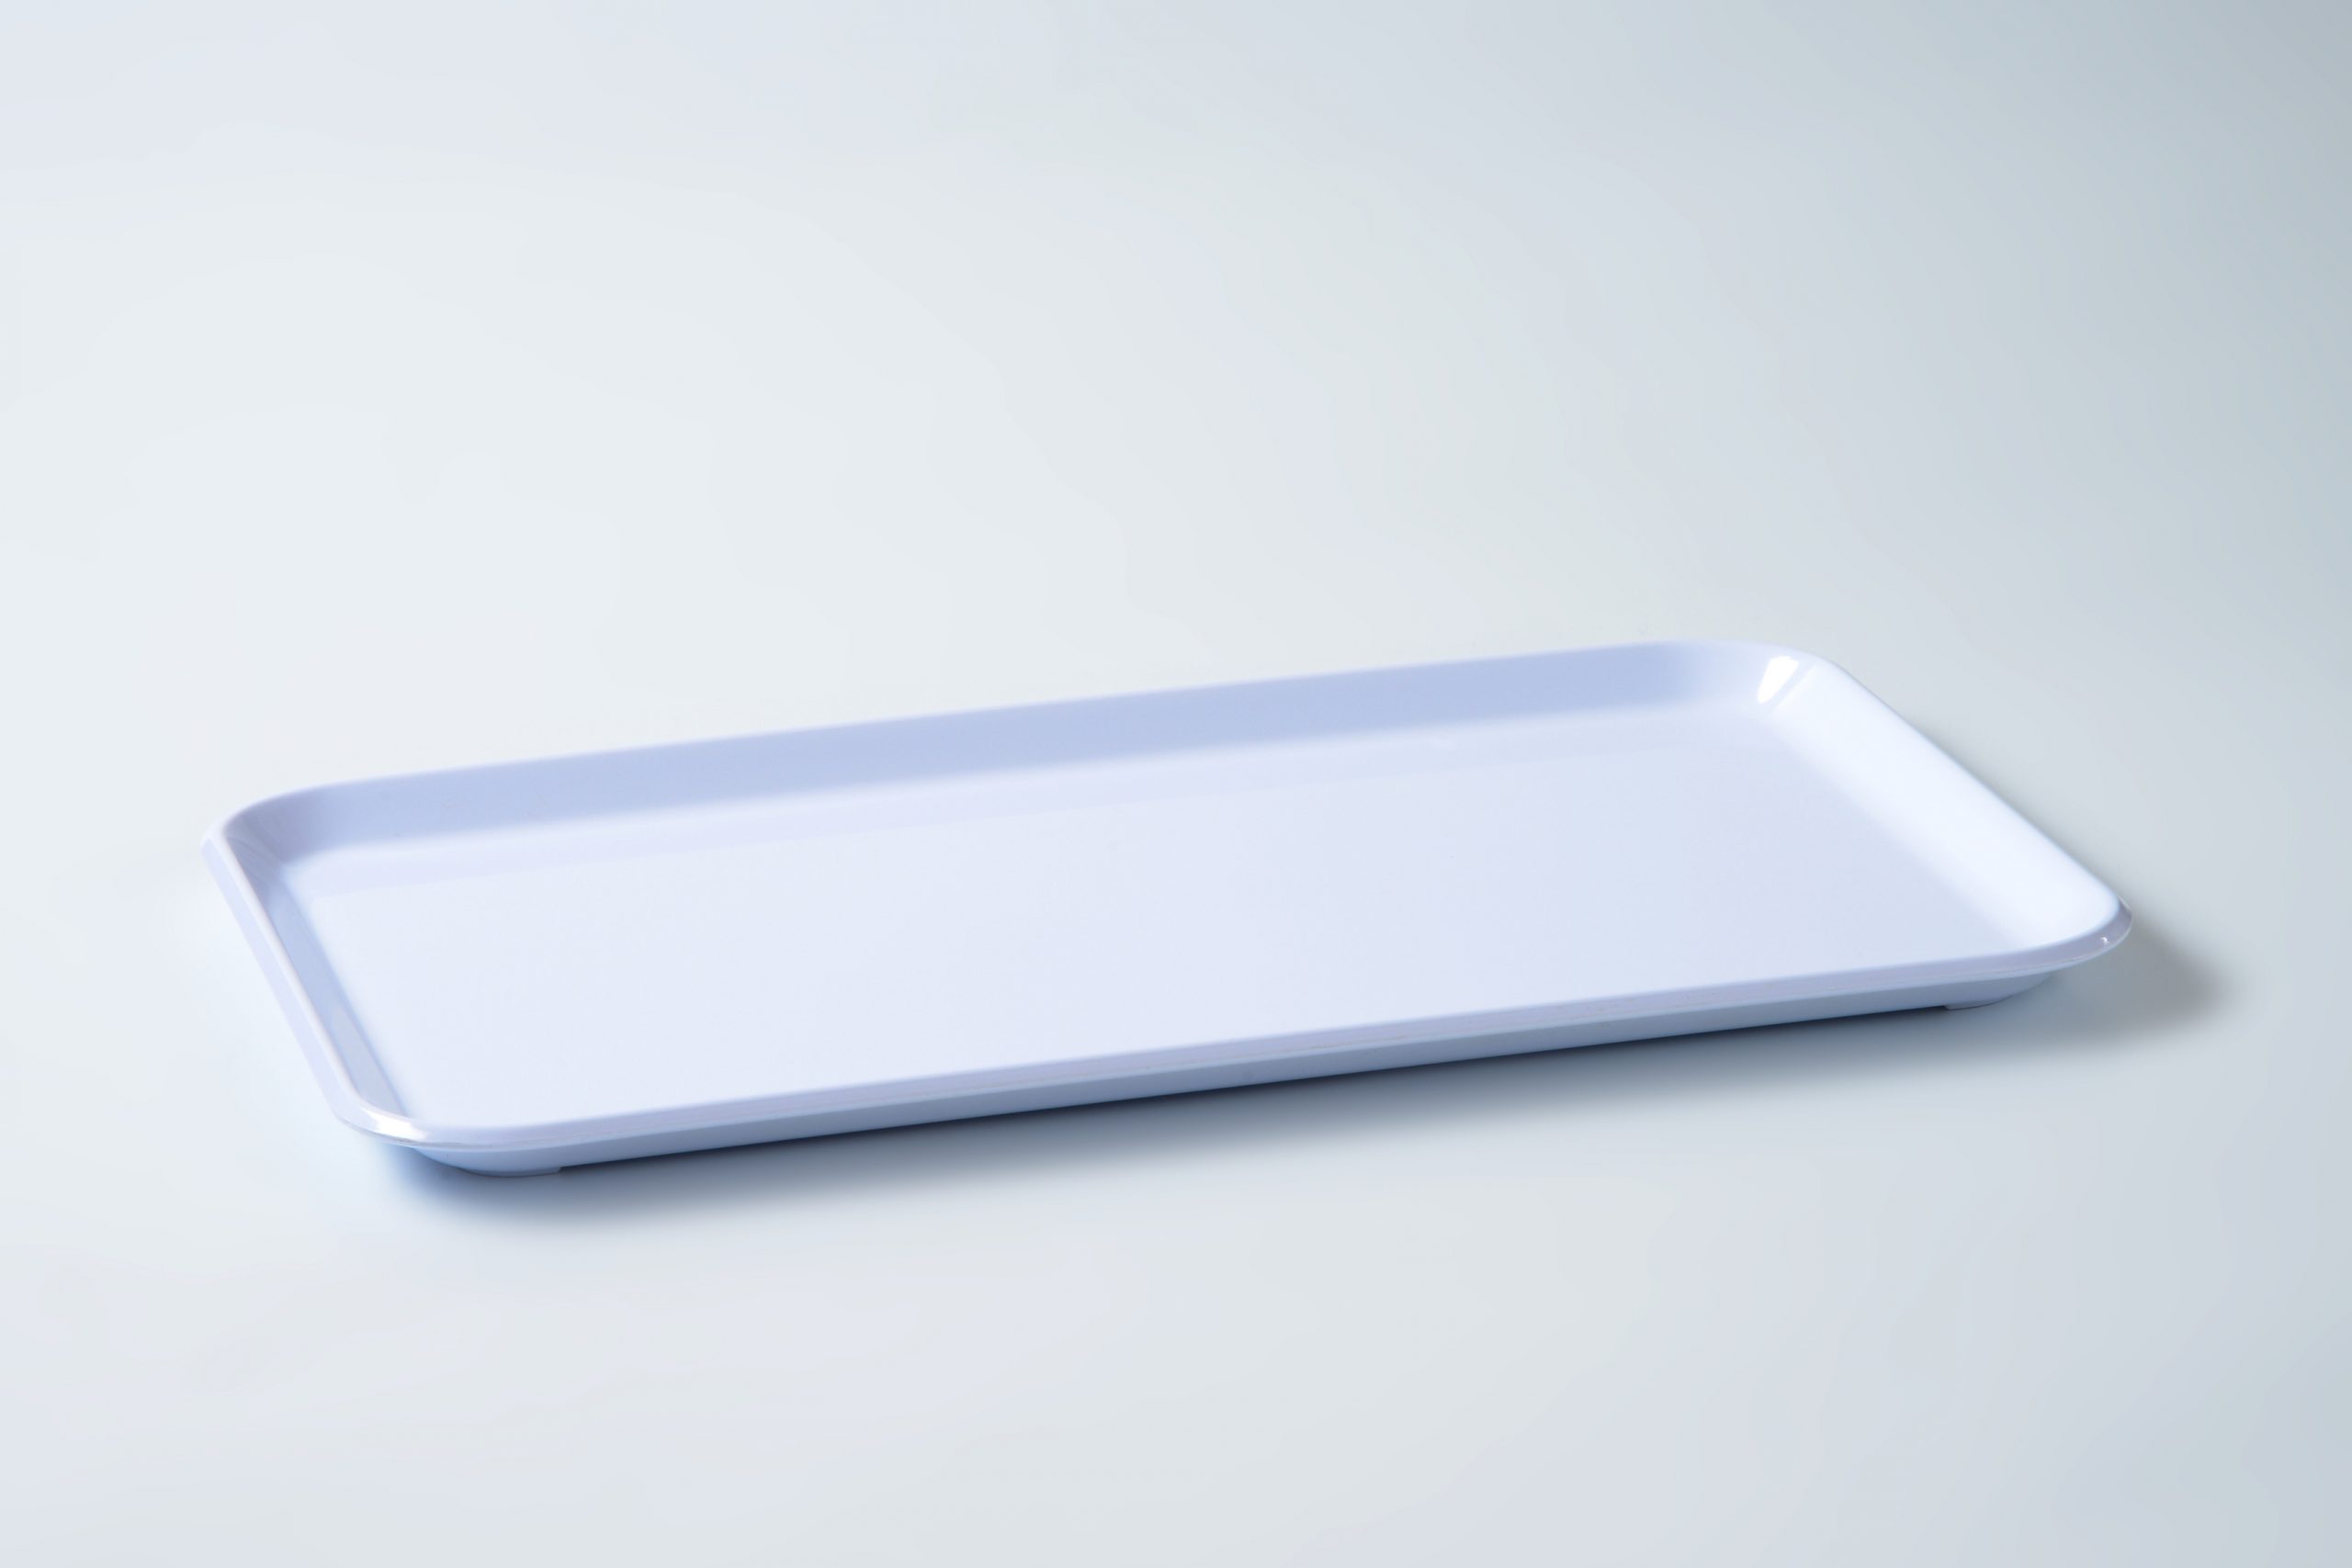
As a suggestion, I have serving trays that I have the kids put the Perler beads and the pegboard on so that you can contain the beads. The last thing anyone wants to do is crawl around on the floor picking up tiny little plastic beads or chasing your dog away from the mess so he doesn’t eat them.
(Is that just my dog or are there other dog moms out there who find random small things in their dogs poop? Let’s talk about glitter in the poop too! LOL)
It’s Time to Make Some Fun Projects
These beads are pretty small so if you are working with someone who has dexterity issues or vision issues you might consider buying the beads in their larger size format or possibly even bringing out a magnifying glass that can be used to make things closer up for those with eyesight issues (me). I can’t believe that in my forties I’m actually admitting that I have a magnifying glass on a stand, but alas I do. LOL
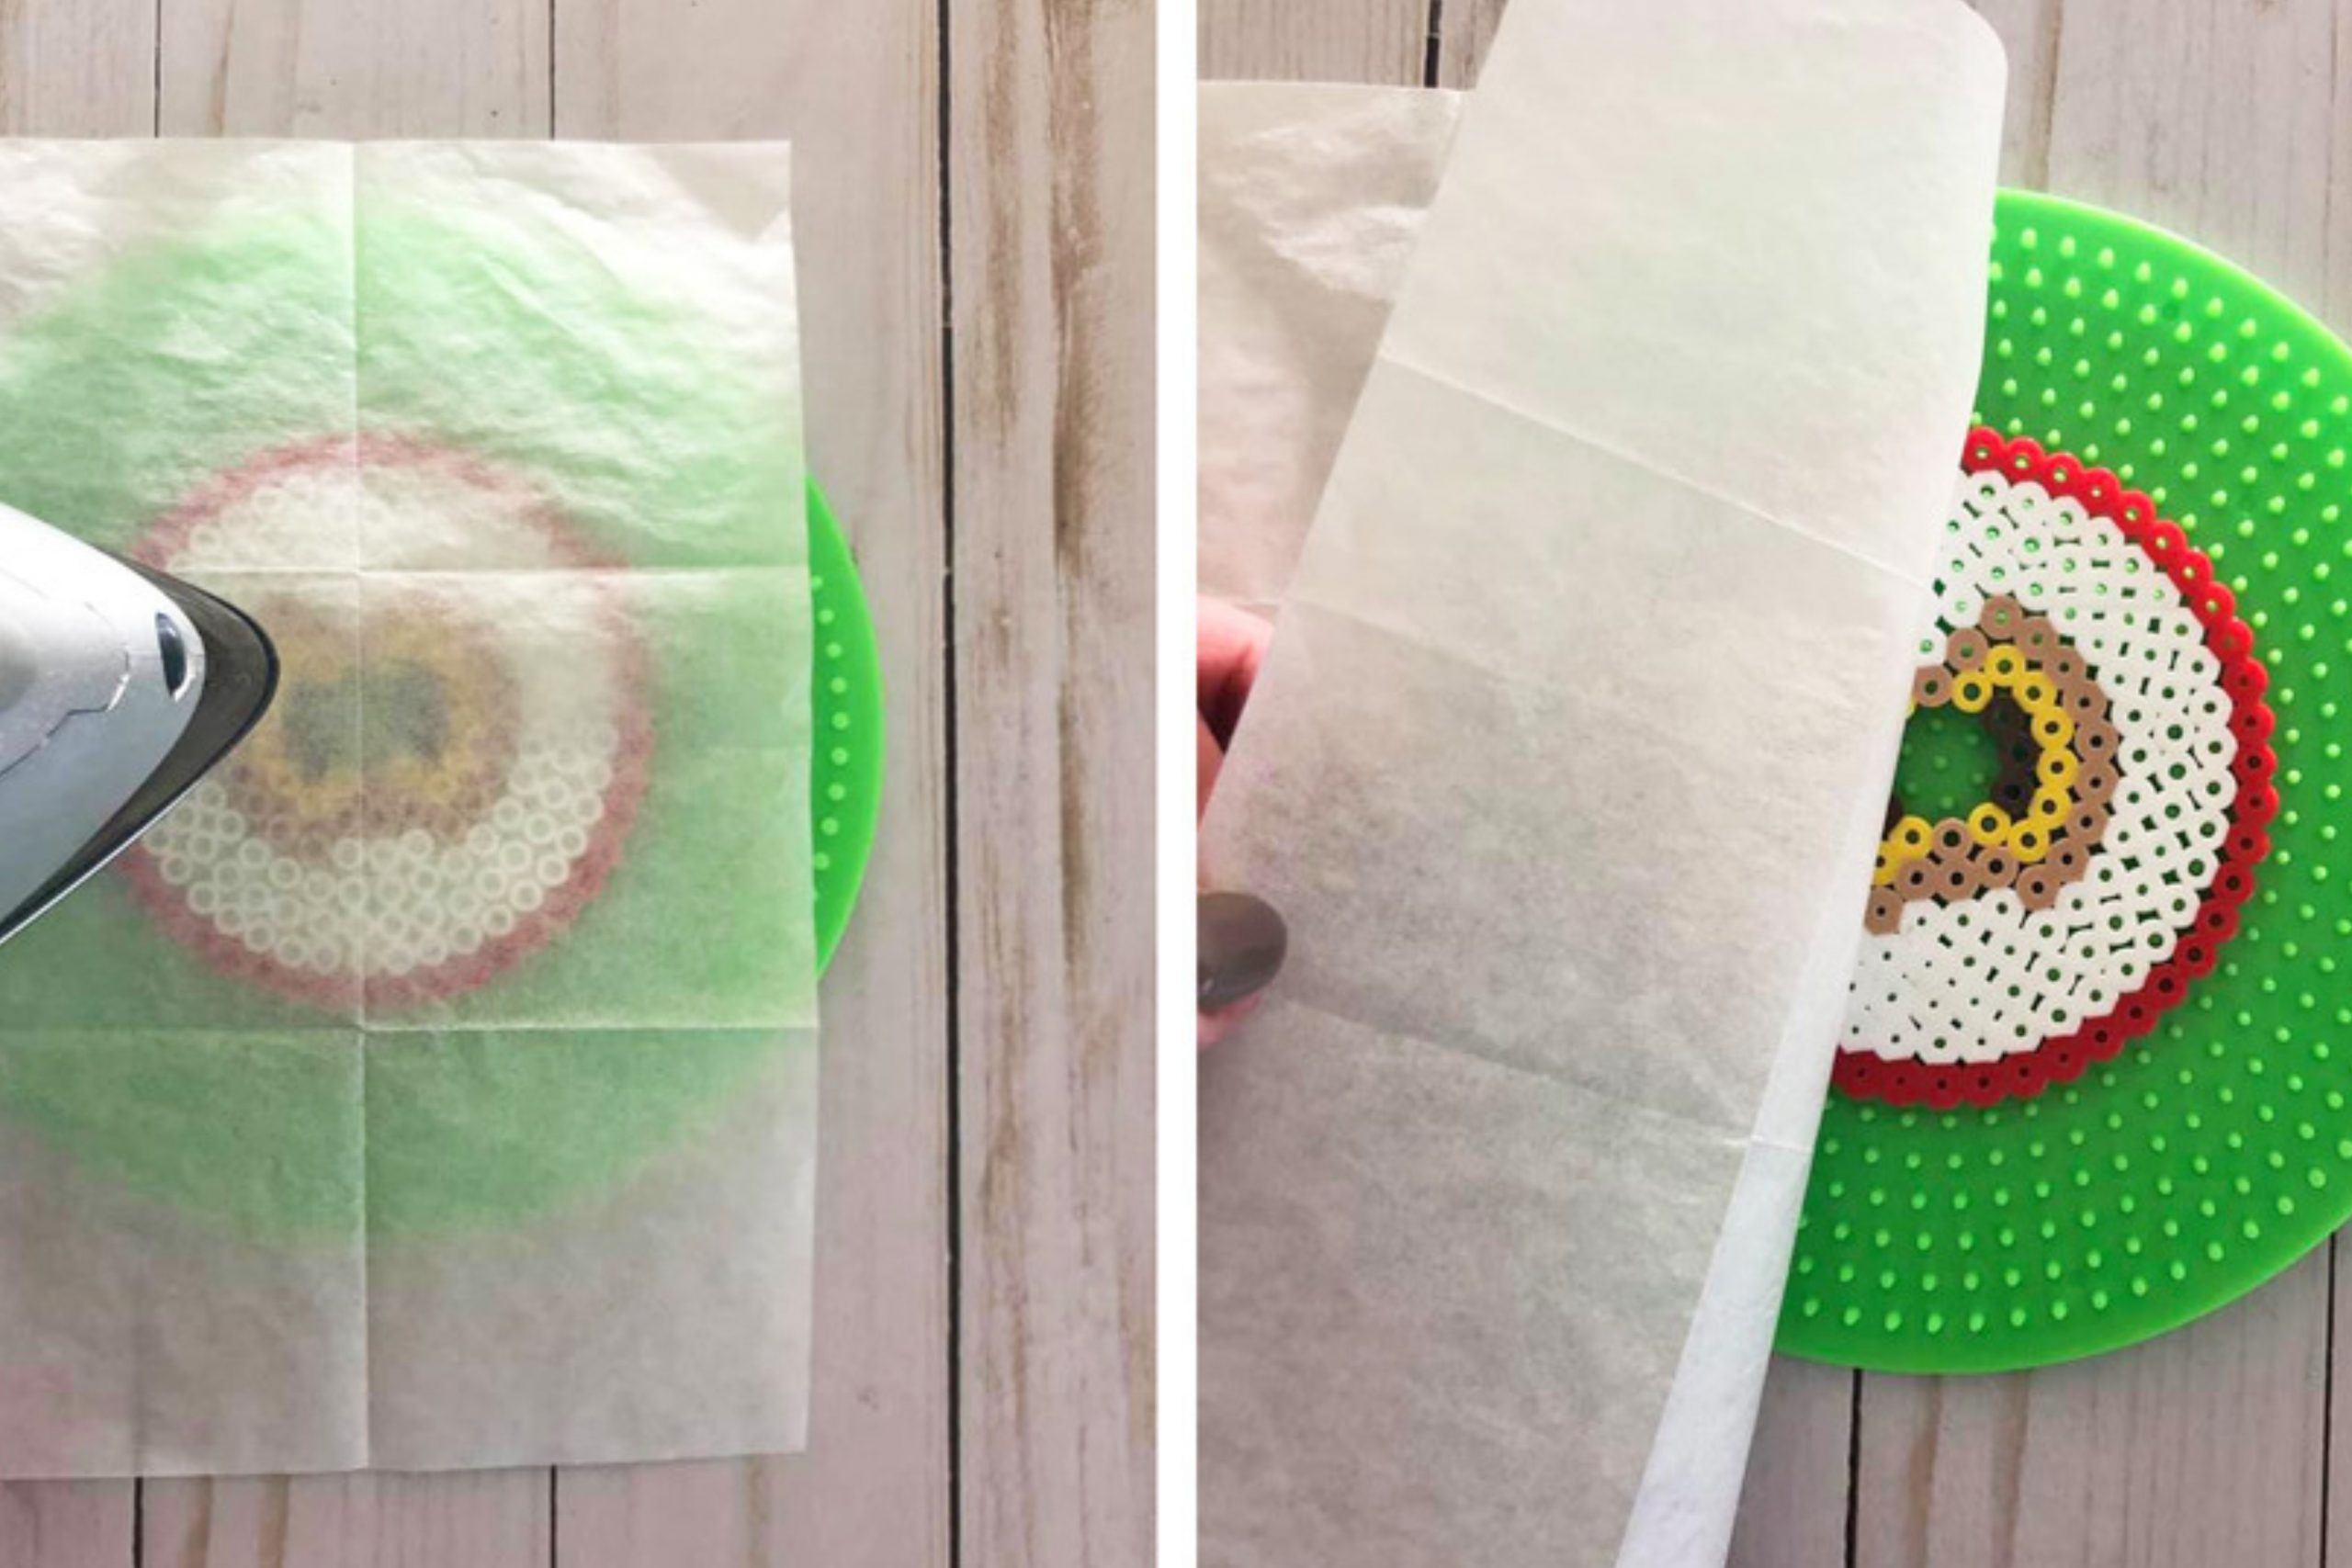
Once the creation is completed, very, very carefully lay the parchment paper on top of the image. You should have an iron close by and plugged in and ready to go prior to this step. When you’re ready gently and slowly place the iron on top of the pegboard that has your beads on it. I like to very slowly, in a circular pattern, move the iron around and around.
Some people like to place the iron on top of the beads and check it every 10 to 15 seconds to see if they’re melting. Once you can see through the parchment paper that the beads all look like they have fuzed together, peel off the parchment and check your work. If there are uneven spots with holes in some places and not in others, run the iron back over for another 20-30 seconds in a circular motion. I really don’t like to leave the iron standing in one place. Some do, but as a person with ADHD, once I take my hands off the iron there is a potential I will get distracted and walk away to do something “real quick” and then it’s a meltdown city. lol
BEWARE. Leaving the iron on the Perler beads for too long can do a few different things. 1 it will melt the beads so much that they kind of lumped together in an unsatisfying way. 2. The Perler Beads get so warm that they actually heat up the pegboard beneath it and the pegboard itself becomes warped. If that happens while it’s still warm try to lay something heavy on it like a book that will give it back its shape. However if any of the pegs themselves get melted there really isn’t anything you can do to fit it. You can buy additional pegboards to replace the ones that you warped at most craft stores.
Here is a quick video I found that shows you how to perfectly iron your Perler beads.
You can actually connect several of the large squares together and make an even bigger one. something that would span stock pot perhaps once you click them together are you just use the peg boards as you normally would. Check out these Beauties and the completed projects that I found online. If you look closely at the octopus it looks like there were two different pieces made and then the octopus was glued to the top of the other piece. How creative is that?!
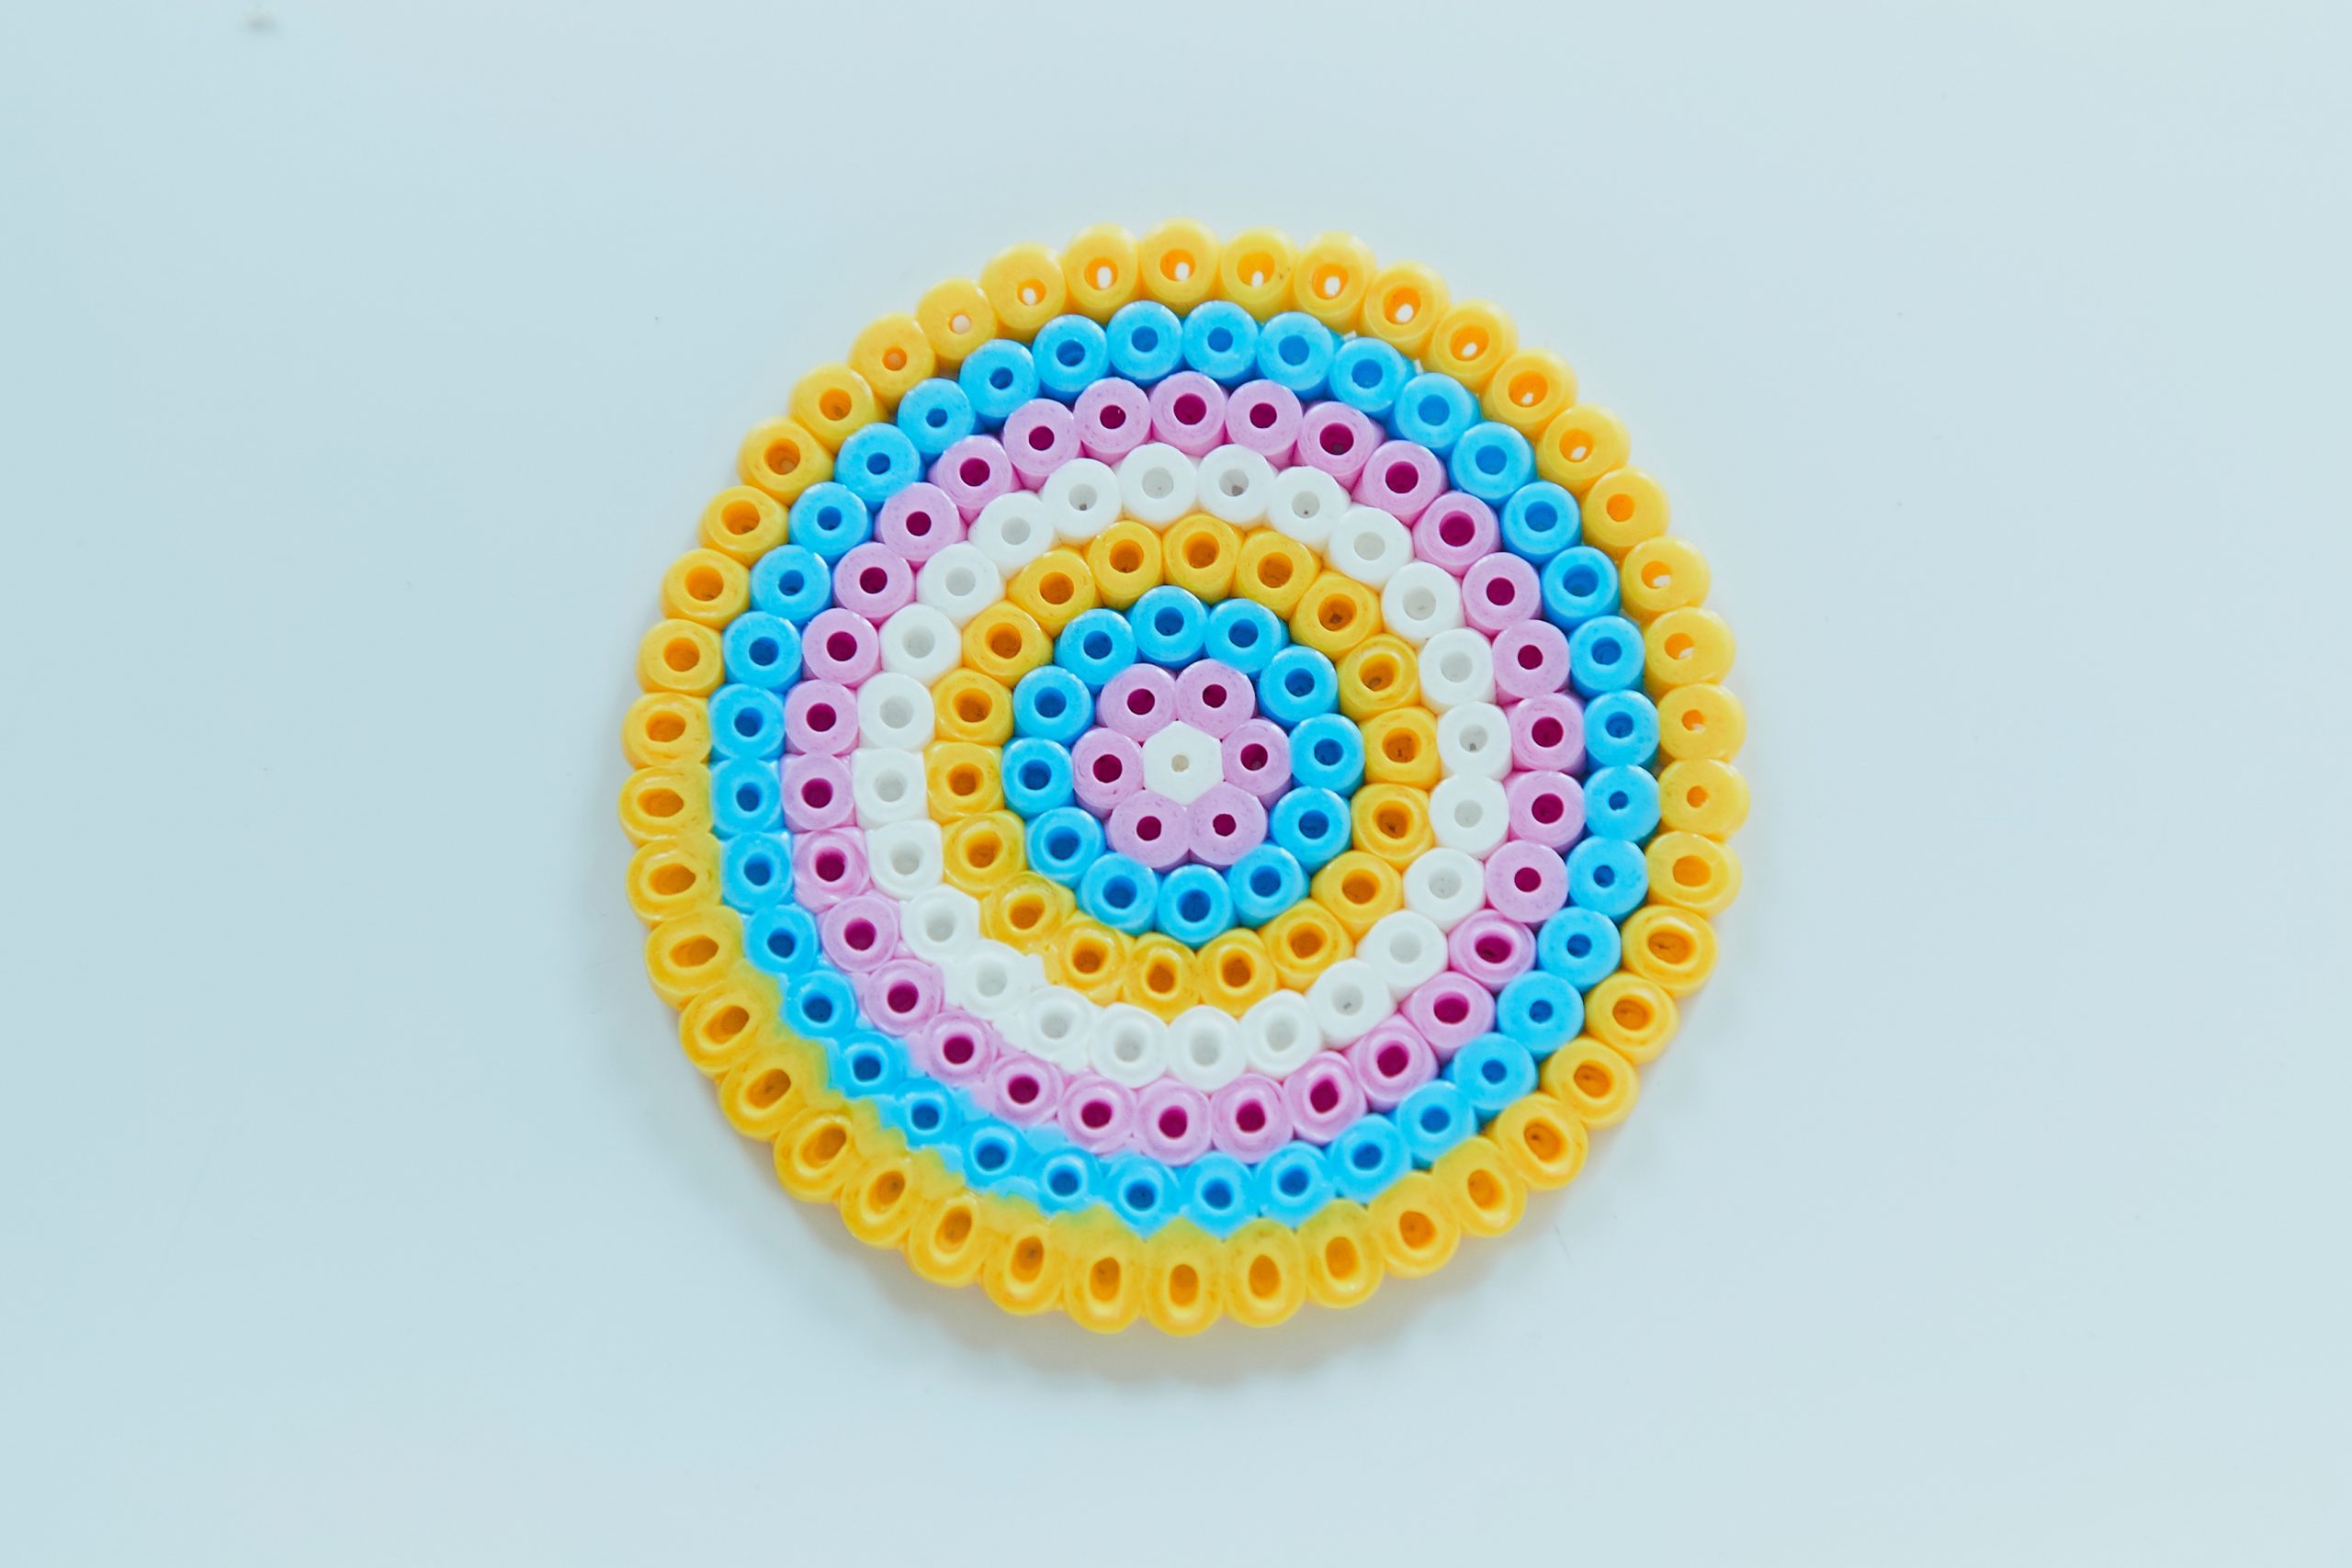
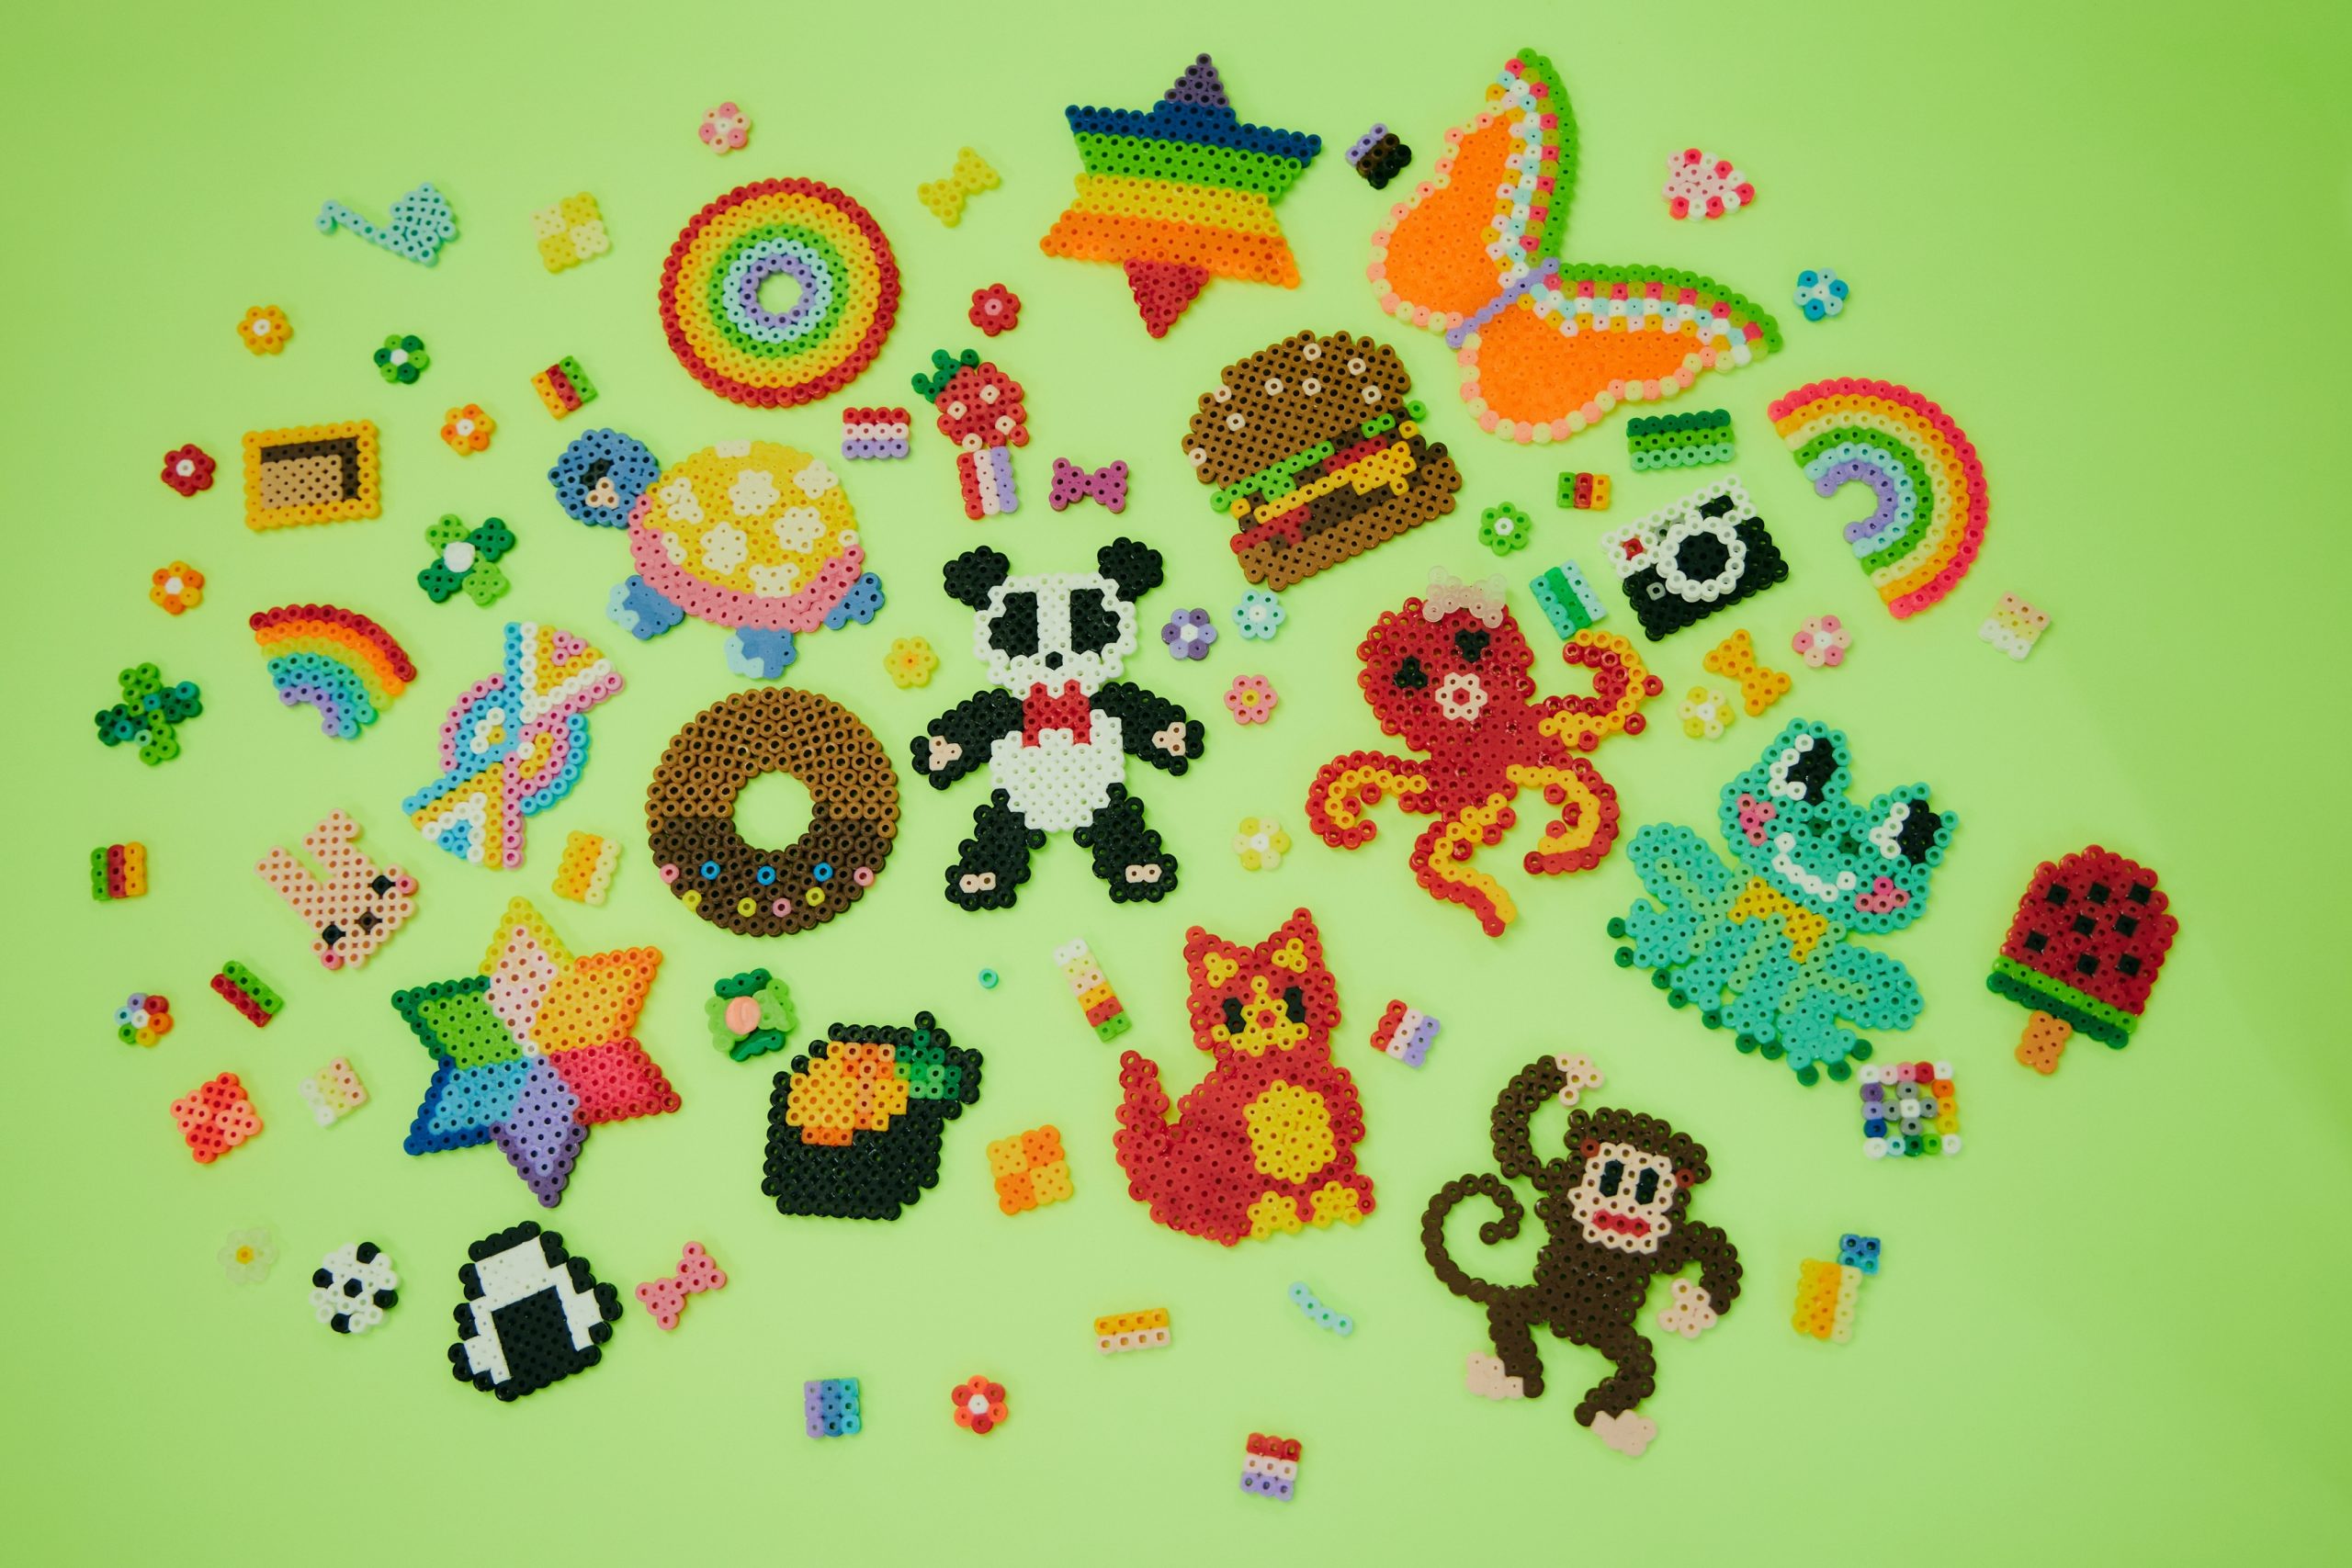
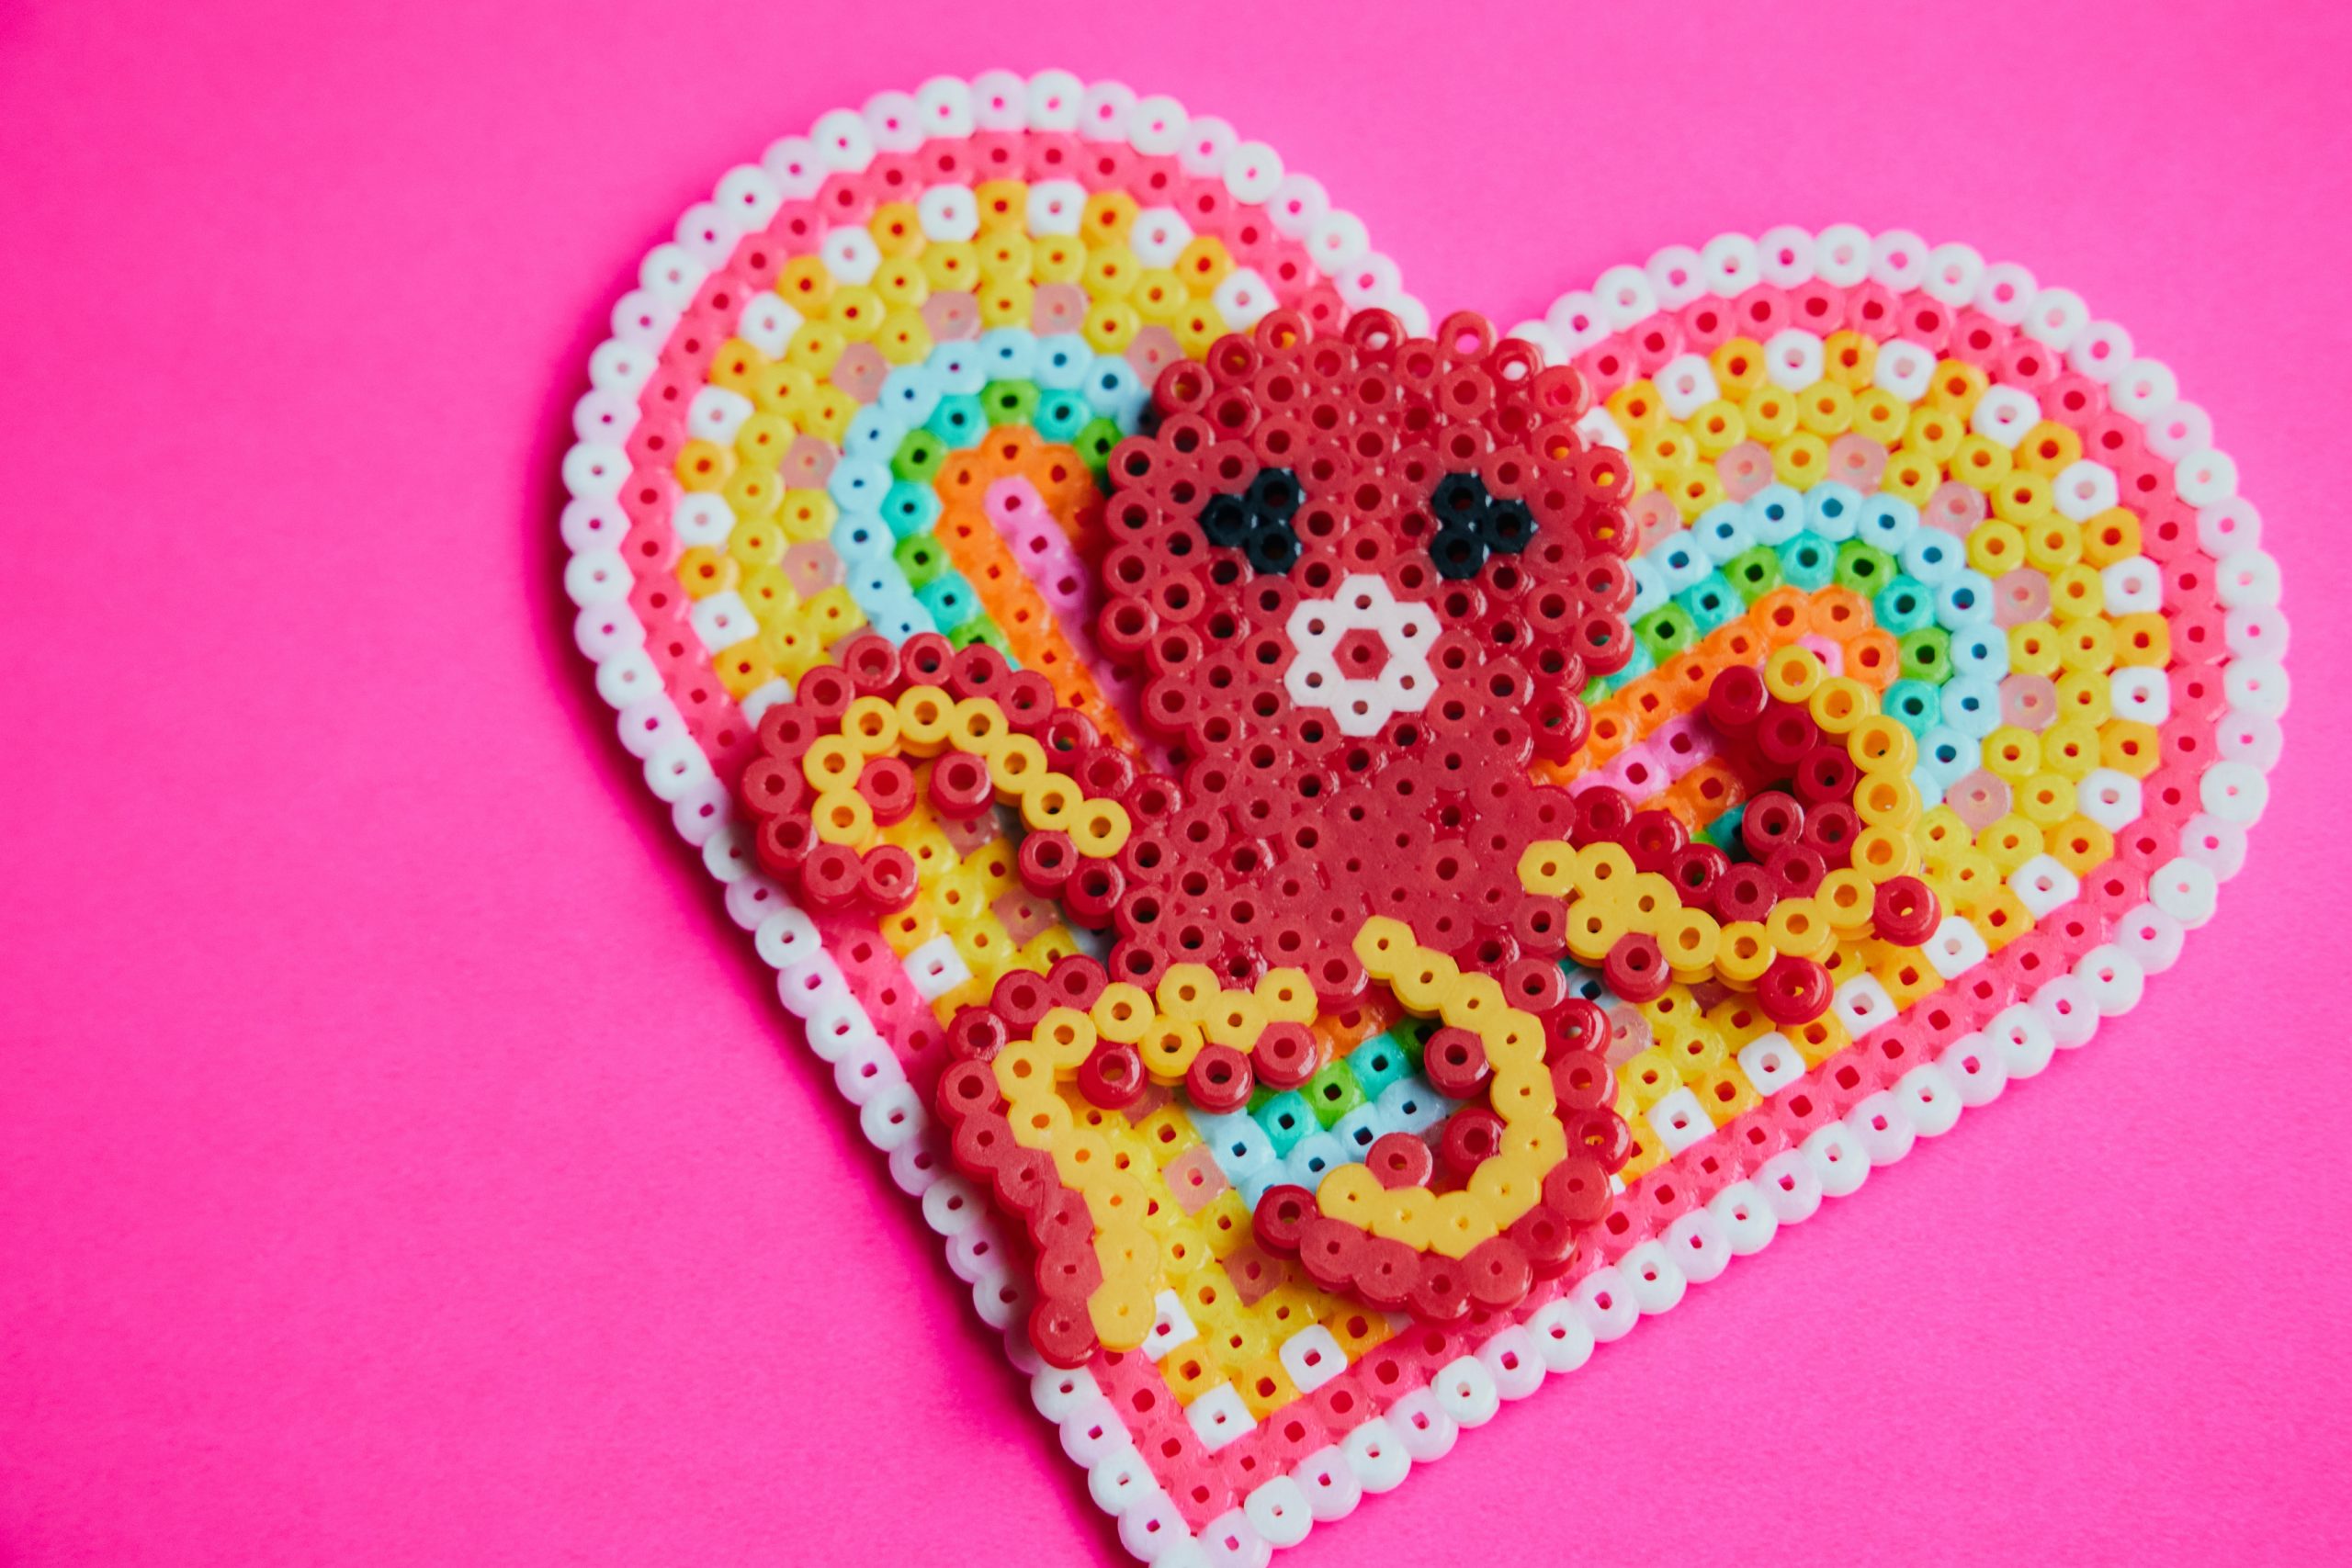
Let’s Talk Finished Projects
I’ve also seen people use the Perler Beads to bead necklaces and adorn other art pieces. Of course you can totally think outside the box and use them for something other than melting on a board and putting them together. Stringing beads is great for fine motor skills and works with children’s hand-eye coordination so any opportunity you can get to put these in front of a student or a child and let them work on their dexterity is an extra bonus!
This is a really fun and easy activity for lots of different ages. You can even buy them in larger sizes for smaller children to work on their dexterity and make it easier for them to create their masterpieces. They travel well in a cute little bucket or a little box and you have everything that you need. Well except for an iron but pretty much everyone has one of those. Don’t they?
