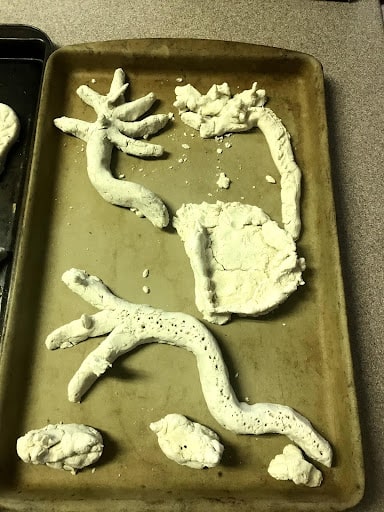
I have recently rediscovered the simple, easy and cheap beauty of a salt dough recipe. And the best part is, it keeps kids entertained for hours! Literally! It’s such a small fun thing and you can do so much with it. I remember making a glass jar topper with salt dough and some kind of gummy chewie things on top that we sealed with shellac and put candy inside of. Only once the candy was gone, I started secretly picking off the gummies on top and eating them. Shellac and all. Amazing all the stupid things we did as a kid that people think NOW would kill us. I know my list of crazy things is a mile long and I shake my head every time I think of things on that list.
Got salt and some flour at home? Then you’re all set!
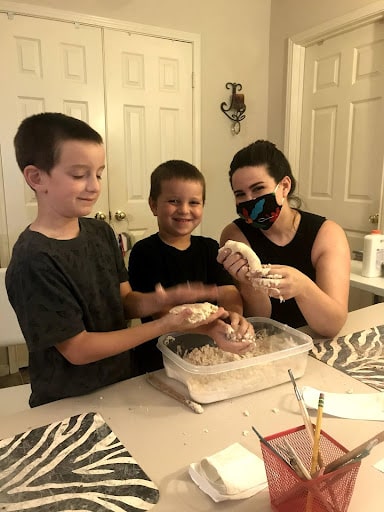
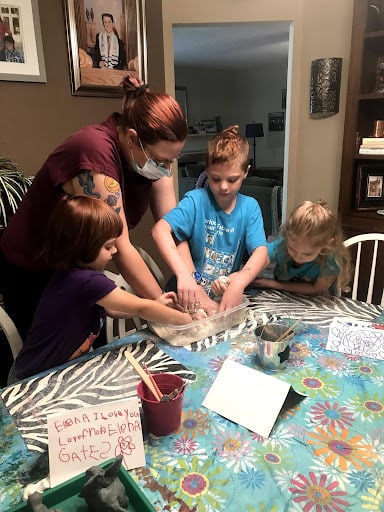
At my summer art camp this summer we made salt dough clay during our week of ceramics class. I wanted them to make something that they could recreate at home easily and inexpensively. This was IT! The kids had fun making the dough and then creating all the cool projects we decided upon. Then we baked it and painted it. Easy breezy lemon squeezy! I gave them all the leftover clay in a ziploc bag to take home and play with some more. I even had some leftovers to give to the neighbors kids too!
Here is the actual salt dough recipe and directions for fun!
Here is all you need to have for this easy and fun recipe:
1 cup of iodized salt
2 cups of flour
¾ cup water
1 TBSP cooking oil
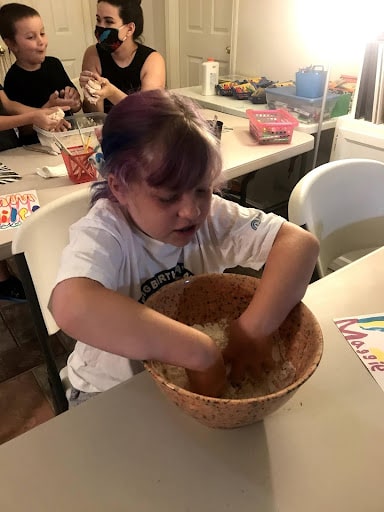
Mix everything in a bowl and start playing! If it’s crumbly add a little water and mix until you get the consistency you’re looking for. You can add food coloring if you want, but I usually wait and let the kids paint the stuff after we’ve baked it.
Bake at 200 for 3 hours – And you are all set!
Once you’ve successfully used our salt dough recipe let’s get into the fun, first prep your table or work space with a place mat or some kind of table covering. I use bowls from the dollar store and let them mix it with their hands. Don’t forget this is about THEIR experiences.
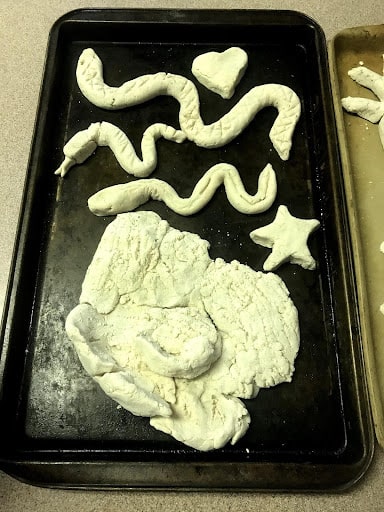
After they have the dough the consistency they want they typically will start to mold it with their hands making a ball or a large mobius shape. Most projects start with a ball so ask them to make a few and see how they do. (This is good fine motor skill work too) After making balls, if they want to make a coil pot they can start to roll the ball into a “snake”. For some this is easy, for others not so much.
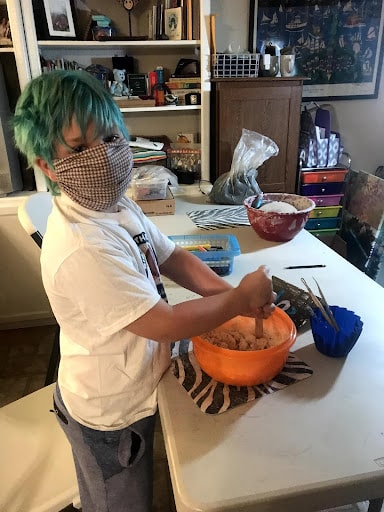
Now that you’ve got the recipe worked out, let the games begin!
Grab a ball and show your kiddo the technique. Let them see you work. There is no need to do it for them. Modeling the process is a good way to teach your child(ren) AND you get to have some fun too!. Make your snake a foot or two long. Try to make it as even in thickness as you can. Take your time, start over if you need to.
You can use this salt dough recipe to make a clay coil pot and make a small pancake for the base. Then you can start to wind the coil around the base going up and up until it’s as tall as you want it or you run out of coil. You can add more coil if you want it to be taller or just stop there. You can add another pancake for the lid and put a cute ball of clay or another shape on top of it as well. (when I was a kid apparently we glued sugary gummy things to the top)
At this point you and your kids can make so many things! Turn your rope straight into a snake. Make one end round and use a toothpick to make a mouth and some eyes. It’s fun. Perhaps you turn your rope into a snail or a coil pot. I like to make turtles and frogs. You can make cool animals with crazy fun eyeballs and tongues sticking out etc…
Salt dough recipe success, it’s time to bake and paint!
After you’ve made your cool creations you can bake them in the oven at 200 degrees for three hours OR you can leave it outside for 24 hours. (not in the rain) lol Wait, in Texas it doesn’t really matter. Outside or in the oven it’s just about the same right? One way takes 3 hours and the other one day. Take your pick.
Once you have it baked or hardened enough you are ready to decorate! I like to use acrylic paints personally. They are cheap at any craft store. Don’t spend your money on any expensive brands, it’s not necessary. You can paint it, add googly eyes, whatever floats your boat.
When the paint has dried I like to use Modge Podge high gloss spray. Go outside or find somewhere with good ventilation to spray your pieces. Again, if you spray outside in Texas that stuff will be dry in minutes! I suggest two to three coats for maximum shine and finish. I suggest you use gloves or at least ONE glove while spraying your pieces down. The modge podge sometimes gets sticky and I HATE touching things with my sticky fingers and leaving trace amounts of myself everywhere.
The fine art of working with your hands can be therapeutic. Sometimes I find myself just rolling the dough between my hands, making them into balls and zoning out while in the process. It is cathartic and relaxing even when I don’t make anything.
So by keeping the supplies you need in your kitchen around for a day when the kids say “i’m bored”. You’ve got yourself instant fun for at least a few hours. You can even add some food coloring to our salt dough recipe to get different colors before you dry it!
Try it out and let me know what you think. (But don’t eat the decorations!)

