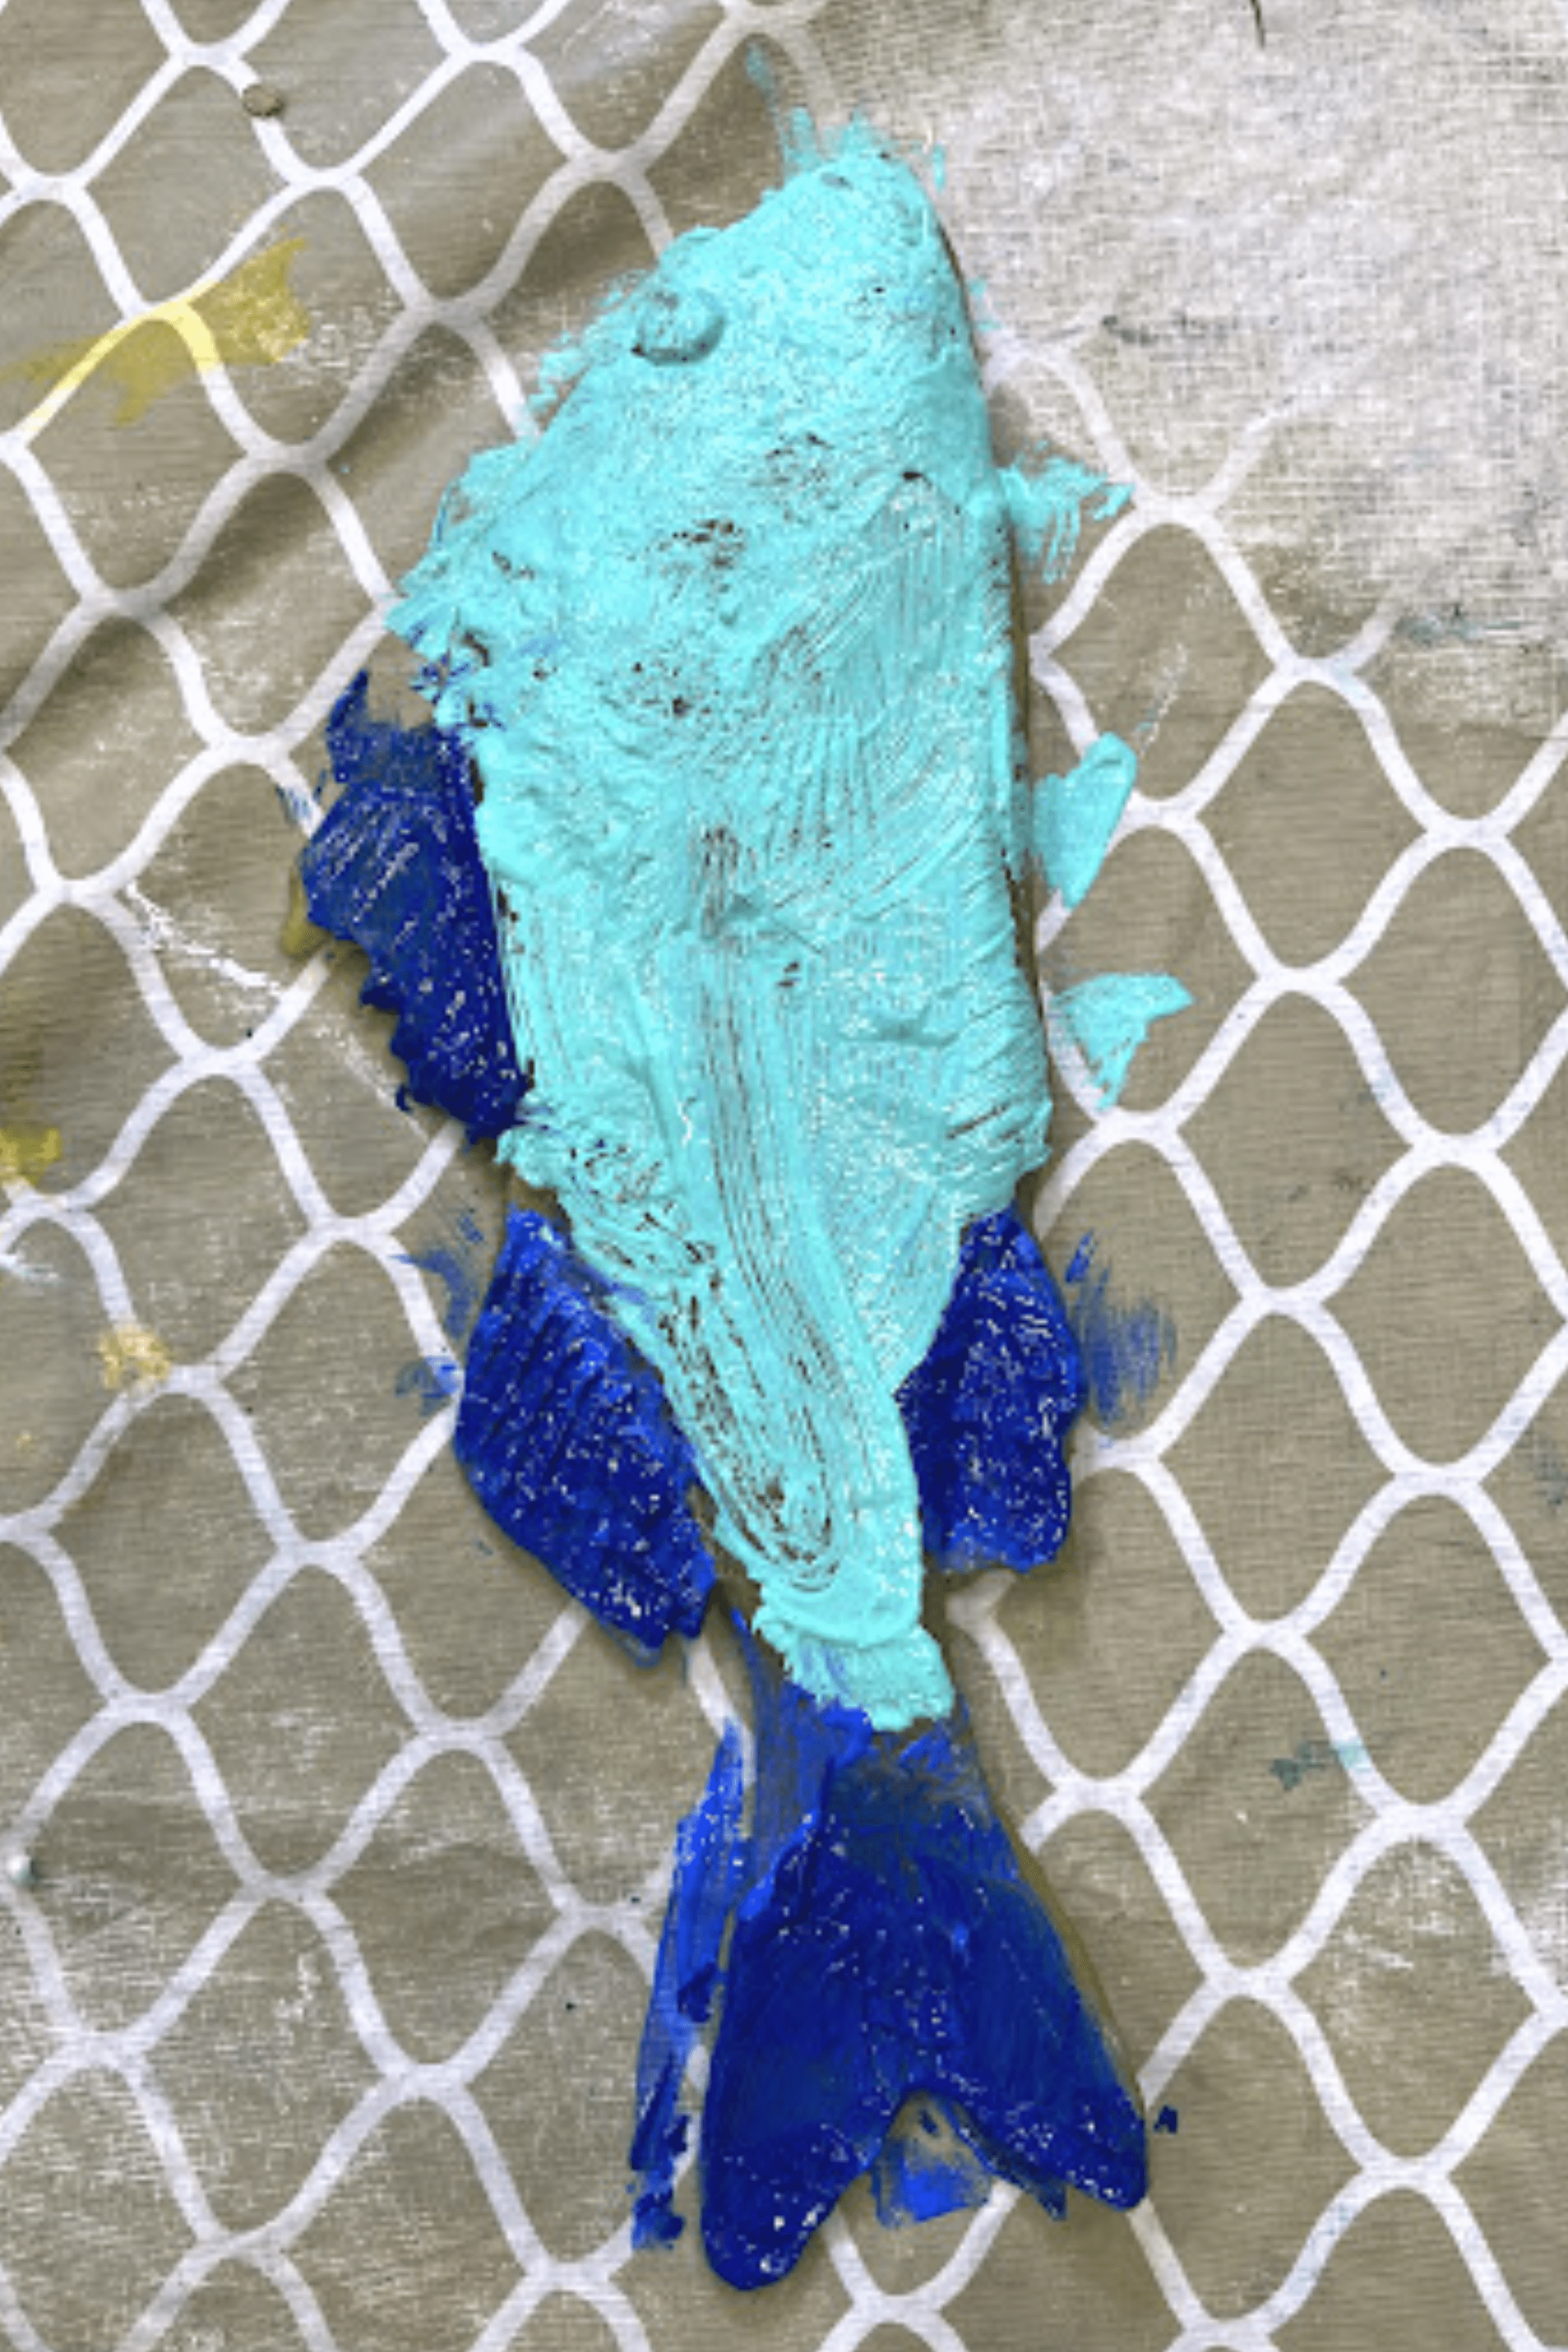
The Japanese art of Gyotaku, or fish printing, is one of my favorite things to do with my art students. It’s so unique and fun that everyone smiles when the rubbery, bendy fish bodies come out of the box. These guys are so lifelike, with details on the fins, realistic scales as well as fine details around the eyes.
“Gyo” means fish and “taku” means rubbing. In early times, Japanese fishermen would put ink directly onto the fish and print it on rice paper to prove the size of the fish they caught. There are no “fish tales” here. The proof is on the paper.
I was first introduced to Gyotaku in college. I was working at the Jewish Community Center in San Antonio, Texas at a summer camp. I was assisting the art teacher there for a few weeks. She had these amazing “out of the box” activities planned and I learned a ton from her.
The second week of camp she shows up with a bunch of “packages” wrapped in white paper. We set out paper and paint and brushes and the kids entered the room.
She began to explain that we were going to study Gyotaku. The ancient art of fish painting. She then unwrapped one of the packages. Inside was a dead fish! A REAL dead fish! I was confused and excited at the same time. She then demonstrated painting the fish with thin layers of paint in various colors. She then took some paper and laid it on top of the fish and pressed down gently. When she peeled away the paper the perfect imprint of a fish was left behind. It was AWESOME!
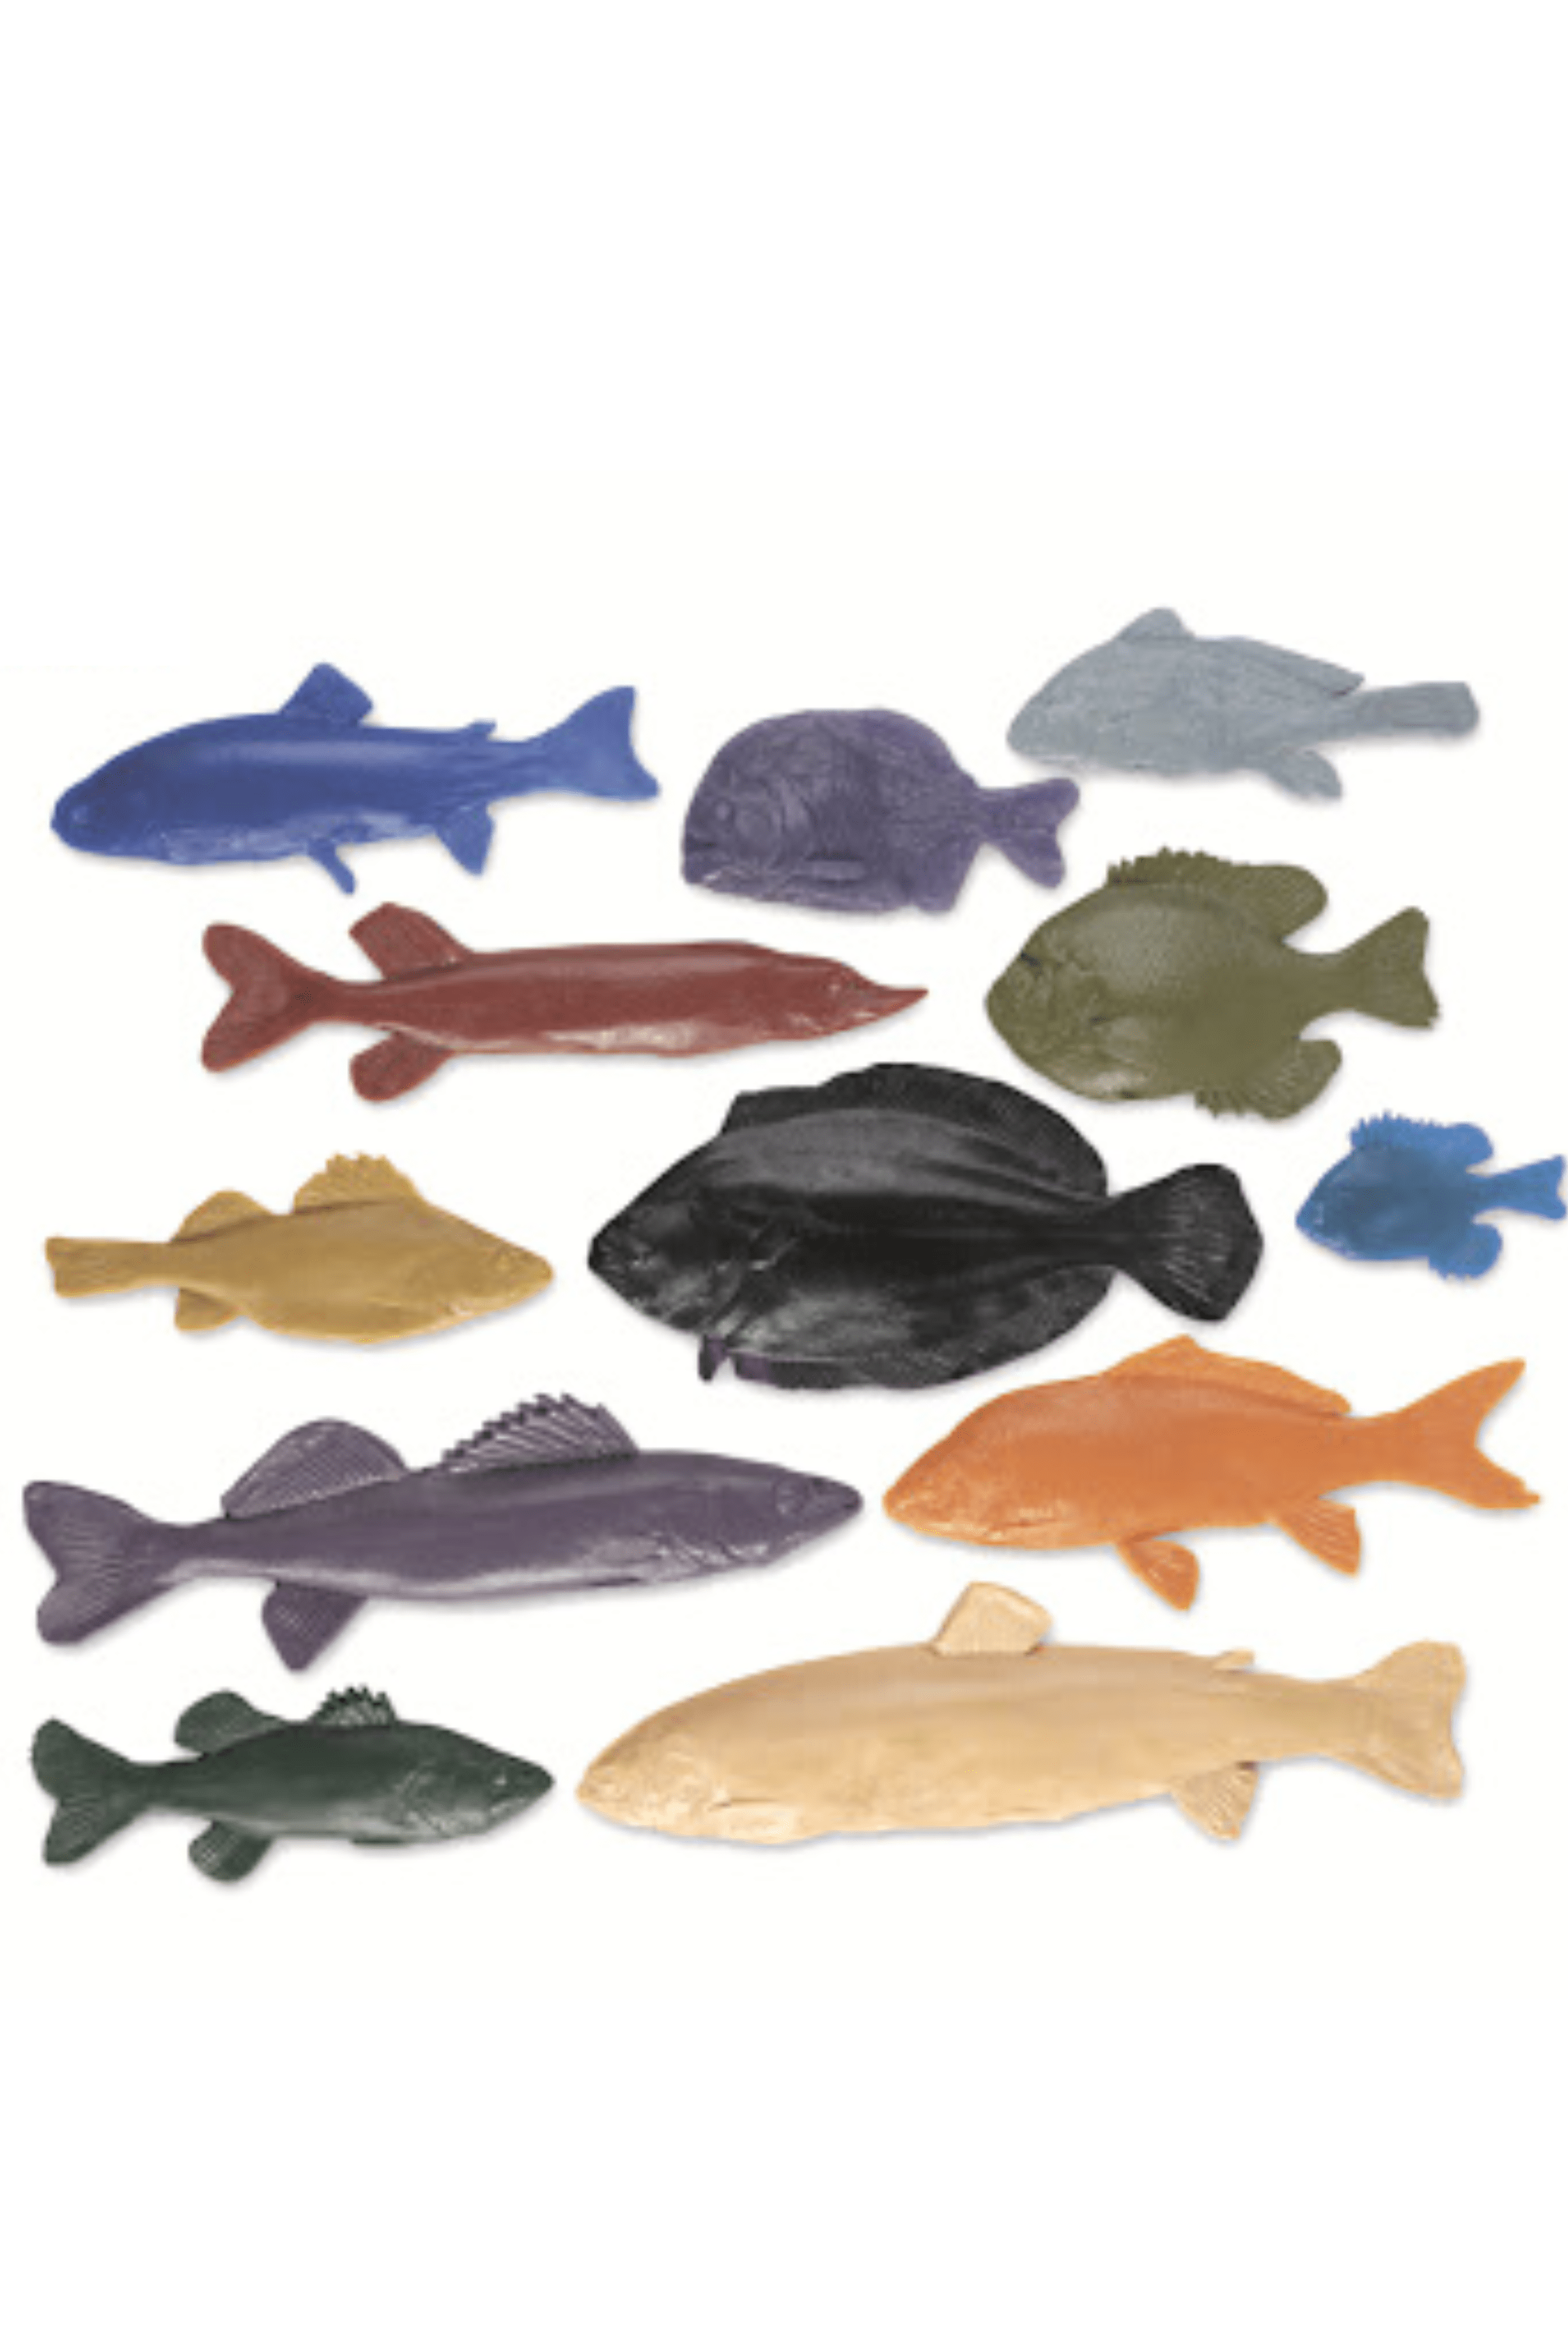
Of course today you can actually buy the fun fish shapes that never rot and start to stink up your art room. I also like to buy the fake ones on the premise that we have a crisis or food insecurities in this world and using food we art that is thrown away doesn’t sit well with me.
Here is the link to the shapes I bought. They are costly but the amount of time I use them makes it totally worth it. You can Google rubber fish printing and find others. Amazon sells them but they are selling the Nasco version and they up the price a bit. So be careful.
The Nasco kit Includes one each of freshwater drum (right side), piranha, blue gill, perch, carp, flounder, trout, largemouth bass, salmon, walleye, northern pike, and mini bluegill.
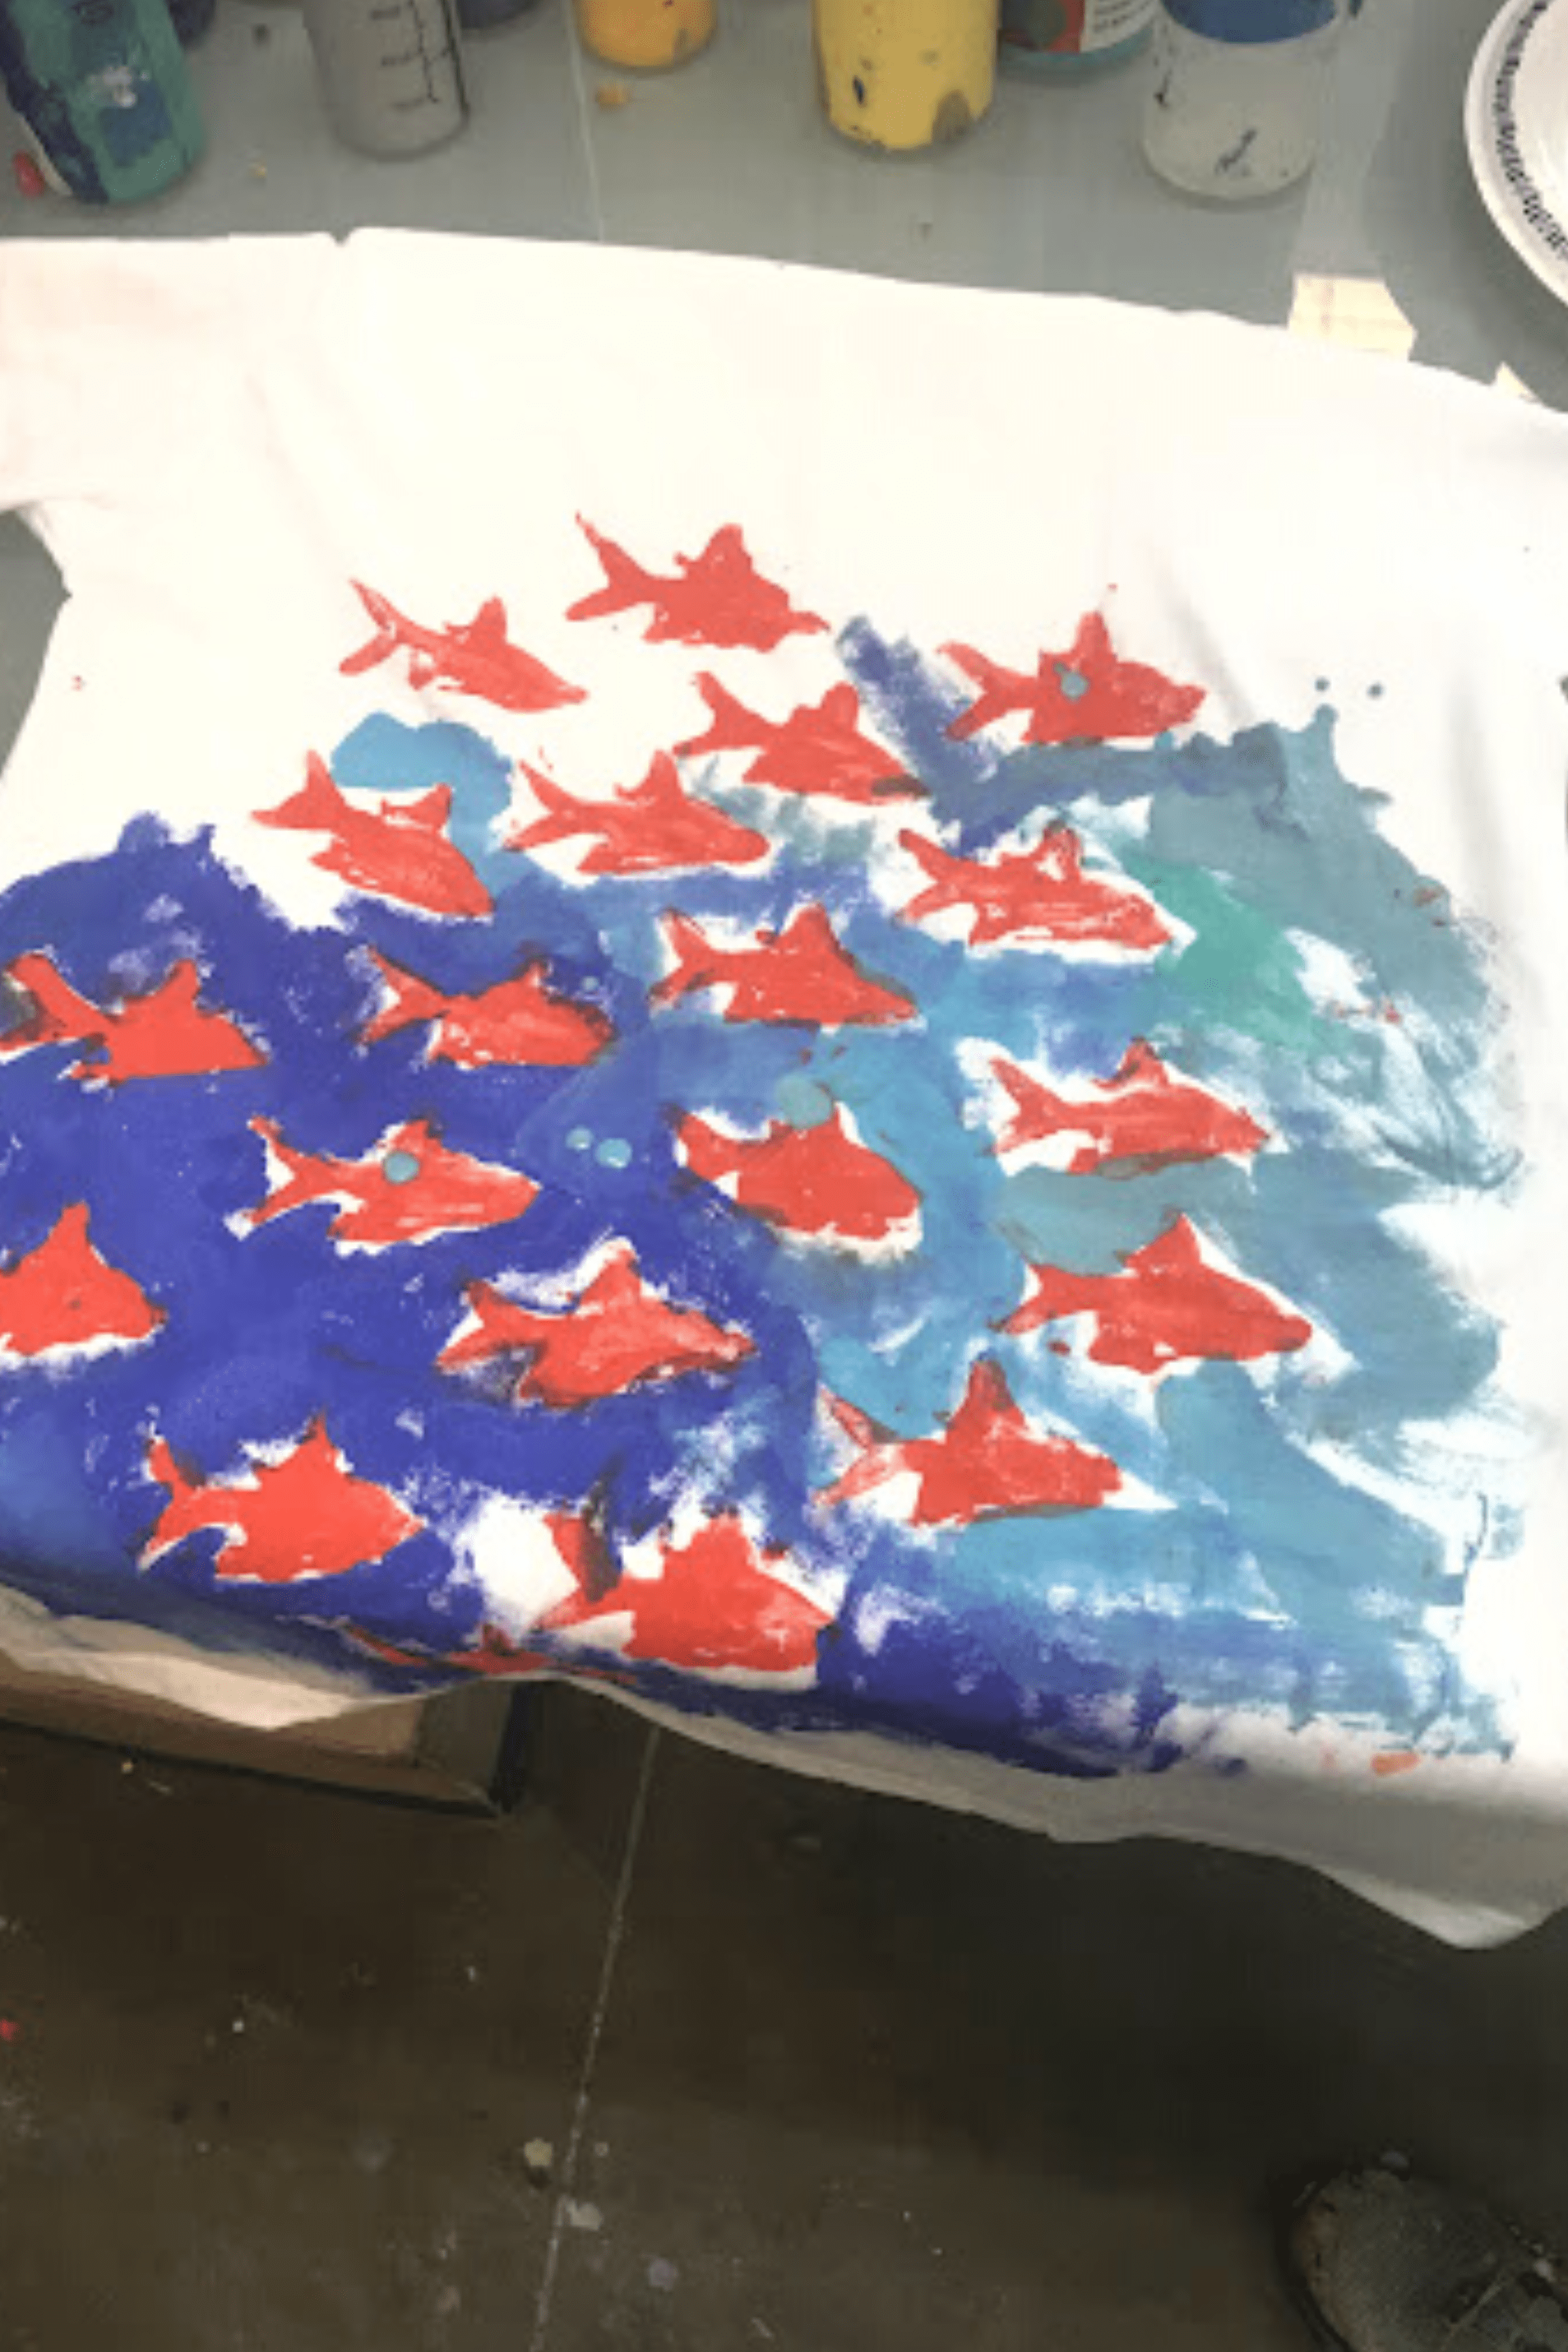
For this Gyotaku project you are using realistic fish replicas made of rubber, rolling it with block printing or paint. You can use the fish to create unique greeting cards and stationery, tote bags and T shirts, framed prints for hanging, -and so many other cool projects! let your students experiment with bold and bright colors. You can use tempera or acrylic and even screen printing inks.
If you’re a teacher you can span many different disciplines at one time. You can learn about Japan and early era fishing. You can study the various species of fish and their anatomy. You could experiment with printing other kinds to items besides fish. The sky’s the limit. I’ve even moved on to rubbings of things like manholes and tombstones.
There are many cool sites for nature printing. Using leaves and things you find outside. Check this site out for some cool inspirations! They strongly believe in the connection between art and nature. They say that one can “capture nature’s splendor for use in your artwork”
So. Here are the materials you need to get started:
- Newsprint or other large sheets of paper. I have used cotton tote bags, T shirts and canvas before as well. Rice paper is also nice to use for a different kind of imprint
- If you use printing ink you will need brayers for that.
- Paint and brushes
- A clean surface you don’t mind getting dirty.
Start with your fish and some paint. Gently apply a thin layer of paint. You don’t want globs but you also don’t want to see the mold as you are covering it.
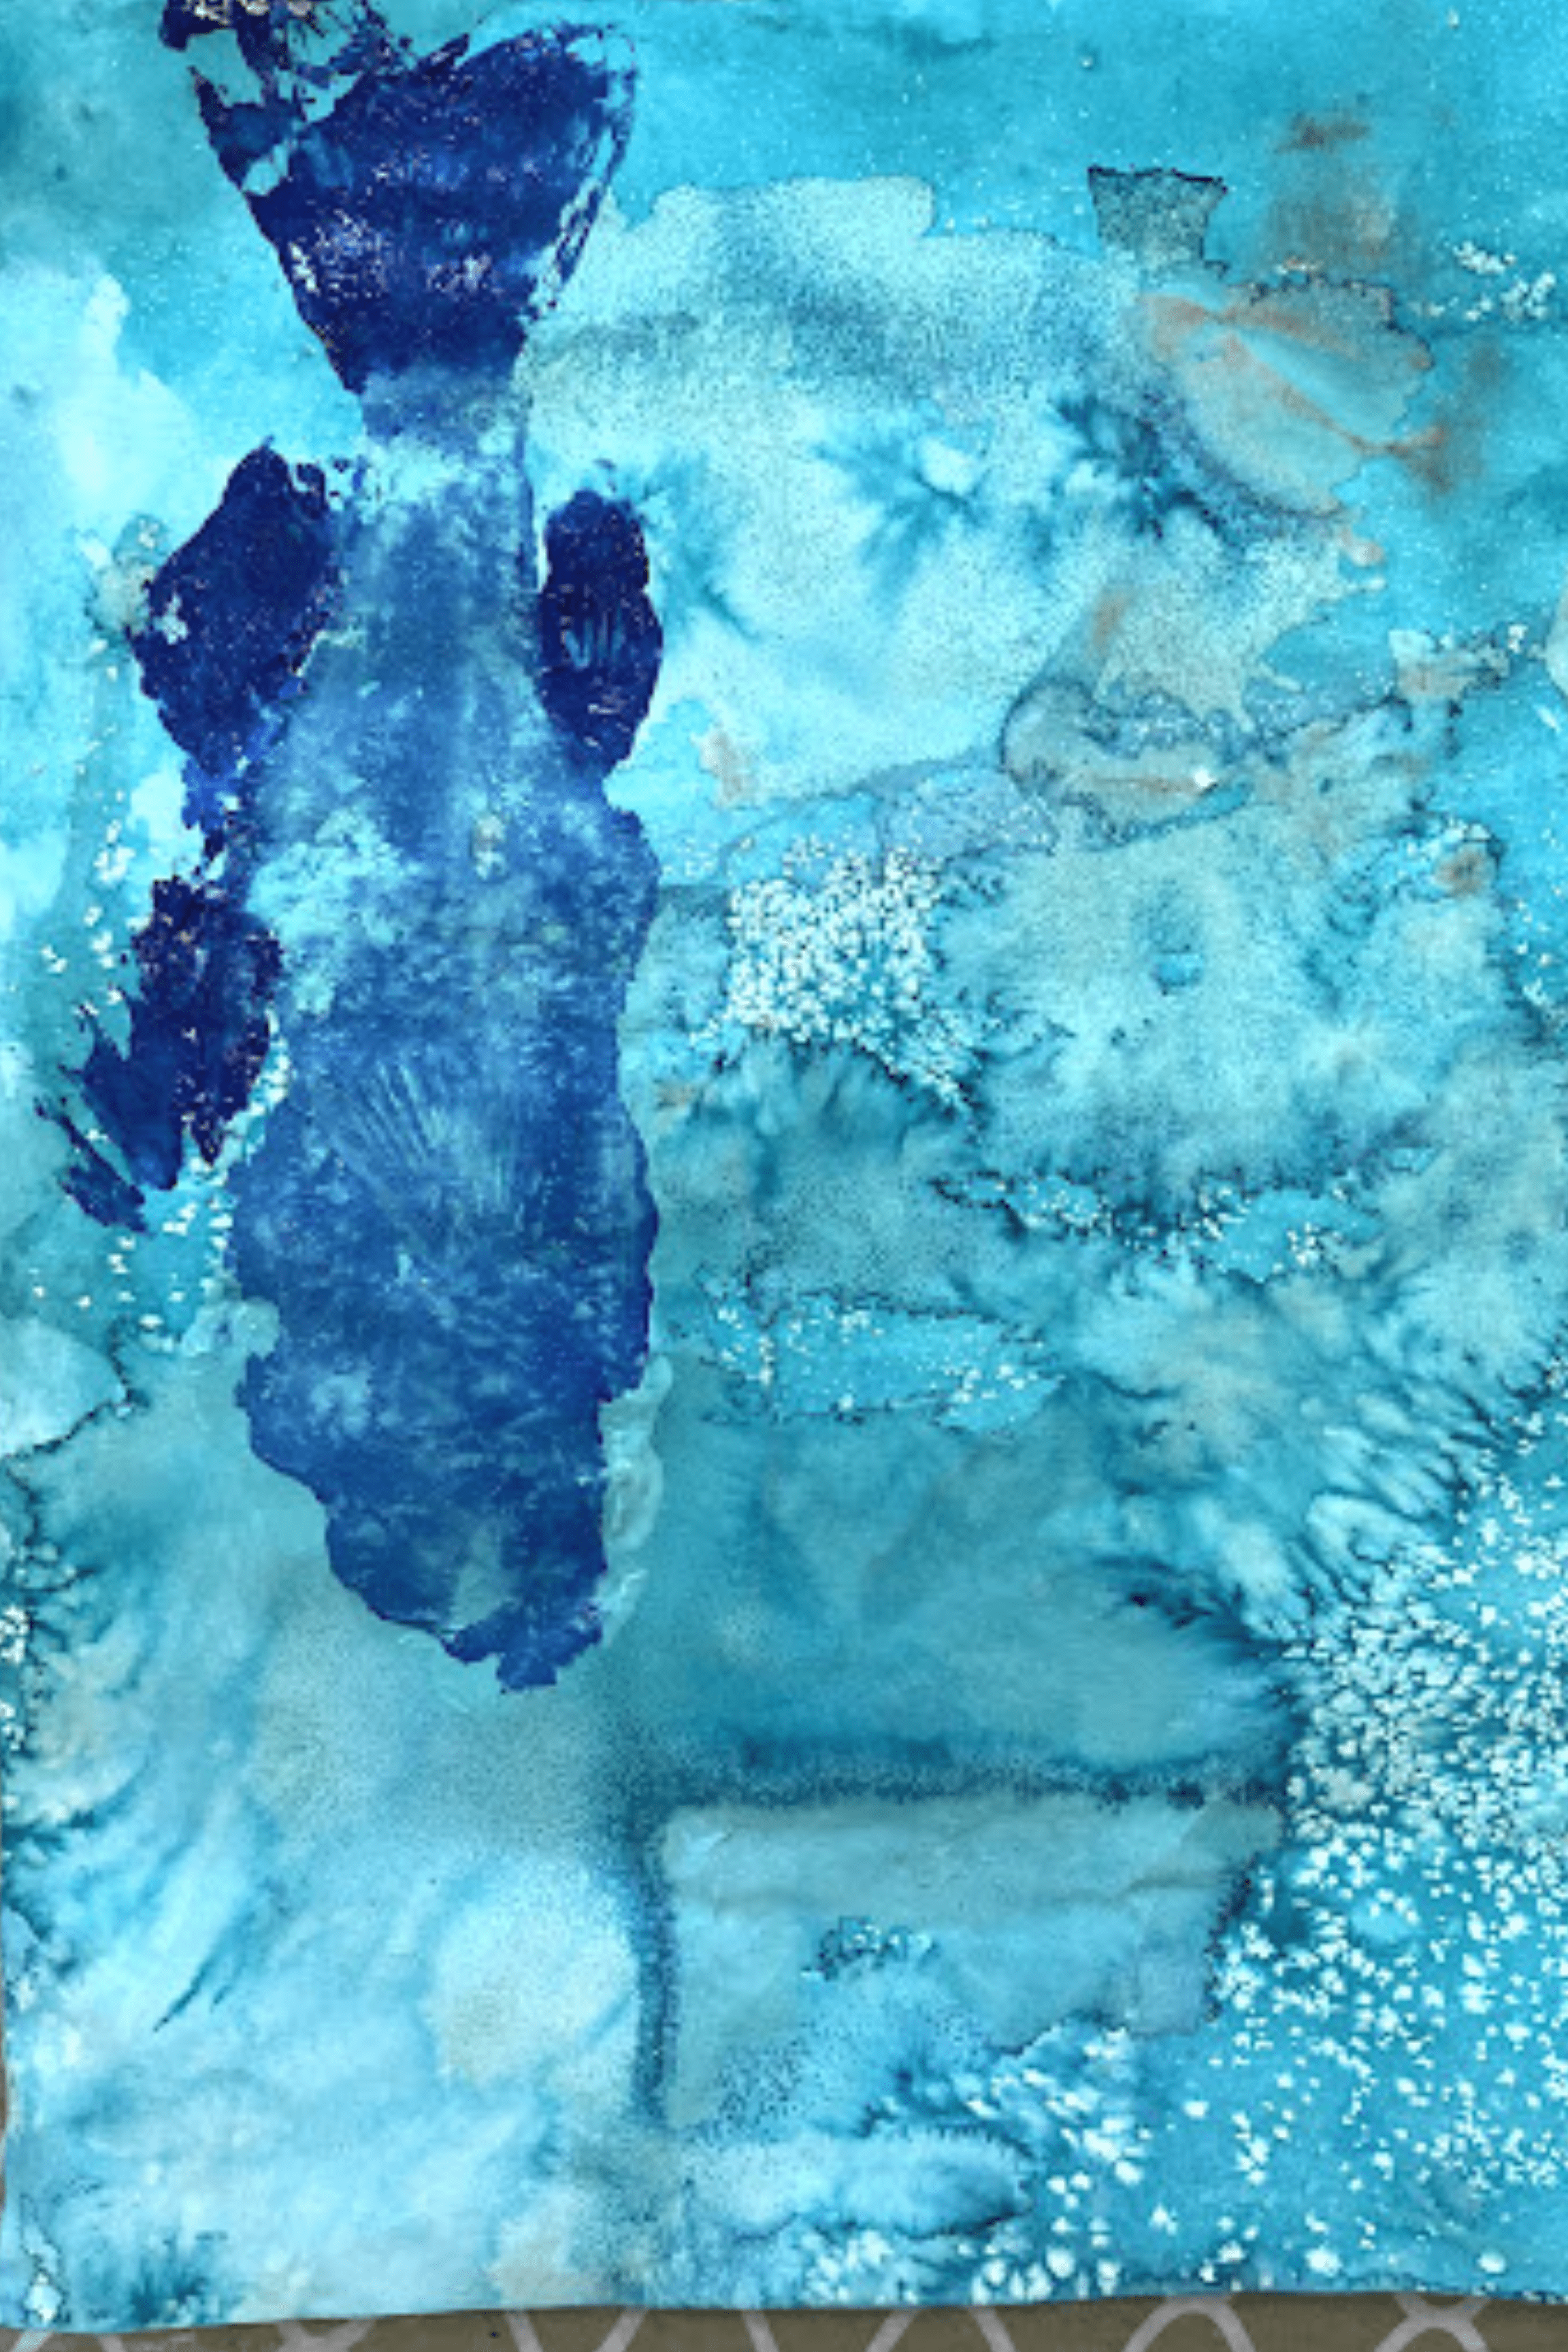
Prepare the surface you want to print on. If we are using paper I may have the students paint an underwater seascape first. Or to be funny I tell them to paint whatever background they want and then make a “fish out of water” painting. Those are awesome to see unfold and the kids love the silliness of it.
Some people like to pick up the fish and lay it face down on the paper. If it’s thin paper I like to lay the paper down onto the paper and “mold” the paper around the fish.
However you do it you should make sure all parts of the fish have made contact with the paper. Don’t press too hard and don’t let the fish slide around and smudge the image.
So now you know all the secrets behind my favorite art form! Let me know if you try this and how it works out! Happy arting!
The Images Are: One of my students was ready to lay his fish down for some fishy fun! After placing the fish on his paper. He had pre painted an ocean scene for his fish to flourish inside of. Other students getting ready for their fish creations

